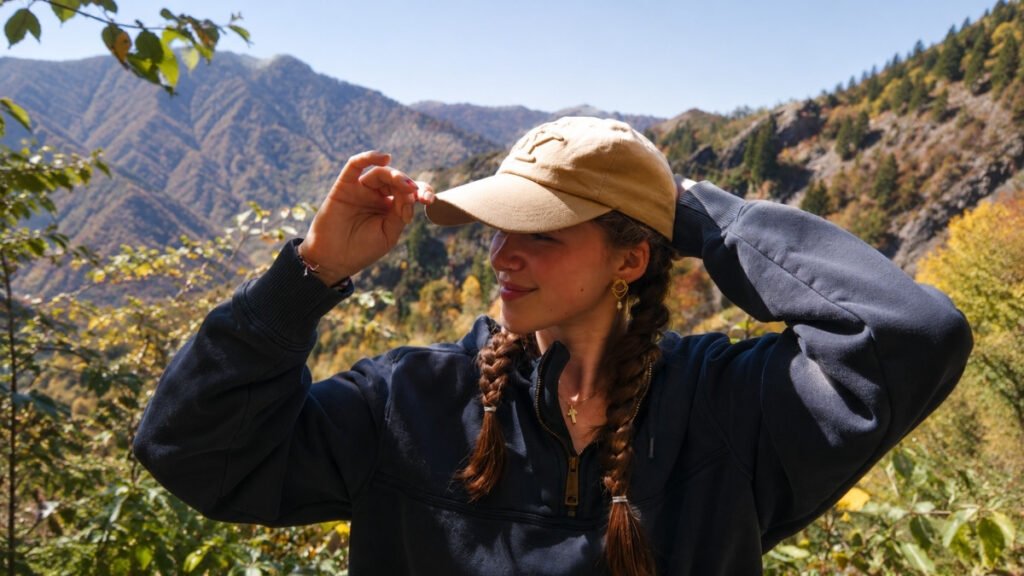
Most hiking hair advice assumes your head is uncovered. Then it adds one line about hats near the end, usually suggesting a ponytail.
The problem with that is a hat is not an accessory in this situation, it is a constraint. It determines how much volume you can have, where you can position anything, and how much pressure sits on your scalp for six hours. And it introduces a problem no length-based guide addresses at all.
Your style has to work in two states. Under the hat, where it needs to be low-profile and comfortable. And without the hat, at the summit, when it comes off for photographs. A style that only works in one of those states is a style you will be quietly unhappy with at exactly the moment you want a picture.
The Two Rules That Cover Almost Everything
Low profile under, recoverable after. The secret to headwear compatibility is choosing styles that sit flat against your head. Low ponytails, side braids, and closely coiled buns all slide under a hat without creating a pressure point. But choose from among those the ones that still look deliberate when the hat comes off.
Nothing hard where the band sits. Pins, clips, and thick elastics positioned under a hatband create a pressure point that becomes genuinely painful after a couple of hours. Anything you secure should sit above or below the band line, never underneath it.
One more thing worth knowing before the styles. A satin or silk cap worn underneath your hat removes the friction that causes frizz and breakage over a long day. It weighs nothing, and it is the single most effective fix for hat hair that nobody mentions.
Under a Baseball Cap or Trucker
1. Low Ponytail Through the Back Gap
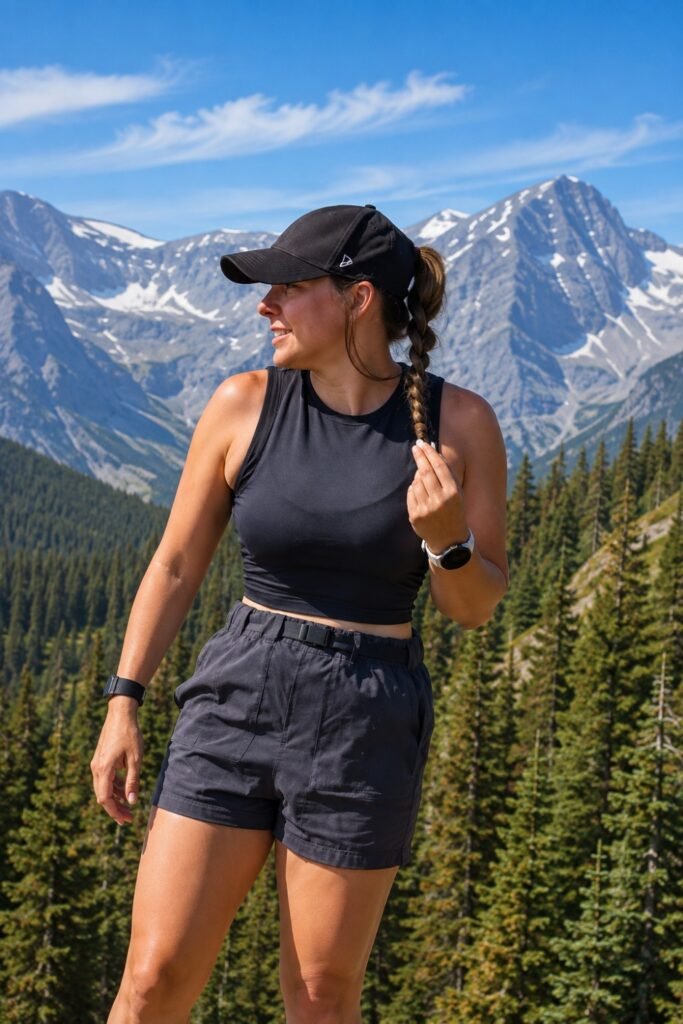
A low ponytail fed through the adjuster gap at the back of a standard cap.
Most caps already have an opening at the back, and using it costs nothing. The hair sits behind the cap rather than compressed beneath it, which means it emerges with its shape intact.
Position the ponytail low, at or below the cap’s rear edge. Higher and the cap sits at an angle on your head for the rest of the day.
 Save
Save2. Two Low Braids Either Side
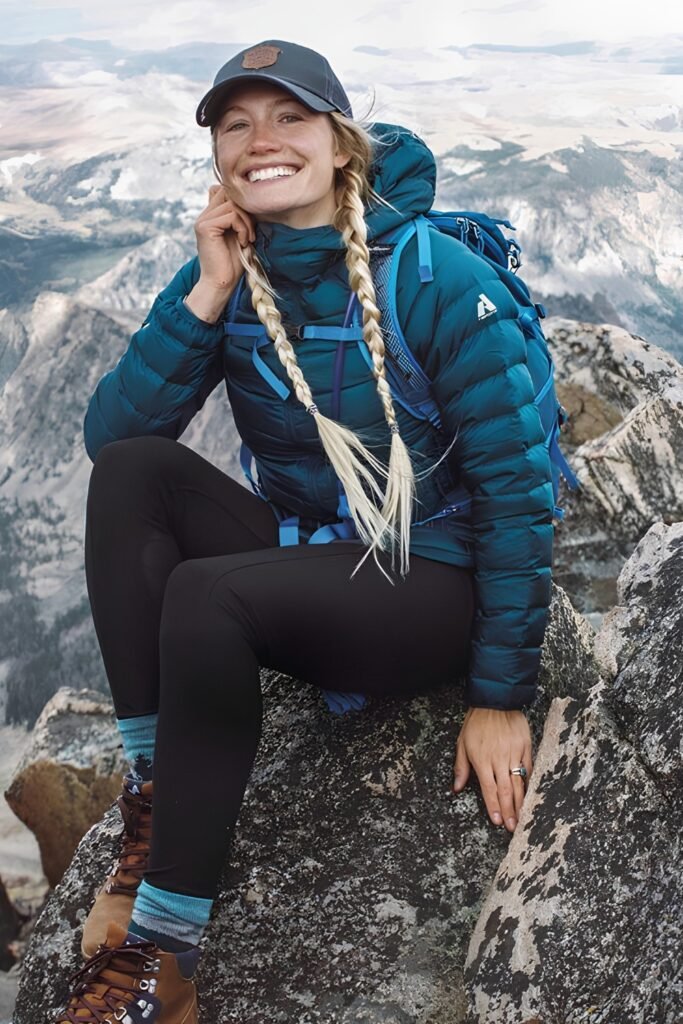
Hair split down the middle into two low braids, sitting either side of the neck beneath the cap.
Splitting into two distributes pressure evenly rather than concentrating it at one point, which is more comfortable over a long day and avoids the single dent a central ponytail leaves.
This is also the most reliable two-state style here. Braids look deliberate with the hat on and equally deliberate with it off.
 Save
Save3. Boxer Braids Under the Cap
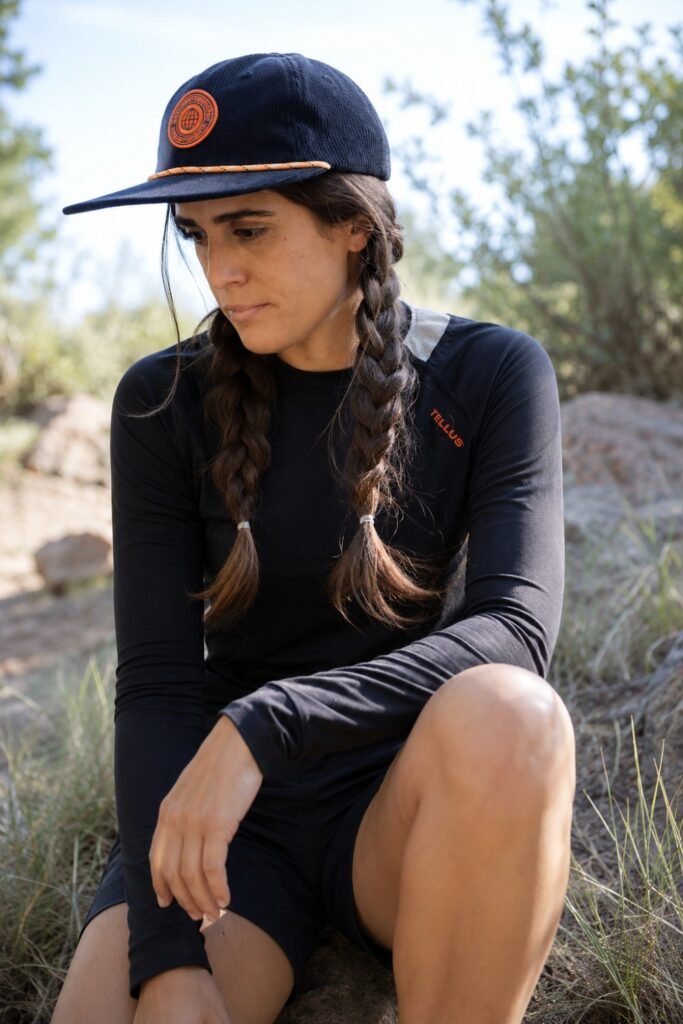
Two Dutch braids started at the front hairline and worked close to the scalp, running back beneath the cap.
Because they sit flat against the head, boxer braids spread tension evenly and stay comfortable under caps and helmets in a way that raised styles do not. They also handle the flyaways at the front that a cap brim otherwise pushes into your eyes.
A little product before braiding keeps the front sections smooth for longer.
 Save
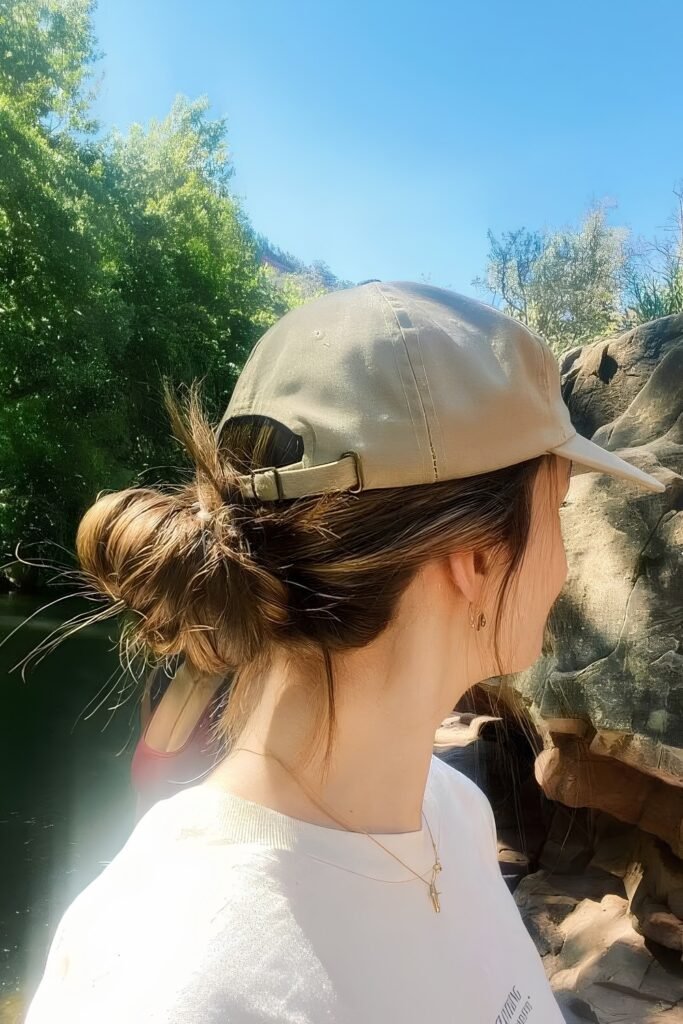
Save4. Low Coiled Bun at the Nape
Hair coiled into a small flat bun sitting at the nape, below the cap’s rear edge.
The bun sits underneath the cap rather than inside it, so nothing is compressed. It also keeps the hair entirely off the neck, which matters more than most people expect on a hot climb.
Use pins rather than a thick elastic, and place them at the sides of the bun rather than the top where the cap edge lands.
 Save
SaveUnder a Wide Brim or Sun Hat
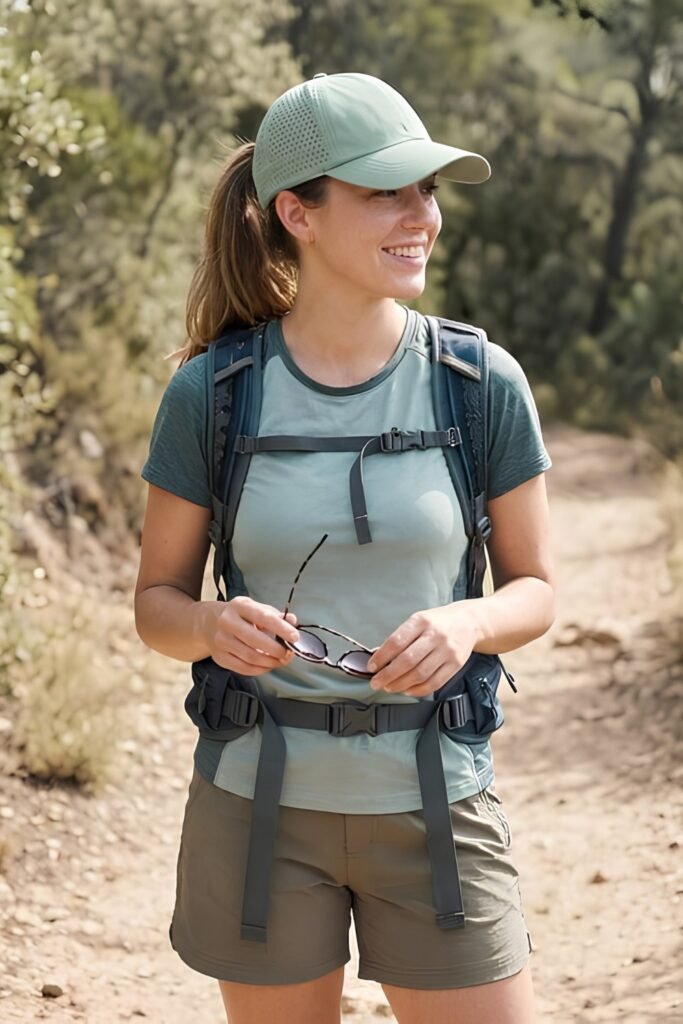
5. Ponytail Through a Ported Hat
A ponytail fed through a purpose-built opening in a hat designed with one.
Ponytail-port hats are now a substantial product category, and the openings generally accommodate ponytails, braids, and even a bun. If you wear a hat on every hike, one of these solves the problem permanently rather than requiring a workaround each time.
Check the port position before buying. It determines your ponytail height, not the other way round, so try it with the style you actually wear.
 Save
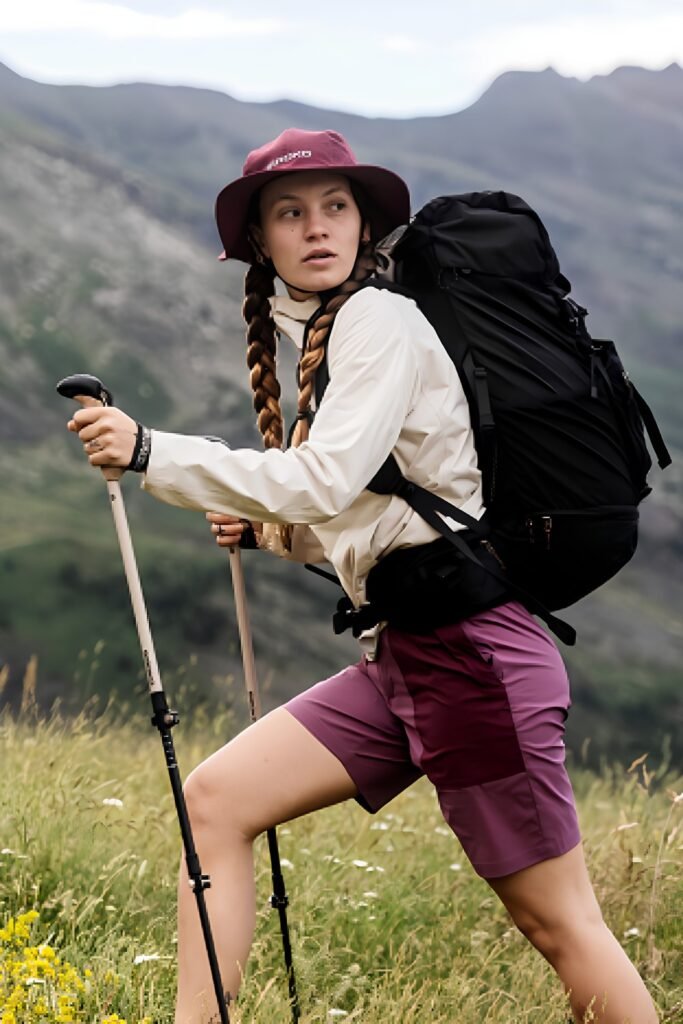
Save6. Low Pigtails Beneath the Brim
Two low sections sitting behind the ears and below the line of a wide brim.
Wide-brim hats sit lower and further back than caps, which means anything at the sides of your head interferes. Low pigtails clear the brim entirely and sit comfortably against the neck.
The classic combination for full-sun days, and it is what most experienced hikers at medium length settle on.
 Save
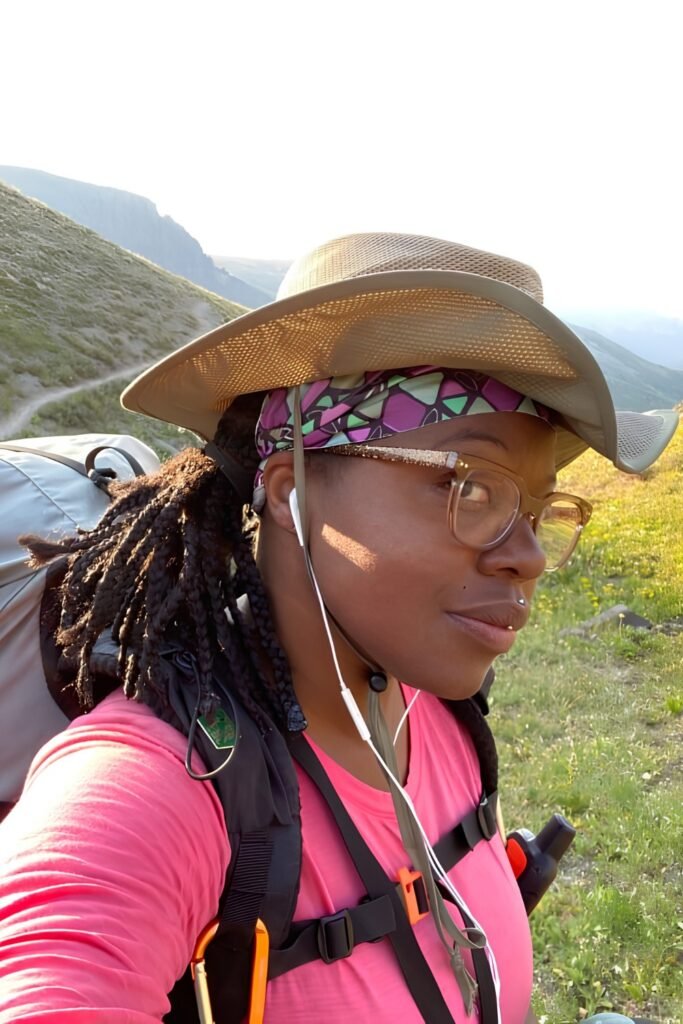
Save7. Flat Twists Under a Brim
Twists worked flat against the scalp, worn under a wide-brim hat.
Nothing sits closer to the head than a flat twist, which makes this the highest-clearance option for a low-sitting hat. It also survives the hat being taken on and off repeatedly without disruption.
Gentler on the hairline than tight braiding, and it comes out faster afterwards.
 Save
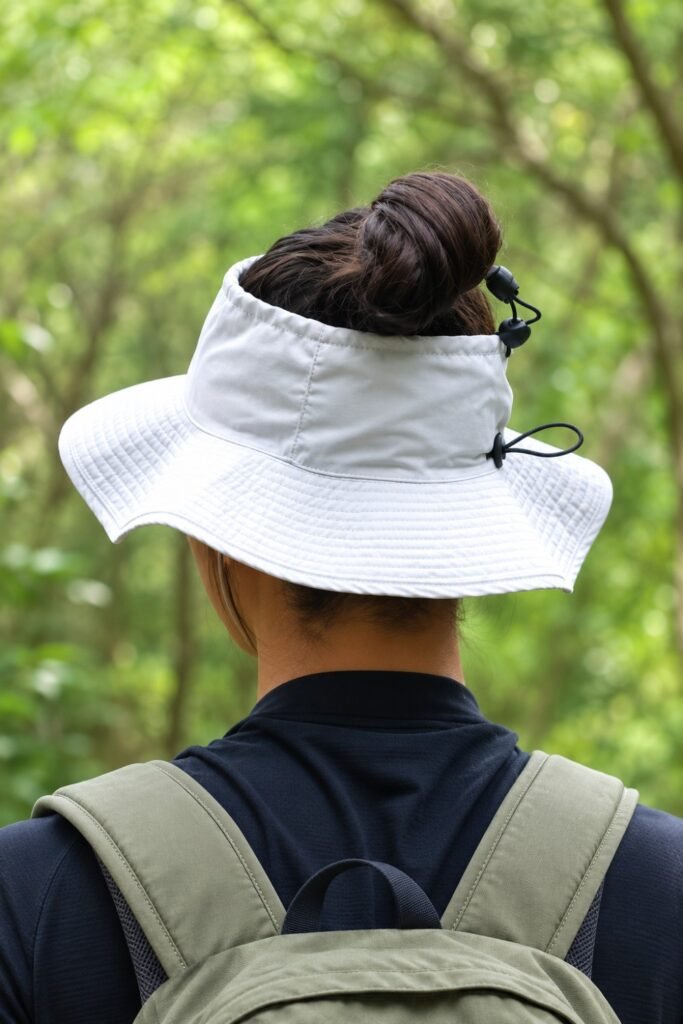
Save8. Loose Bun Above the Brim Line
A soft bun positioned high enough to sit above where a wide brim rests.
The alternative approach for wide brims: rather than clearing the hat at the sides, go above it. A high soft bun keeps the hat sitting level and the hair completely out of the way.
Keep it genuinely loose. A tight high bun under any hat produces a headache within the hour.
 Save
SaveUnder a Beanie
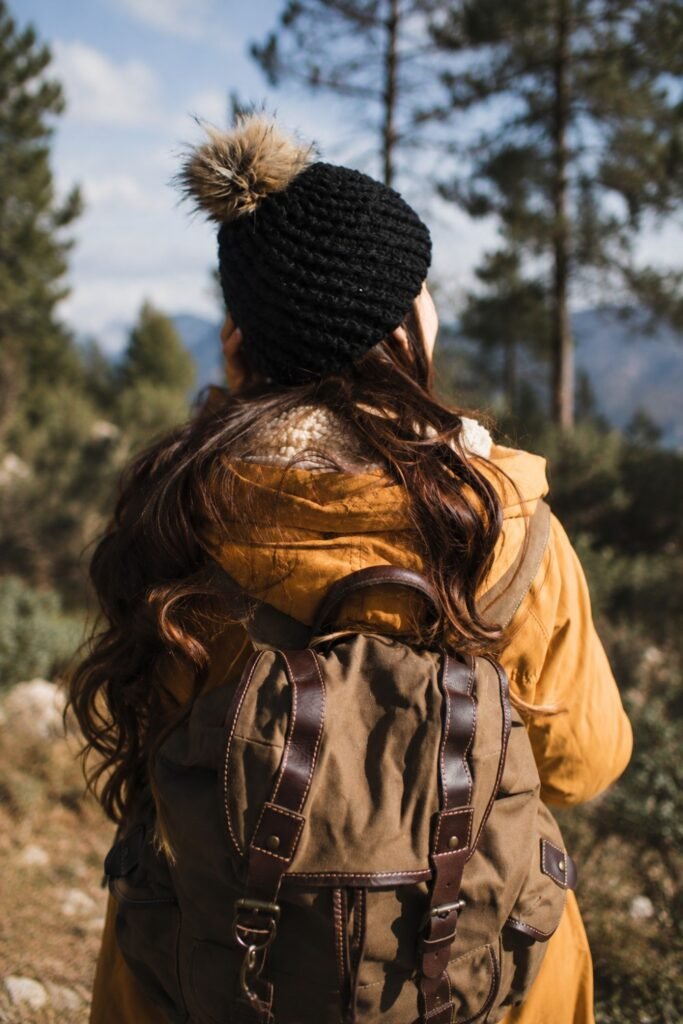
9. Everything Flat and Backward
Hair combed flat and directed backward before the beanie goes on, with nothing secured.
The beanie does the holding, so your only job is making sure the hair underneath is travelling in one direction. Hair going several directions emerges chaotic; hair going one way emerges smooth.
The one style here that genuinely improves under the hat rather than surviving it.
 Save
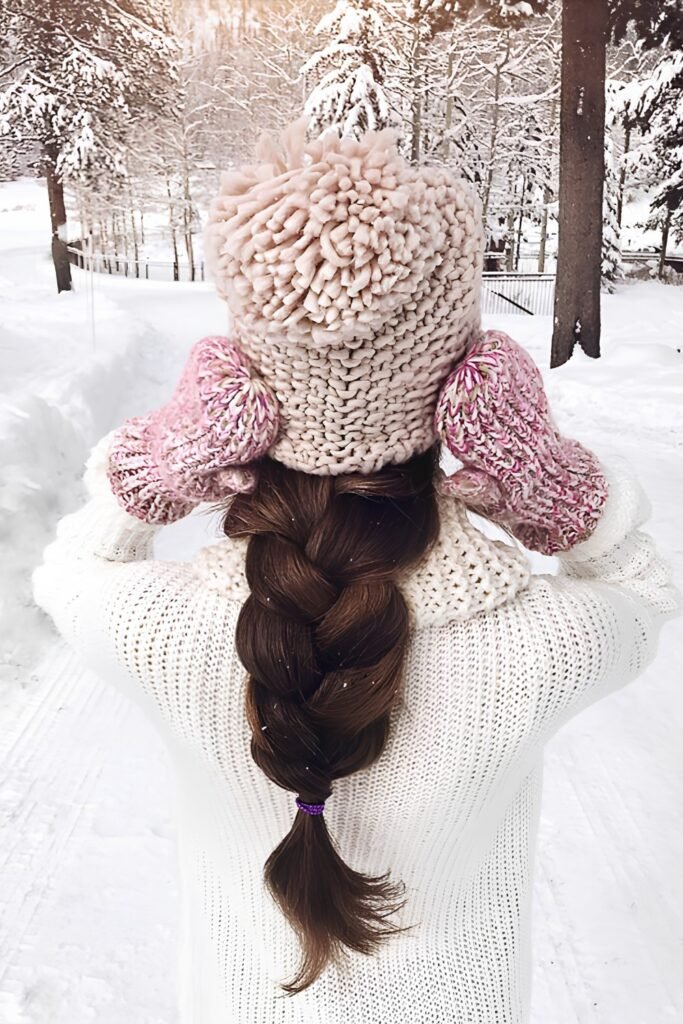
Save10. Low Braid Down the Back
A single loose braid running down the back, with the beanie pulled over the top.
Beanies compress everything, so a braid is the sensible choice because it is already compressed. It emerges with its texture intact rather than flattened out of shape.
Braid loosely. A tight braid under a beanie puts tension on the same sections for hours.
 Save
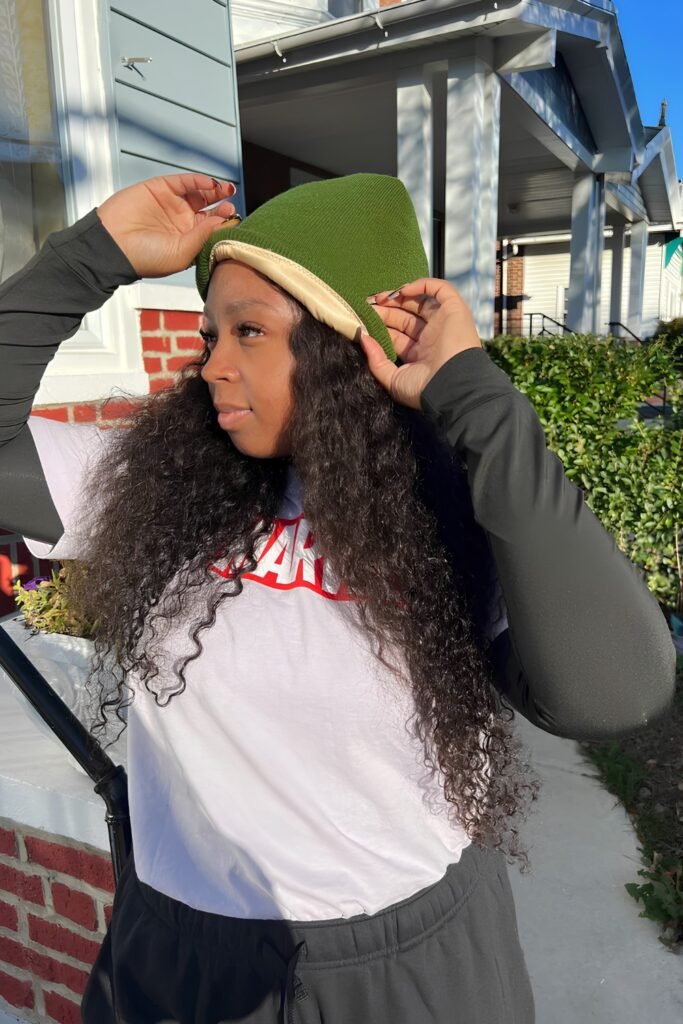
Save11. Satin Cap Underneath
A thin satin or silk cap worn between your hair and the beanie.
Wool and acrylic linings create friction and static, and over a full day that means frizz and breakage. A satin layer underneath removes the problem completely, and it takes up no space in a pack.
This is the single most useful item in this article for anyone with textured or fragile hair.
 Save
SaveUnder a Helmet
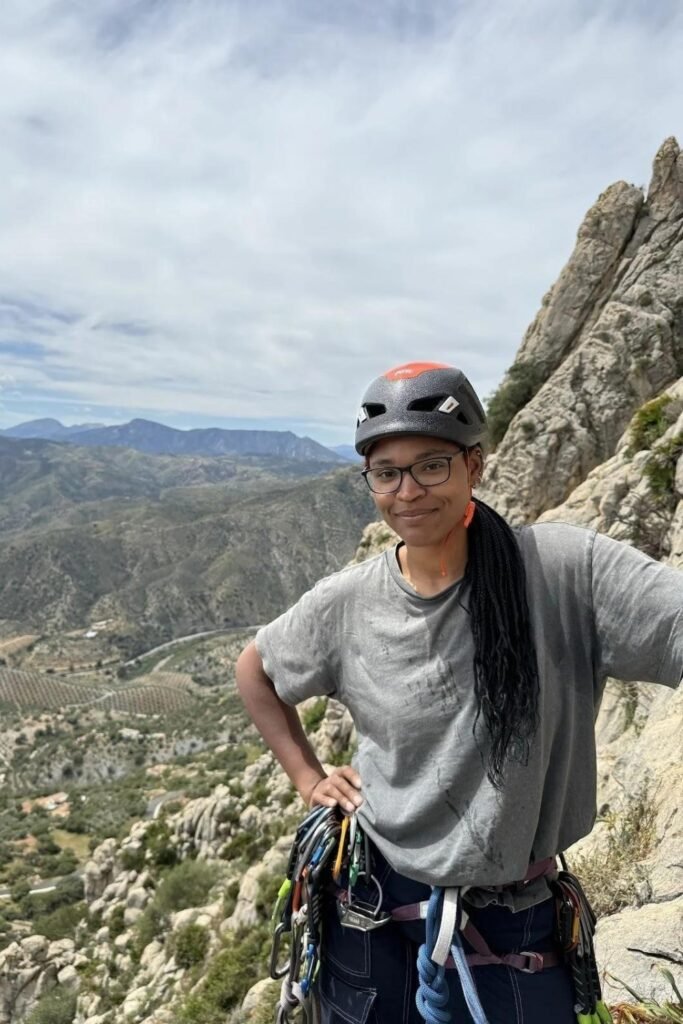
12. Low Flat Braids for Helmet Fit
Two flat braids or twists worked close to the scalp, sitting entirely below the helmet line.
Helmets have a fixed internal shape and a correct fit that matters for safety. Anything bulky underneath changes how the helmet sits, which is a genuine safety consideration rather than a comfort one.
Nothing on top of the head, nothing at the crown, no pins. Everything flat and everything low.
 Save
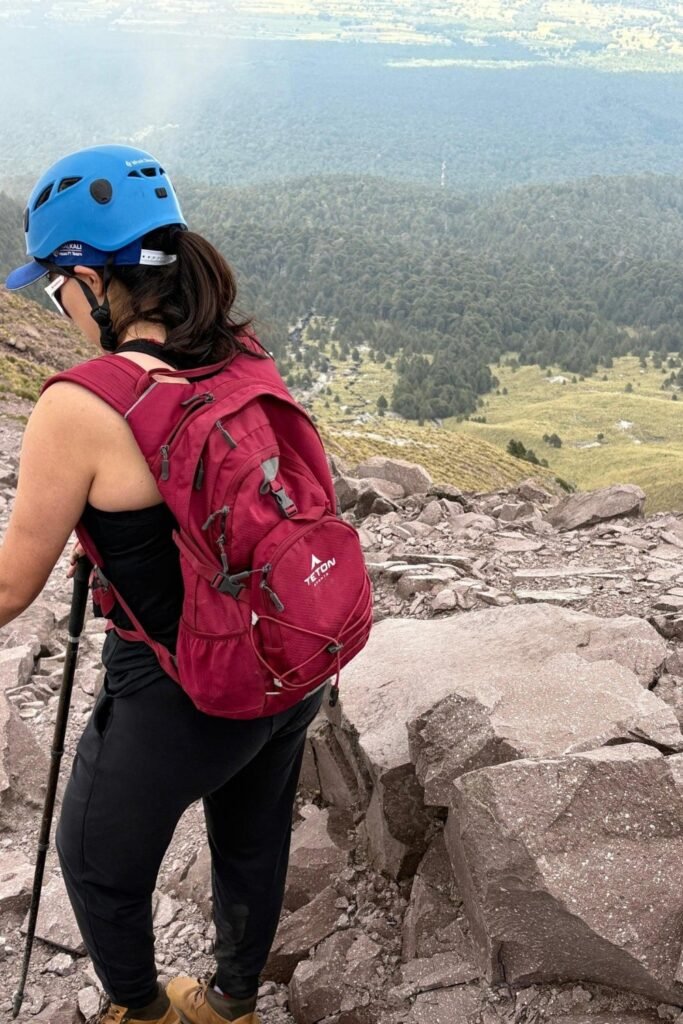
Save13. Low Nape Ponytail, No Hardware
A simple low ponytail at the nape secured with a soft fabric tie, sitting beneath the helmet’s rear edge.
The minimal option for scrambling or via ferrata, where the helmet comes on and off repeatedly. There is nothing to reposition each time.
Fabric tie rather than a hard elastic, and nothing metal anywhere near the helmet’s contact points.
 Save
SaveWhen the Hat Comes Off
14. The Recovery, Not a Style
What you do in the thirty seconds after removing the hat, which determines what the photograph looks like.
Fluff the roots with your fingers rather than combing, since combing flattens further. If you carry dry shampoo or texturising spray, a small amount at the roots restores lift immediately. Then tousle and shake rather than smoothing.
For curls, do not touch at all beyond a light scrunch, and refresh with water if you have it. Handling curls dry after a hat produces frizz and nothing else.
 Save
SaveMatching the Style to Your Hair
This article is organised by headwear because that is usually the fixed variable. But length and texture change which of these options actually work for you.
If your hair is short, most of the securing methods here are irrelevant and the question becomes direction and grip instead. Our guide to hiking hairstyles for short hair covers that, including the front section trick that determines what your hat hair looks like.
If your hair is shoulder length, the ponytail-versus-pack-strap problem is the one to solve alongside the hat, and layers escaping is the specific complication. Our guide to hiking hairstyles for medium hair covers both.
And if your hair is curly or coily, the hat is a preservation problem rather than a fit problem, because compression sets the curl pattern in whatever shape it dries in. Our guide to hiking hairstyles for curly hair covers the pineapple method that solves it.
Common Questions
How do I avoid hat hair on a hike?
Two things. Wear a satin or silk cap underneath to remove friction, which is what causes frizz and flattening over hours of wear. And choose a low-profile style that is already compressed, like a braid, rather than one that relies on volume. Afterwards, fluff the roots with your fingers, add dry shampoo or texturising spray at the roots if you have it, and tousle rather than smooth.
Are ponytail hats worth buying?
If you hike regularly with your hair up, yes. A purpose-built opening accommodates ponytails, braids, and buns without compressing them, and it solves the problem permanently rather than needing a workaround each time. Check the port position before buying, since it dictates the height your ponytail has to sit at.
What hairstyle works under a helmet?
Flat and low, with no hardware. Two flat braids or twists close to the scalp, or a low nape ponytail with a soft fabric tie. This is a safety point as well as a comfort one: bulk under a helmet changes how it sits, and a helmet that does not sit correctly does not protect correctly. Nothing at the crown, and no pins or metal near the contact points.
Should I wear a visor instead to avoid hat hair?
Only if you are comfortable with an exposed scalp. A visor leaves the top of the head unprotected, and the scalp and parting sunburn readily. If sun protection is why you are wearing headwear, a full hat or a covered style does the job that a visor does not.
Will a tight hat damage my hair?
Sustained friction and tension can. Avoid hats that fit tightly, choose breathable materials, keep the hairstyle underneath loose rather than tightly secured, and take the hat off periodically to let the scalp breathe. A satin layer underneath reduces the friction considerably.
Final Thoughts
Pick your style around your headwear rather than the other way round, because the hat is the thing you cannot change halfway up a hill.
Then apply the test that matters: would this still look deliberate if I took the hat off right now? If the answer is no, choose something else, because at some point on a good day you will take it off.