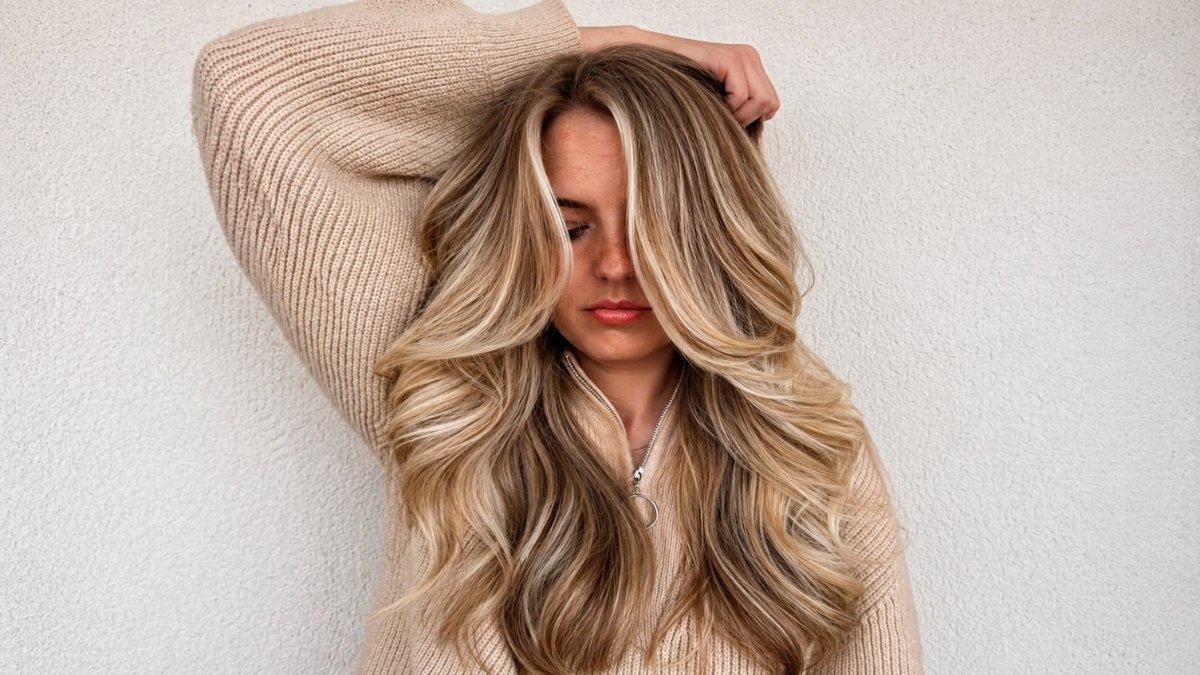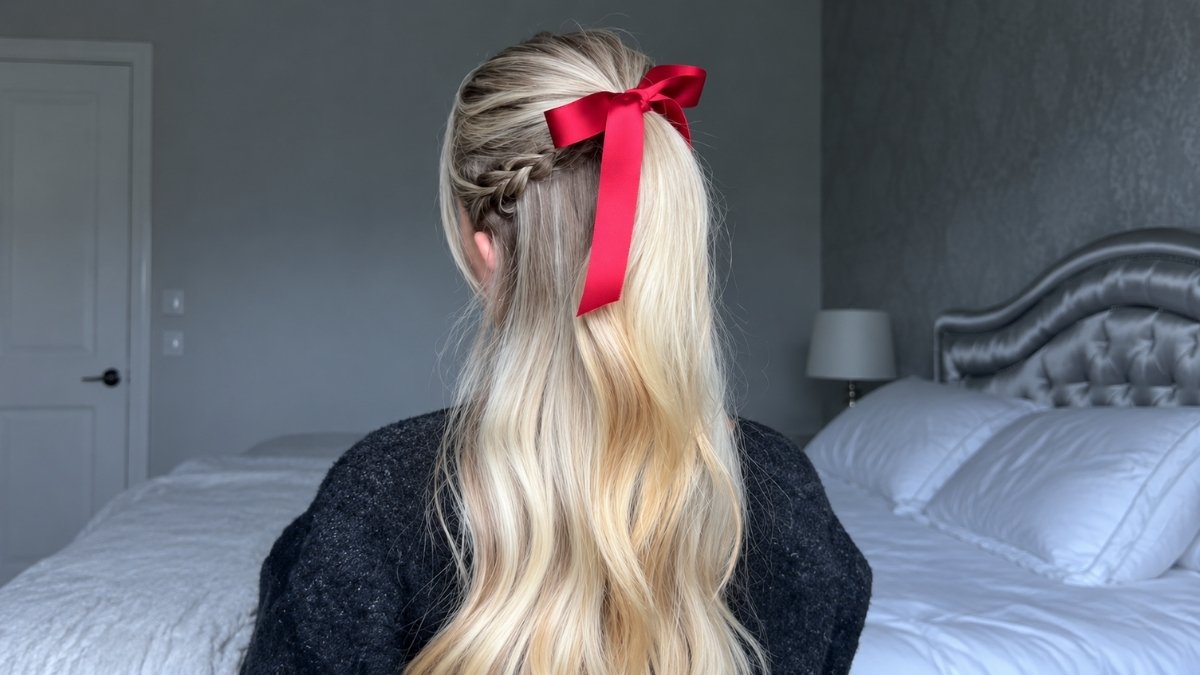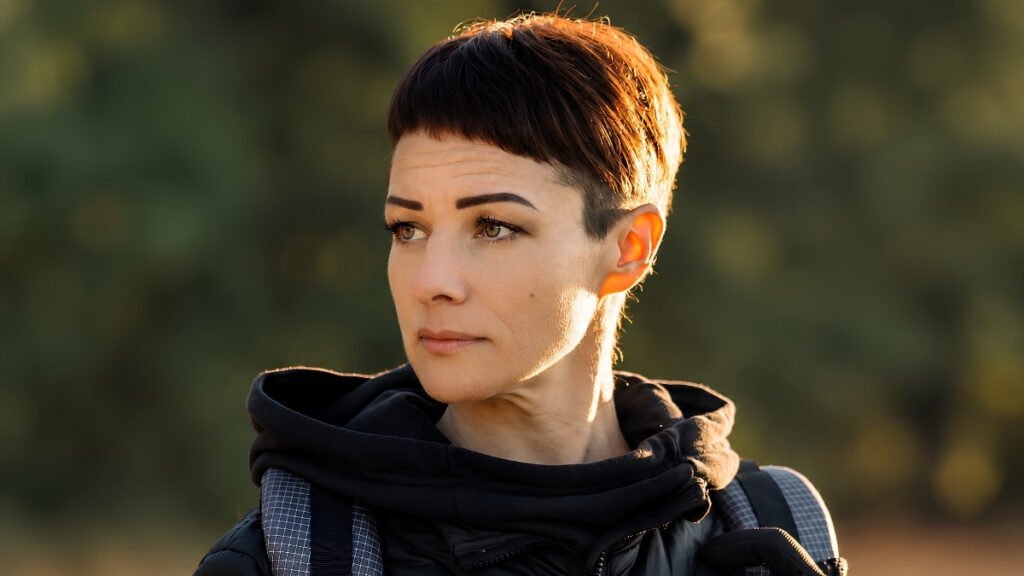
Search for hiking hairstyles and you will find braided buns, Dutch braids, and bubble ponytails. Then, somewhere near the bottom, a single line suggesting that if your hair is too short to tie back you could try some bobby pins.
One guide goes further and states that hiking with long hair is easier than with short hair. That is not true, and the reason people believe it is that nobody has bothered to solve short hair’s actual trail problems.
Those problems are specific. There is nothing to tie back, so the hair is loose by default. A cap brim pushes the front sections straight into your eyes. Sweat glues the nape and temples flat within the first climb. And there is considerably more scalp exposed to the sun than a long-haired hiker ever has to think about.
The Four Problems, and What Solves Them
Nothing to gather. Short hair cannot be contained, so it has to be gripped. Clips, pins, and friction-based accessories do the work an elastic does on long hair.
Hat interaction. Anything you do to your hair has to survive being compressed under a cap or beanie and still look reasonable when you take it off at the summit. This is the variable most people forget until they are already on the trail.
Sweat at the hairline. Short hair sits closer to the scalp, so it wets through faster and sticks. A moisture-wicking headband solves this more effectively than any styling product.
Scalp exposure. This is the one nobody mentions. Short hair exposes more parting and more scalp to direct overhead sun, and the parting is the single most commonly missed sunscreen area on the body. Put sunscreen on your parting before you set off, or wear a brimmed hat, or both.
No-Tool Options
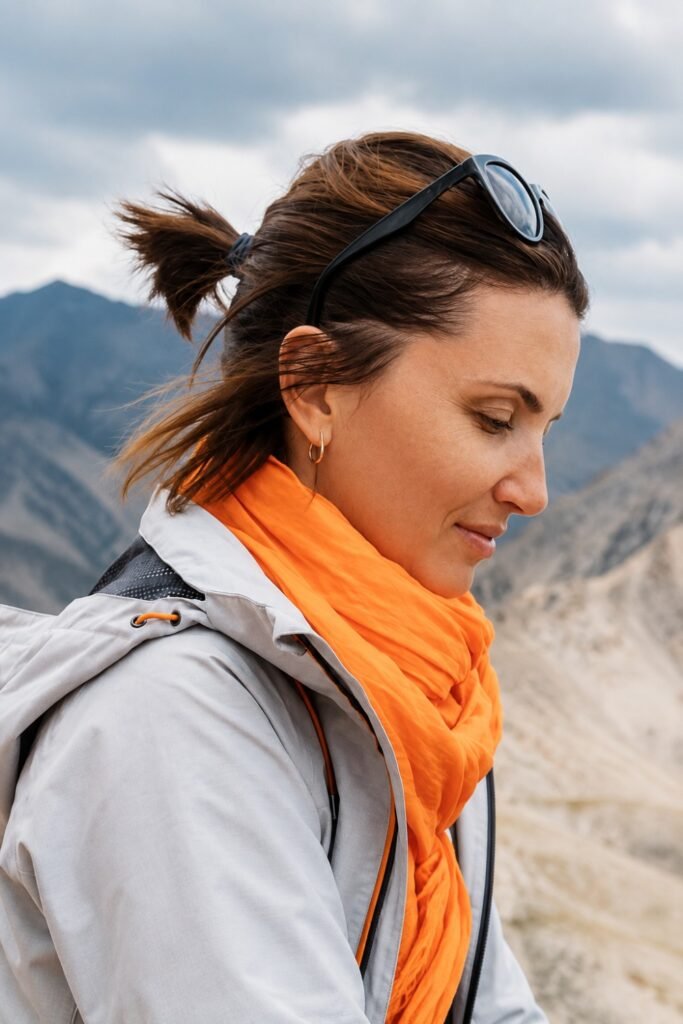
1. Damp Slick-Back
Wet the front sections at the trailhead and comb everything straight back off the face. Nothing else.
The simplest option here and surprisingly durable. Hair dried into a backward direction tends to hold that direction for several hours, particularly if it is fine or straight. As it dries out it loosens naturally rather than collapsing all at once.
Works best on pixie and bixie lengths. On a chin-length bob the sides will fall forward again within the hour.
 Save
Save2. Deep Side Sweep
Part deeply to one side and sweep everything across, using the natural direction of your growth pattern rather than fighting it.
A deep part holds better than a centre part because there is more weight on one side keeping it in place. Working with your natural fall rather than against it is the difference between a style that holds for four hours and one that separates in twenty minutes.
Free, instant, and it needs no products or accessories at all.
 Save
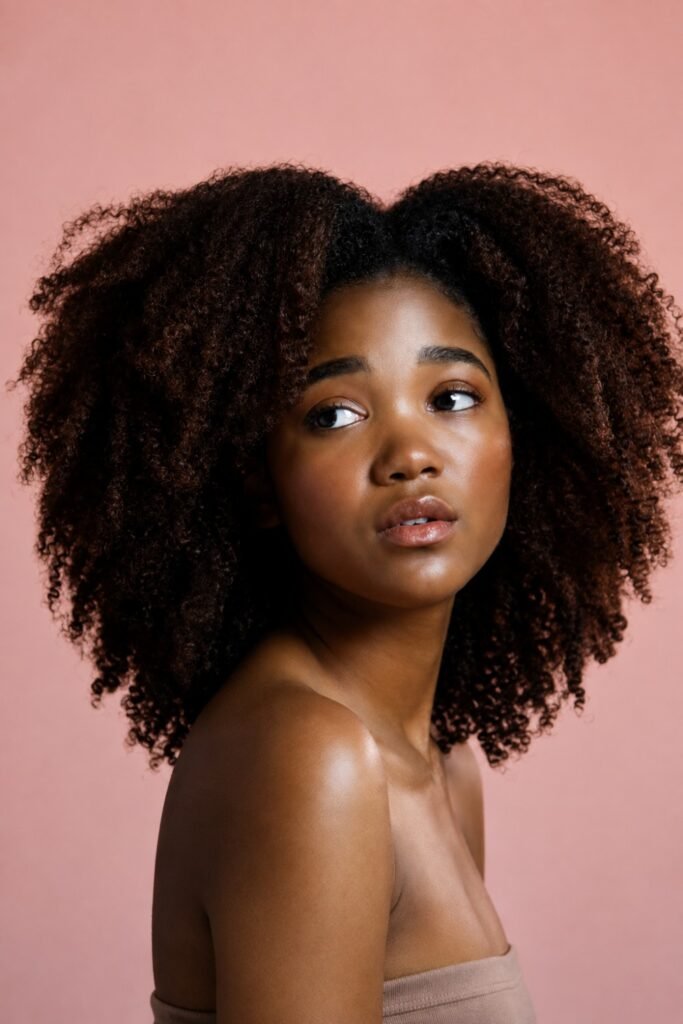
Save3. Tuck Behind Both Ears
Everything tucked back behind the ears, front sections included.
Obvious and underrated. On a bob or bixie length, tucking behind the ears removes the two sections that actually cause problems, which are the ones falling forward at the temples.
The ears do genuinely hold hair in place during movement. It is only wind that undoes this, which is when you move to something with grip.
 Save
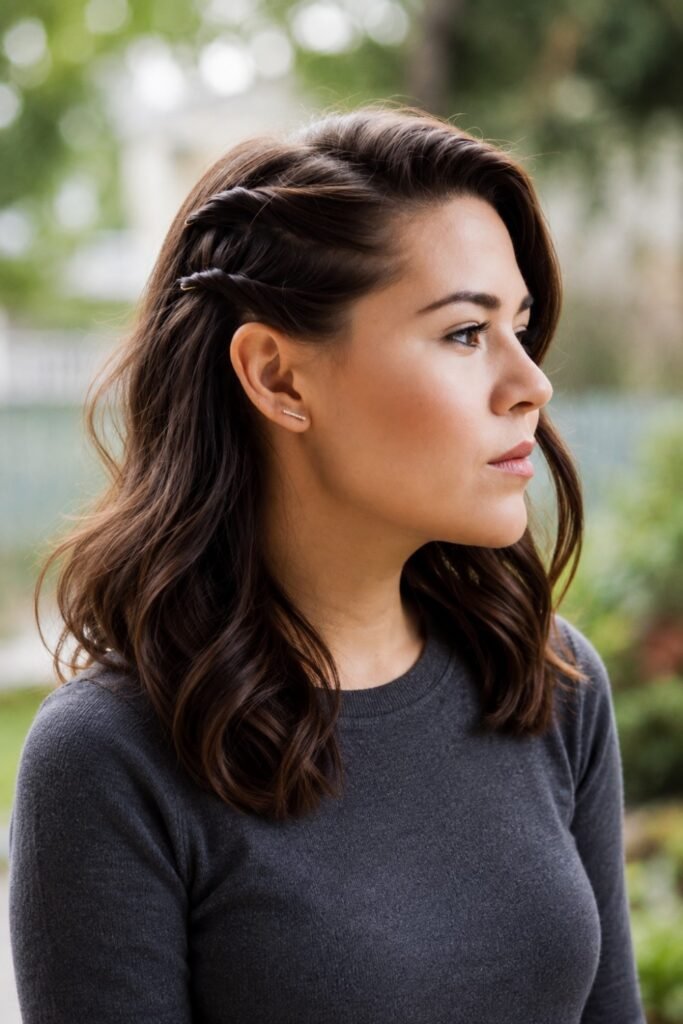
Save4. Twist and Pin at the Temples
Twist the front section at each temple back toward the crown and pin flat with two crossed grips.
Crossing the pins is the entire trick. Two grips crossed into an X hold significantly better than two parallel ones, because each pin is anchoring against the other rather than just against the hair.
This is the most secure no-accessory option for hair too short for anything else. It also sits flat enough to wear under a cap.
 Save
SaveWith Accessories
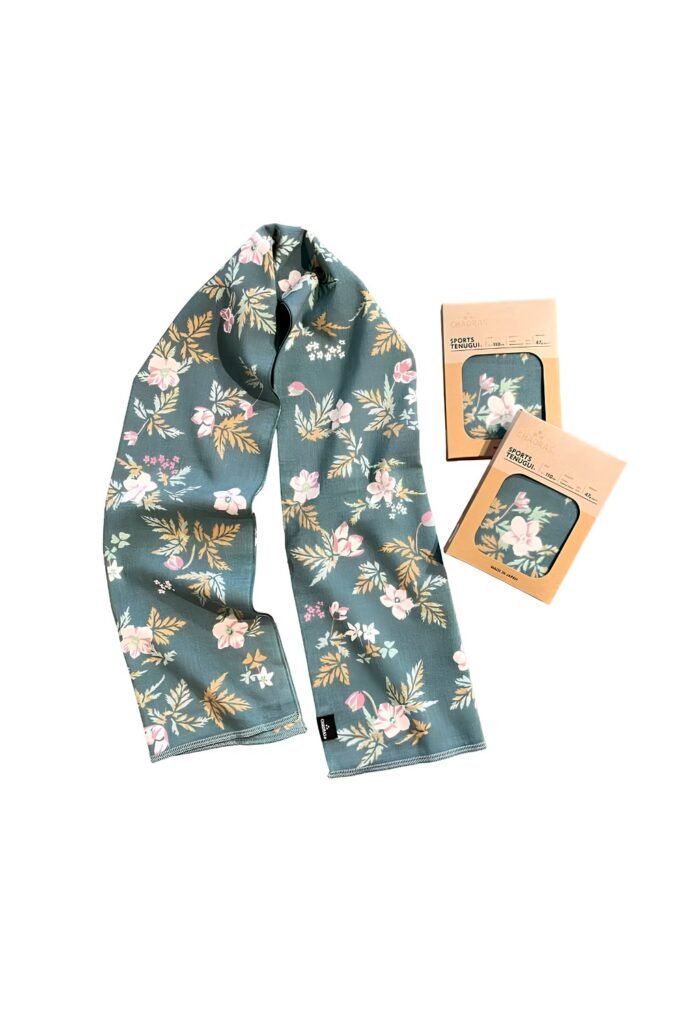
5. Moisture-Wicking Headband
A technical fabric headband worn across the hairline, pushing everything back off the face.
The single most useful accessory on this list. It solves the sweat problem and the flyaway problem simultaneously, and unlike a cotton band it does not become saturated and start dripping into your eyes.
Choose one with a silicone grip strip on the inside. Plain fabric bands creep upward and off the head over a few hours of movement.
 Save
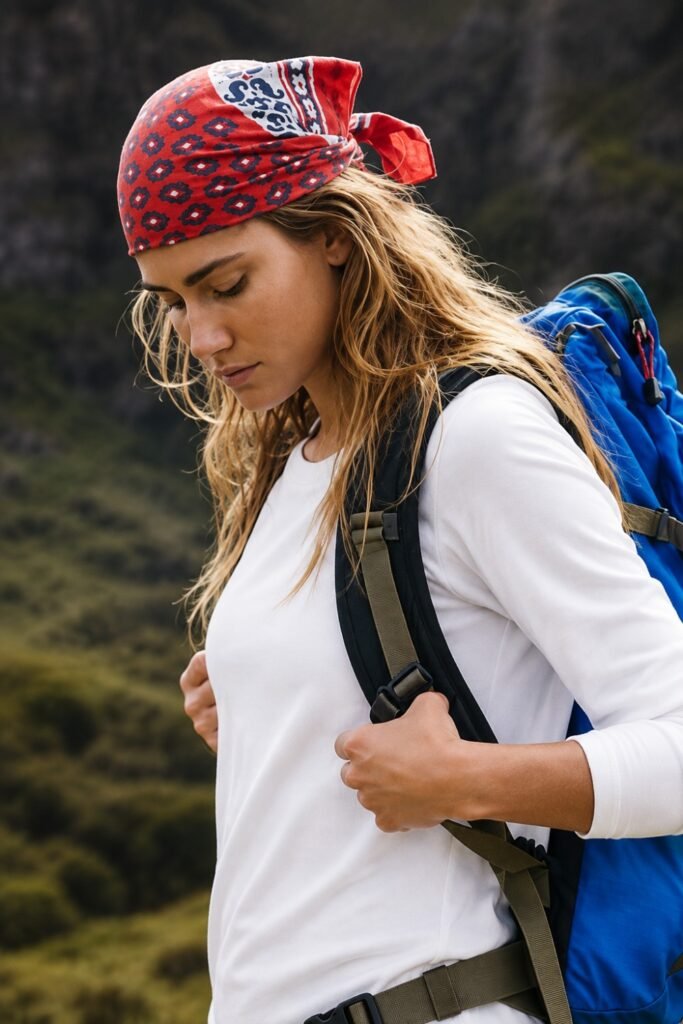
Save6. Bandana Tied Back
A bandana folded into a triangle and tied at the nape, covering the crown.
The classic trail solution and it works on any length, including hair too short for anything else. It also covers the scalp entirely, which addresses the sun exposure problem in one move.
A lightweight synthetic bandana dries far faster than a cotton one after a sweaty climb, which matters on a multi-day trip.
 Save
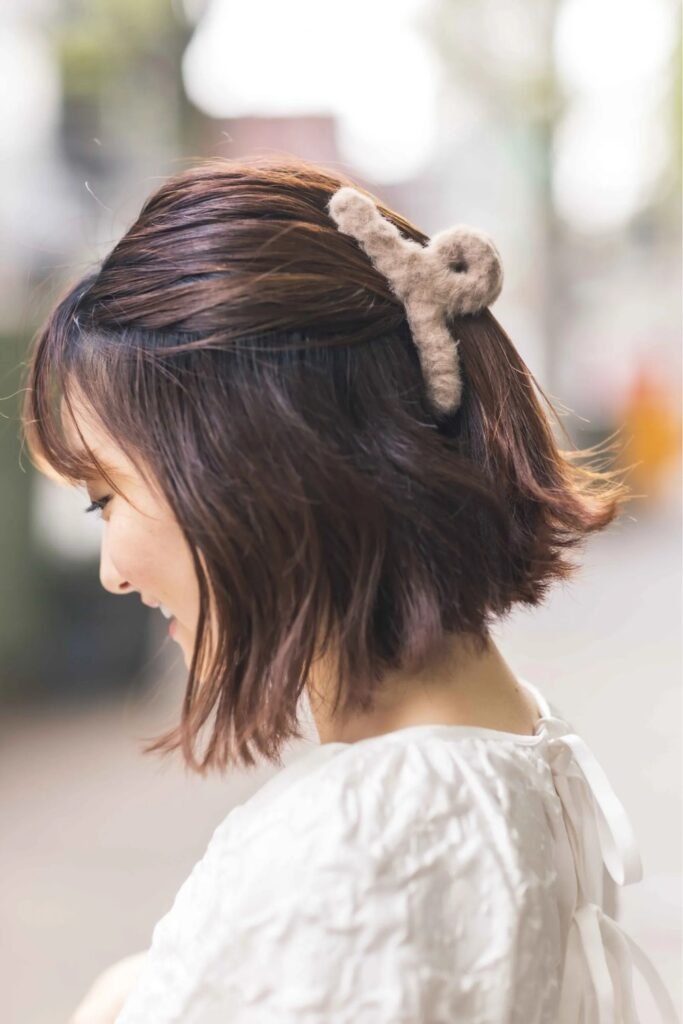
Save7. Claw Clip on the Crown
A small claw clip gathering just the crown section, leaving the sides and nape loose.
Most people assume claw clips need length. They do not. A small clip taking only the top layer removes the hair that falls into your eyes and leaves everything else alone.
Choose a matte plastic clip over a smooth one. Smooth clips slide out of short hair, especially when it is fine.
 Save
Save8. Snap Clips at the Sides
Two or three snap clips holding each front section flat against the head.
The most reliable option for hair in the growing-out stage, which is the hardest length to manage on a trail. Snap clips grip better than bobby pins on hair that is too short to be woven into anything.
Bring spares. Clips are the item most likely to be lost on a trail and the easiest to replace.
 Save
SaveUnder a Hat or Helmet
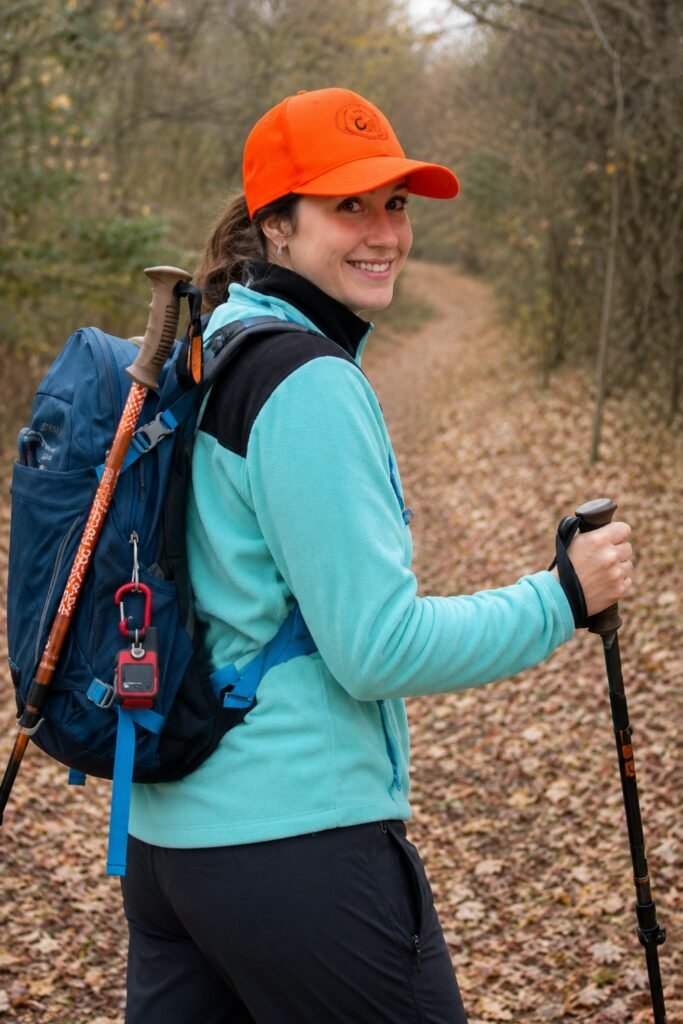
9. Flat Back Under a Cap
Everything combed flat and backward before the cap goes on, with nothing pinned that will create a pressure point.
The cap does the holding. Your job is simply to make sure the hair underneath is going in one direction, because hair going in several directions will emerge from under a cap looking chaotic.
Avoid pins directly under the band. Two hours of pressure on a grip against the scalp becomes genuinely uncomfortable.
 Save
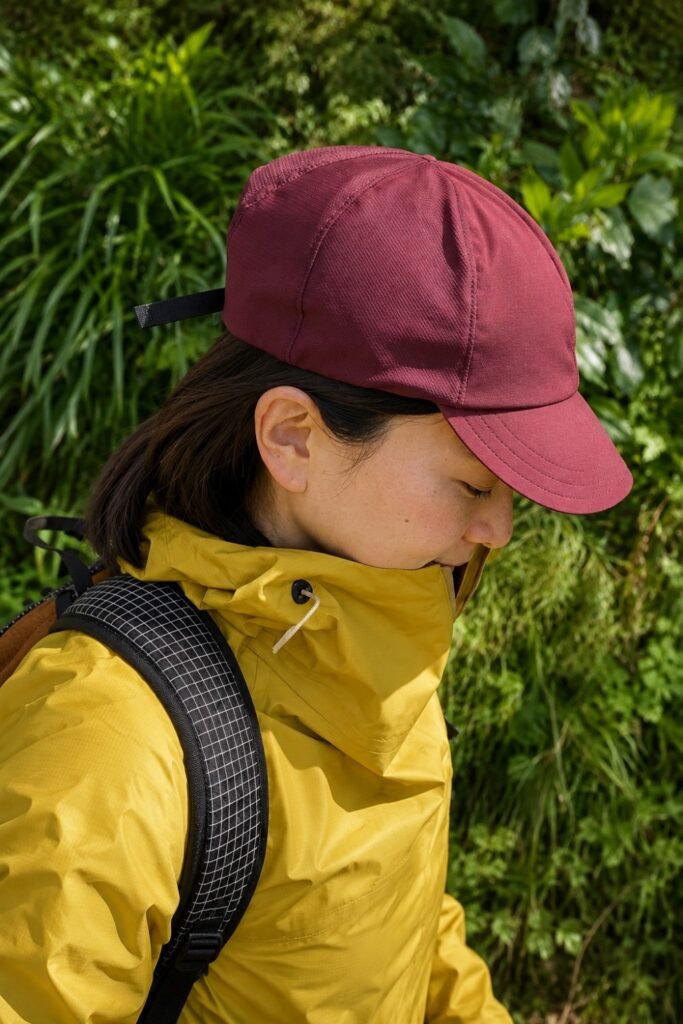
Save10. Front Section Out, Rest Under
Front sections deliberately left out and styled forward or to the side, with everything else contained under the cap.
This is the answer to hat hair. By choosing which section stays visible you control the outcome, rather than discovering it when you remove the hat for a photo.
Works particularly well with a fringe, which would otherwise be flattened straight into your eyes by the brim.
 Save
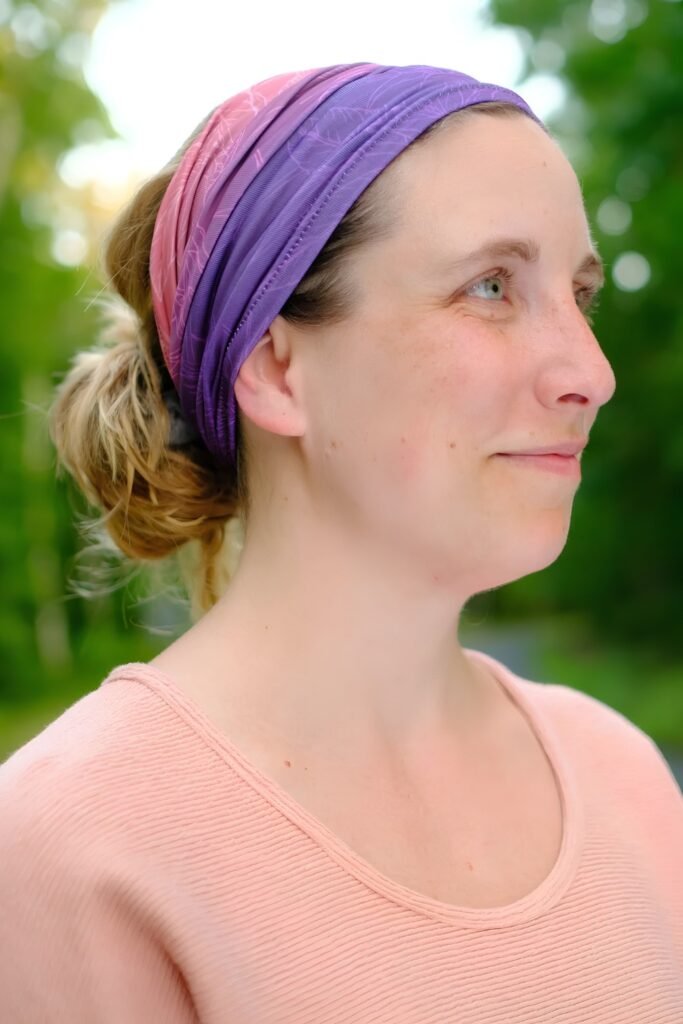
Save11. Buff or Neck Gaiter as a Headband
A tubular neck gaiter pushed up onto the head and worn as a wide headband.
The most versatile item in this article. It works as a headband, a full head covering, sun protection for the neck, and a warm layer, which is a lot of function for very little pack weight.
Wide coverage also means it holds more hair than a narrow band, which matters if your hair is on the longer end of short.
 Save
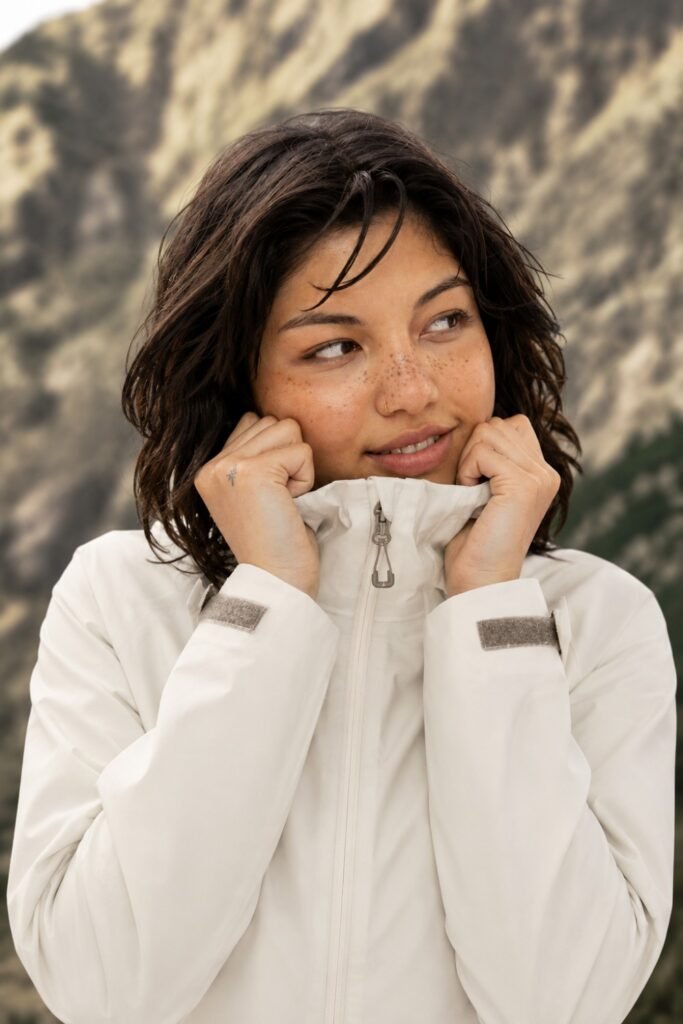
Save12. Beanie Over Damp Hair
For cold weather starts: damp the hair, comb it back, and put the beanie on straight over the top.
Hair dries flat under a beanie and holds that shape once the beanie comes off. This is the cold-weather equivalent of the damp slick-back and it works considerably better, because the beanie is doing the shaping while the hair dries.
Merino sits better against the scalp than acrylic and does not generate static, which short hair is particularly prone to.
 Save
SaveBy Length and Texture
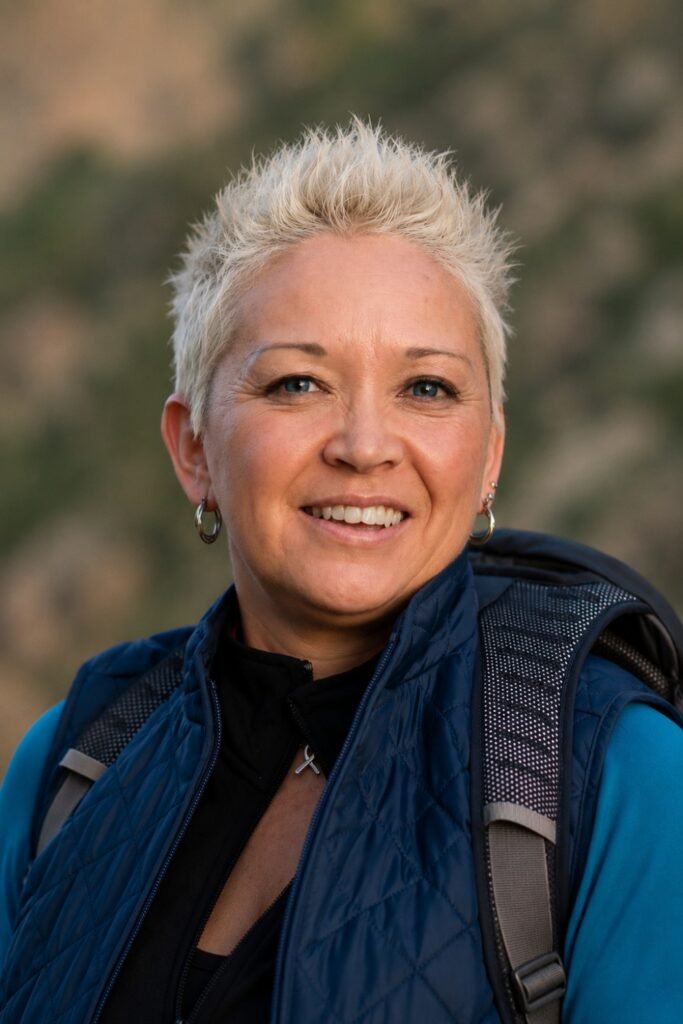
13. Pixie: Texture Paste and Nothing Else
A small amount of matte paste worked through with the fingers before you set off. No clips, no band.
Pixie length genuinely does not need containing. What it needs is enough grip that it holds a direction rather than moving with every gust, and a matte paste provides that without becoming greasy in heat.
Apply less than you think. Product plus sweat plus dust is not a good combination, and a heavy hand shows quickly on a hot day.
 Save
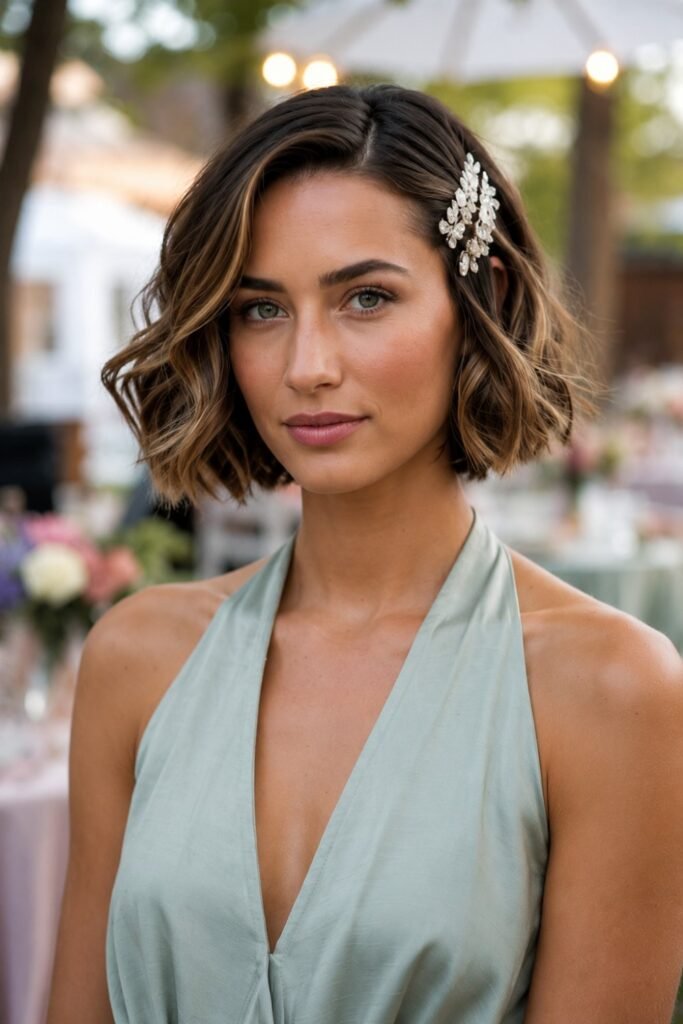
Save14. Bob: Low Two-Section Tuck
Split the hair down the middle, tuck both sides behind the ears, and secure each with a single pin at the back of the ear.
A chin-length bob is long enough to fall forward and too short to tie back, which makes it the most frustrating hiking length. Splitting and pinning at the ear removes the forward fall without needing enough length to gather.
If you are cutting before a hiking trip, the nape length is what to think about. A shorter, graduated nape sits above the sweat line and stays considerably drier than a blunt one, which is worth knowing before your appointment. Our guide to short graduated bob haircuts covers how far to take that graduation.
 Save
Save15. Curly Short Hair: Diffuse and Leave It
Wash, apply cream, air-dry or diffuse before you leave, then do not touch it for the rest of the day.
Short curls are among the easiest hair types to hike with, provided you resist the urge to manage them. Touching curly hair on a humid trail creates frizz and nothing else.
A headband works if you need the front off your face, but choose a wide soft one. Narrow bands crush the curl pattern into a flat line that will not recover until the next wash.
 Save
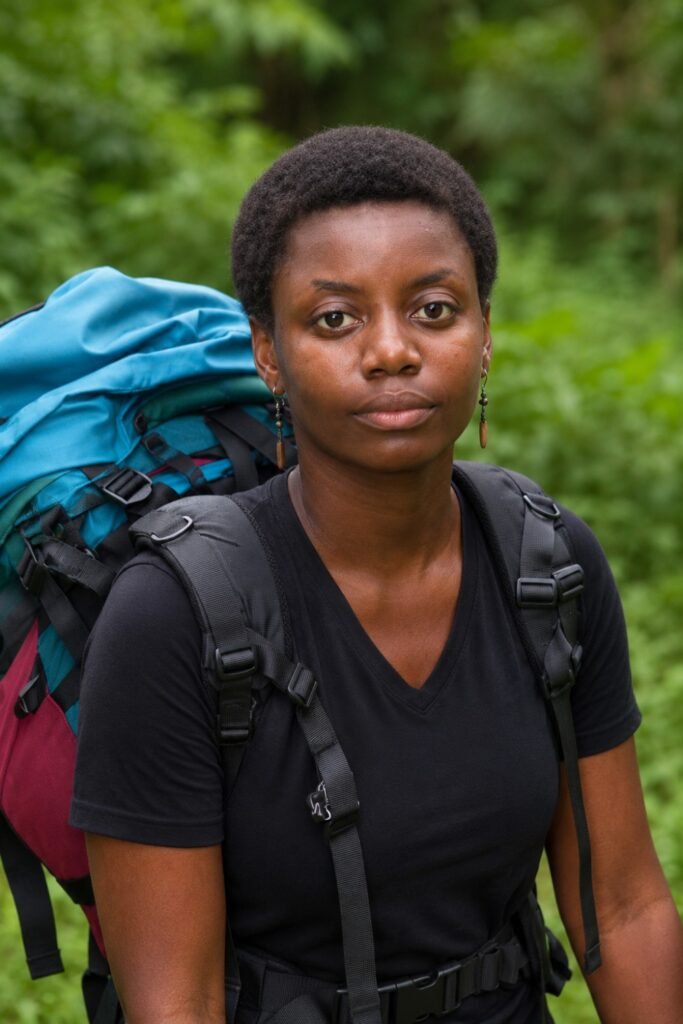
Save16. Braided or Protective Styles for Multi-Day Trips
Cornrows, flat twists, or another protective style installed before a multi-day hike or a longer trip.
For anyone with textured hair, this is by some distance the best option for a trip lasting more than a day or two. The style is done before you leave, requires no daily management, no mirror, and no products carried in your pack, and it holds through sweat, rain, and a hat.
Worth booking a few days before you travel rather than the night before, so any initial tension settles at home rather than on the trail. Our guide to protective styles for Black hair covers the options and the wash and moisturise routine that keeps them comfortable while you are away.
 Save
SaveWhat to Actually Pack
Very little. A small tin of matte paste or nothing at all, a moisture-wicking headband, four or five clips or grips in a zip bag, and a buff.
For anything longer than a day, add dry shampoo in a travel size. Spacing washes out by a day or two is normal on a multi-day trip, and a rinse with water plus dry shampoo handles the gap perfectly well.
The item worth spending on is the headband. A cheap one creeps up your forehead all day and a good one does not, and you will notice the difference within the first hour.
Common Questions
What if my hair is too short to tie back at all?
That is the easiest case, not the hardest. Pixie and very short lengths need direction rather than containment: a matte paste, a deep side sweep, or a damp comb-back before you leave. If wind is a factor, a buff or a bandana covers everything at once.
How do I stop hat hair on a short cut?
Decide in advance which section stays out of the hat. Front sections left deliberately loose and styled forward will look intentional when you remove the cap, whereas hair that has been fully compressed and then released will not. Damp hair under a beanie dries flat and holds that shape, which works in your favour in cold weather.
Does short hair need sun protection on the scalp?
Yes, and more than long hair does. Short cuts expose more parting and more scalp to overhead sun, and the parting is one of the most commonly missed sunscreen areas. Apply sunscreen along the parting before you set off, wear a brimmed hat, or cover with a bandana or buff.
What is the hardest length to hike with?
The growing-out stage, roughly chin length. It falls forward, it is too short to gather, and it sits right on the sweat line at the nape. Snap clips at the sides and a headband are the most reliable combination at this length.
How often should I wash my hair on a multi-day hike?
Every one to two days is a reasonable expectation, and less is fine. Rinsing with water and using dry shampoo covers the gap. Short hair has an advantage here, since there is less of it to get greasy and it dries in minutes rather than hours.
Final Thoughts
Short hair is not harder to hike with. It just needs different solutions than the ones every guide keeps recommending, because those guides were written for a ponytail.
Work out which of the four problems actually affects you, pick two options for it, and test them on a short local walk before you commit to a full day. And put sunscreen on your parting, which is the one thing on this list that matters beyond comfort.