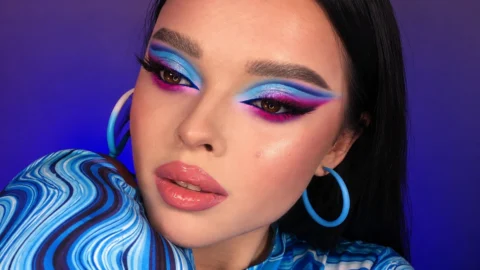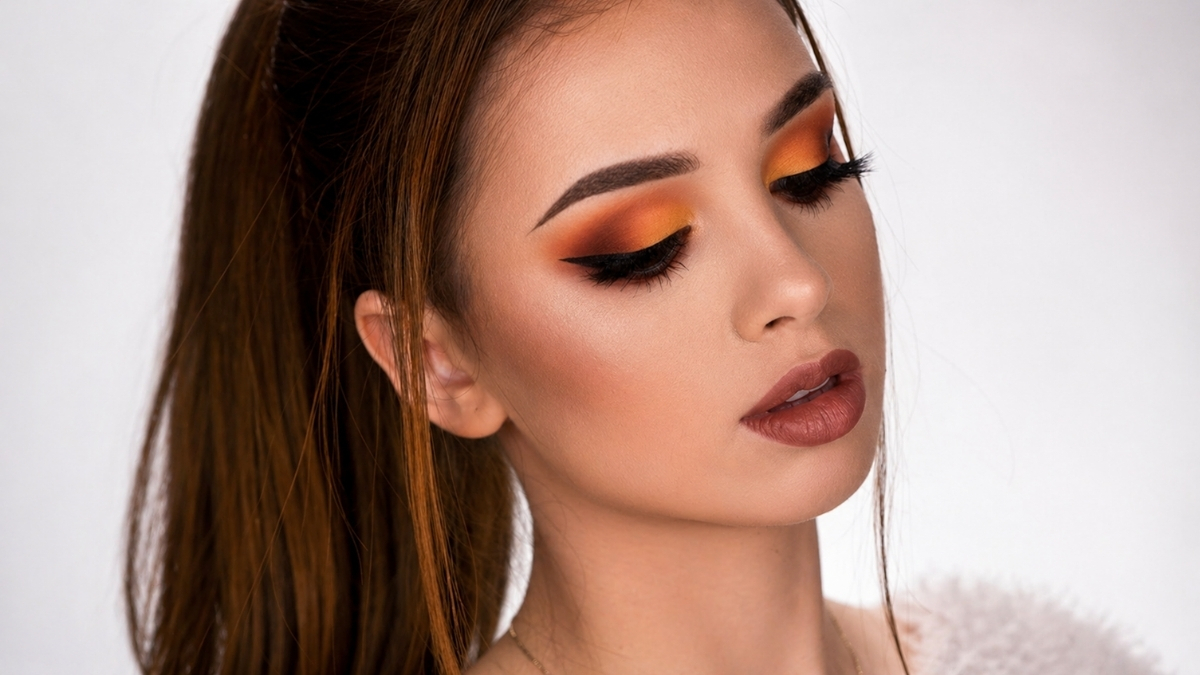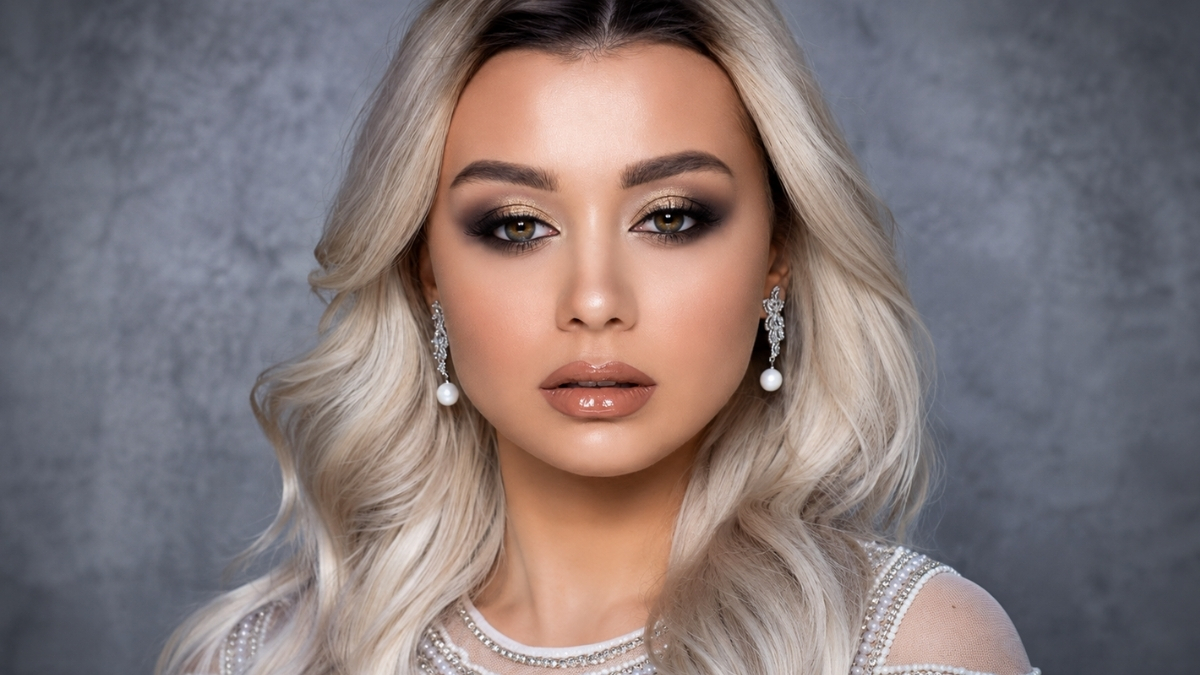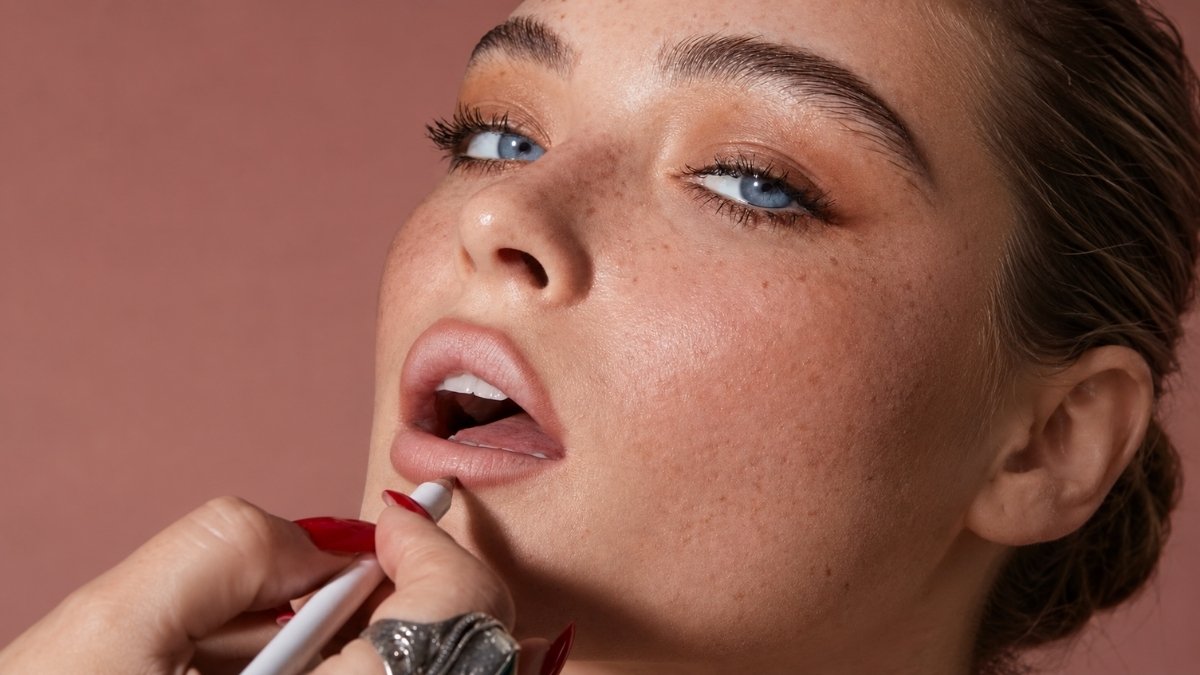
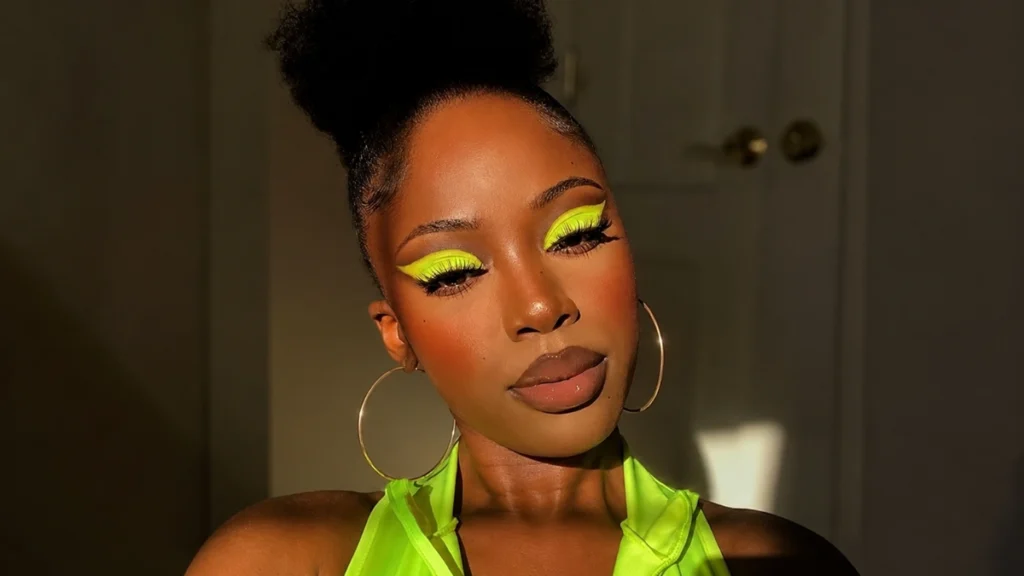
Neon makeup is one of the boldest beauty moves of 2026. The clean-girl look hasn’t gone anywhere, but bright, playful colour now sits right beside it.
Copenhagen Fashion Week makeup artist Sidsel Marie Bøg told Vogue Scandinavia that statement eyes are back, with floating liner, geometric shapes, and unexpected colour placement. Makeup artist Hallberg is more direct: makeup makeup is back. Fun colour combinations, different textures, and bold eyeliners.
This guide covers every step, from skin prep to the application tricks that keep bright pigment looking polished rather than harsh.
The Golden Rule of Neon Makeup
Bold makeup in 2026 is about intention and balance, not more product. Not doing more everywhere. Choosing one feature as the statement and letting everything else support it.
A neon eye with bare skin and a clear gloss reads as confident and editorial. A neon eye with full coverage foundation, contour, heavy blush, and a bold lip reads as competing statements. The neon is always the centrepiece. Every other decision in the look builds toward it or gets out of its way.
Makeup artist Holm told Vogue Scandinavia that the modern approach is diffused edges. Blurred rather than heavy. That principle applies directly to neon looks where the boldness of the colour does the intensity work and the edges stay soft rather than hard-lined.
Step 1: Skin Prep for Neon Makeup
Start with Hydrated, Not Heavy Skin
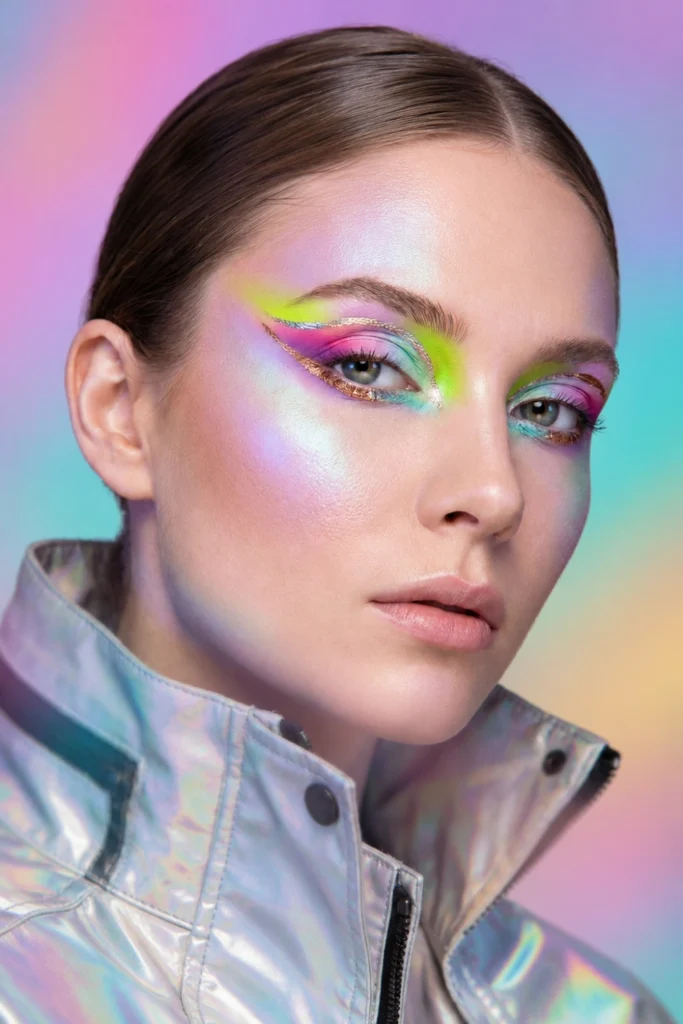
Neon eyeshadow and bright liner land best on a skin base that is light and dewy rather than full coverage and matte. A skin tint, a tinted moisturiser, or a serum foundation applied with fingers gives the face the even tone that neon colour needs without the cakey surface that a full coverage base creates under vivid pigment.
Skin bases in 2026 are lighter and more flexible, allowing natural texture to show through while still evening out the complexion. Heavy matte foundations sit under bright eyeshadow and create a contrast between the vivid lid and the flat face that reads as costume rather than intentional.
Want a warmer base? Our face tanning drops guide covers products that add a healthy glow.
 Save
Prime the Eyelid Before Any Neon Shadow
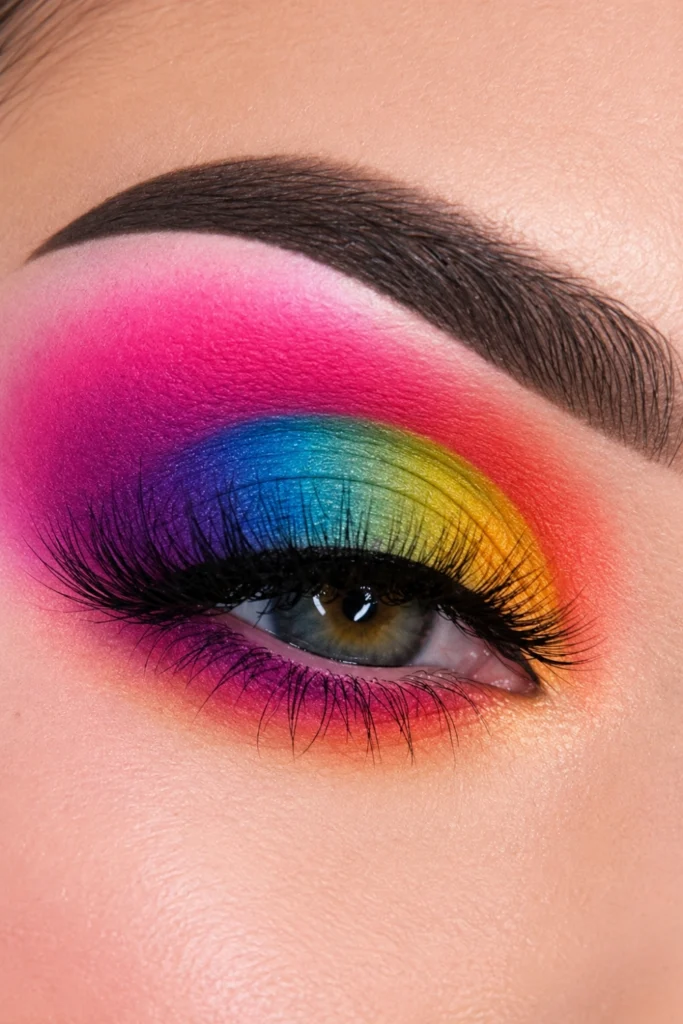
An eyeshadow primer applied across the full lid and blended to the brow bone is the non-negotiable first step before any neon shadow. Primer helps electric shades pop and stops them looking muddy.
Without primer, neon eyeshadow can fade and look chalky quickly because the natural oil of the lid migrates into the pigment particles and shifts the vivid tone toward a muted, flat version of itself. A primer seals the lid surface and creates a dry, even base that the neon pigment bonds to cleanly.
Apply the primer with a fingertip and press rather than sweep. Sweeping the primer lifts the skin at the lid and creates uneven patches. Pressing flat distributes the product evenly without disturbing the lid surface.
 Save
White Base Under Neon Colour
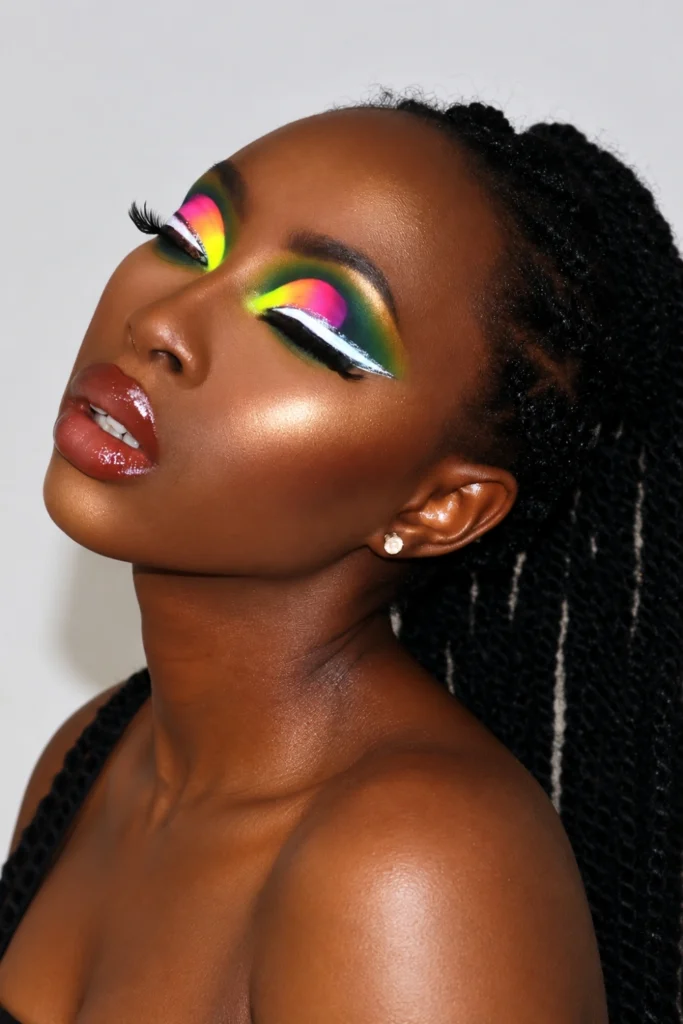
Press a white matte eyeshadow or a white eyeliner pencil across the primed lid before any neon colour. IPSY recommends laying down a white base first for the most vivid payoff.
The white base works because neon pigments are translucent rather than fully opaque. Without a white base underneath, the skin tone shows through the neon and desaturates the colour. Against a white base, the neon sits at its full, uncompromised saturation. The difference between neon shadow applied directly to a primed lid and neon applied over a white base is the difference between muted and electric.
 Save
Step 2: Neon Eye Looks
The Neon Lid Wash
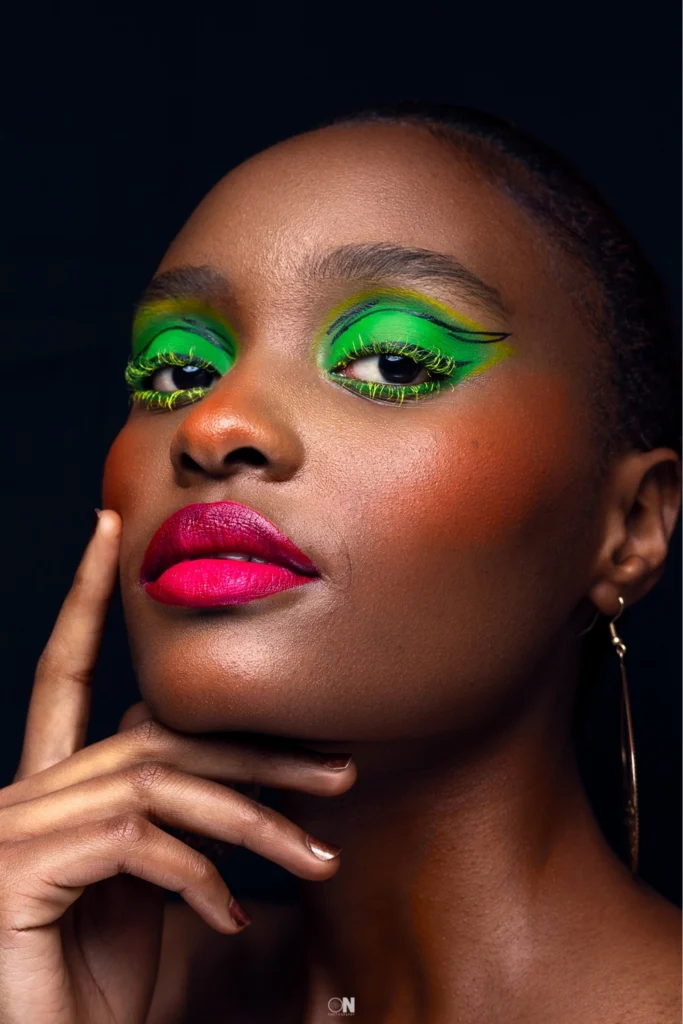
A single neon shade swept across the full lid from lash line to crease, no blending into a transition shade, no liner. Just the colour across the lid in a single clean application. It’s the simplest neon eye look to try.
Press the neon shadow onto the white base with a flat shader brush using a press-and-roll motion rather than a sweep. Sweeping moves the white base underneath and creates streaks in the neon layer. Pressing rolls the pigment into the base and produces an even, saturated coat. Build in two to three pressed layers for maximum opacity.
Finish with a mascara on the upper lashes only. No lower liner, no contour shadow, no blending into a transition shade at the crease. The colour does the work. Everything else steps back.
 Save
Neon Inner Corner Accent
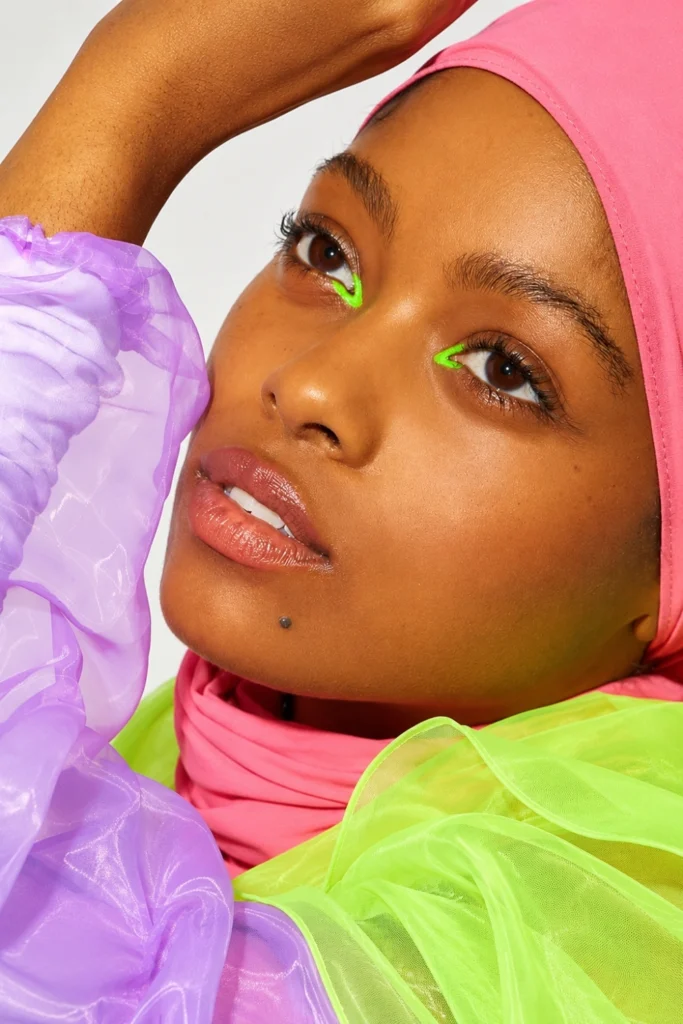
A single hit of neon colour pressed only at the inner corner of the eye, covering the tear duct and the inner third of the upper lid. The rest of the eye in a neutral shadow or bare. The most wearable entry-point neon eye look in 2026.
Makeup artist Holm told Vogue Scandinavia that playing with bold liner or colour at the inner corner of the eye adds another level of interest to the look. Sidsel Marie Bøg names a turquoise inner corner as her example of a playful pop that works. The inner corner accent is the first neon look to try because the placement is small, the colour is concentrated, and the impact in photographs is disproportionate to the amount of product used.
Use a flat, small eyeshadow brush or a fingertip to press the neon pigment into the inner corner. The skin at the tear duct is warm and oily, which means a primer at this point specifically is essential before any neon shadow.
 Save
Electric Purple and Neon Pink Combination
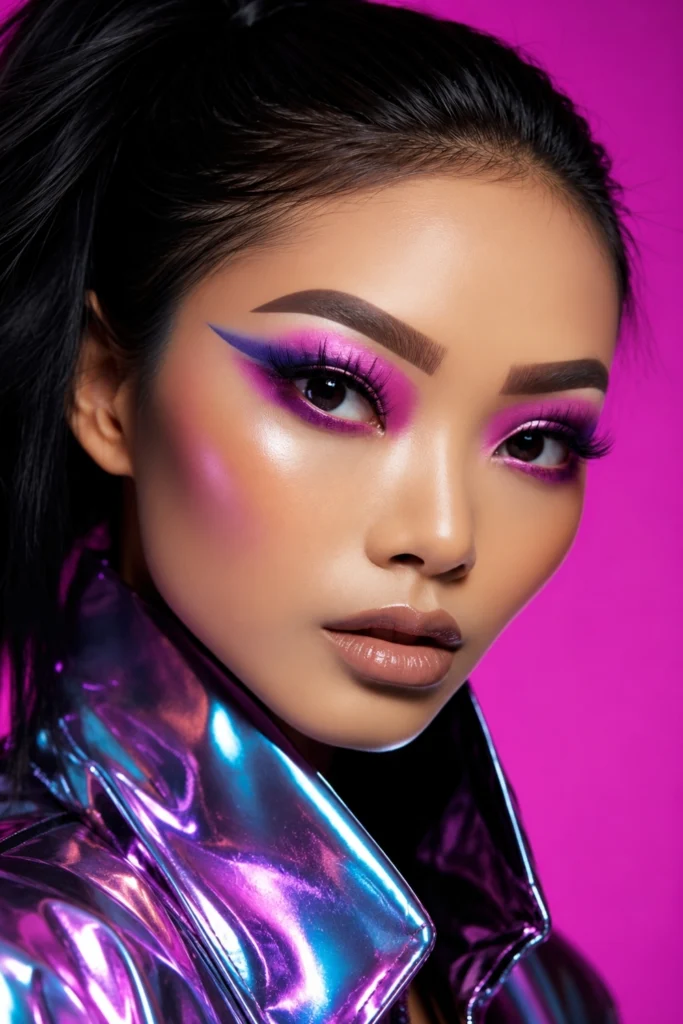
Electric purple blended across the outer lid and crease, neon pink pressed onto the inner half of the lid and inner corner. The two colours meet at the centre of the lid without a harsh blend line, the transition produced by pressing rather than sweeping.
This pairing works brilliantly for festivals and nights out. Keep both shades within the same cool-toned family for the most cohesive result. A warm neon orange beside an electric purple creates a muddy centre where the two meet.
 Save
Neon Eyeliner on the Upper Lash Line
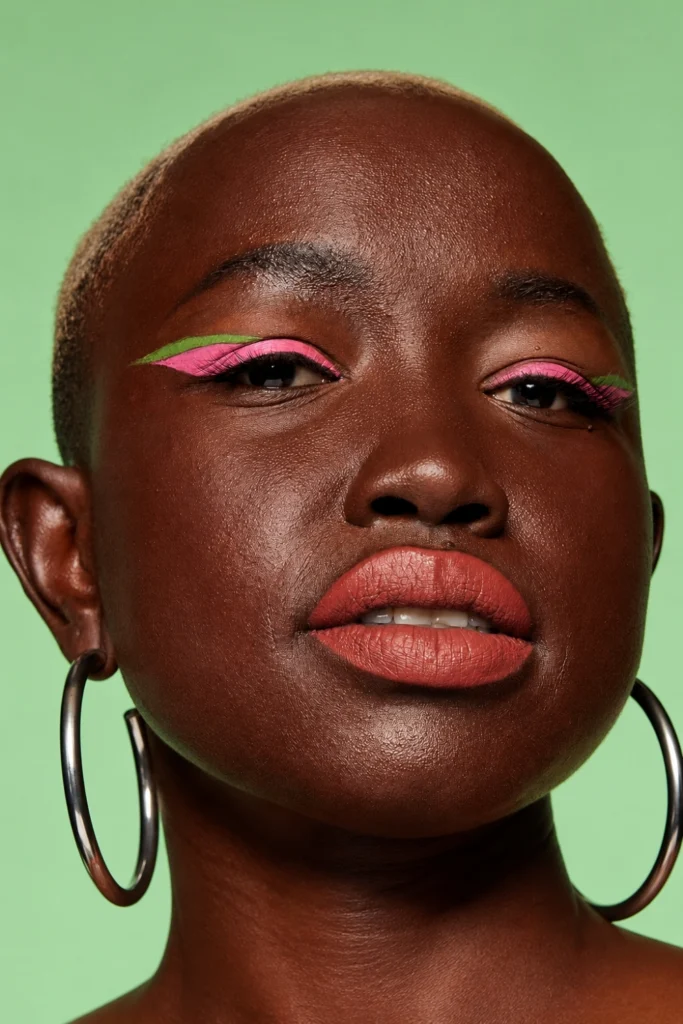
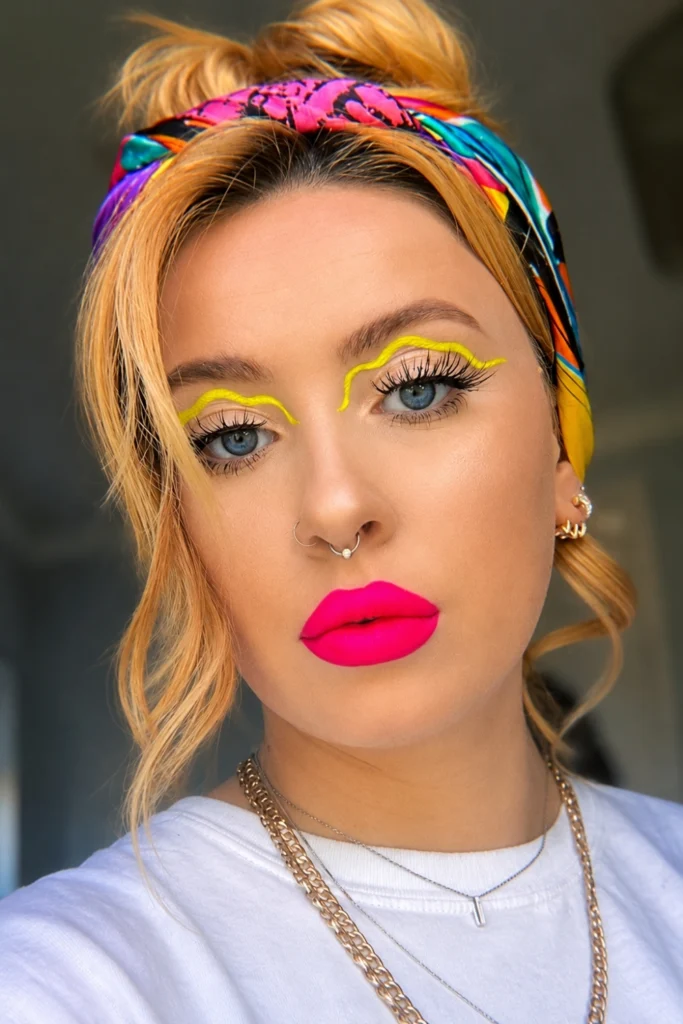
A neutral or bare lid with a bright neon liner drawn along the upper lash line only, the liner in a single vivid colour, green, orange, blue, or yellow, and the rest of the face completely bare. It’s one of the easiest ways to wear neon.
Apply a neutral matte shadow across the lid as a base before the neon liner to prevent the liner from skipping or bleeding on bare skin. Trace the neon along the upper lash line using a felt-tip liner for the most precise application. Keep the line thin at the inner corner and thicken slightly toward the outer corner for a natural lash-line follow.
 Save
Floating Neon Liner
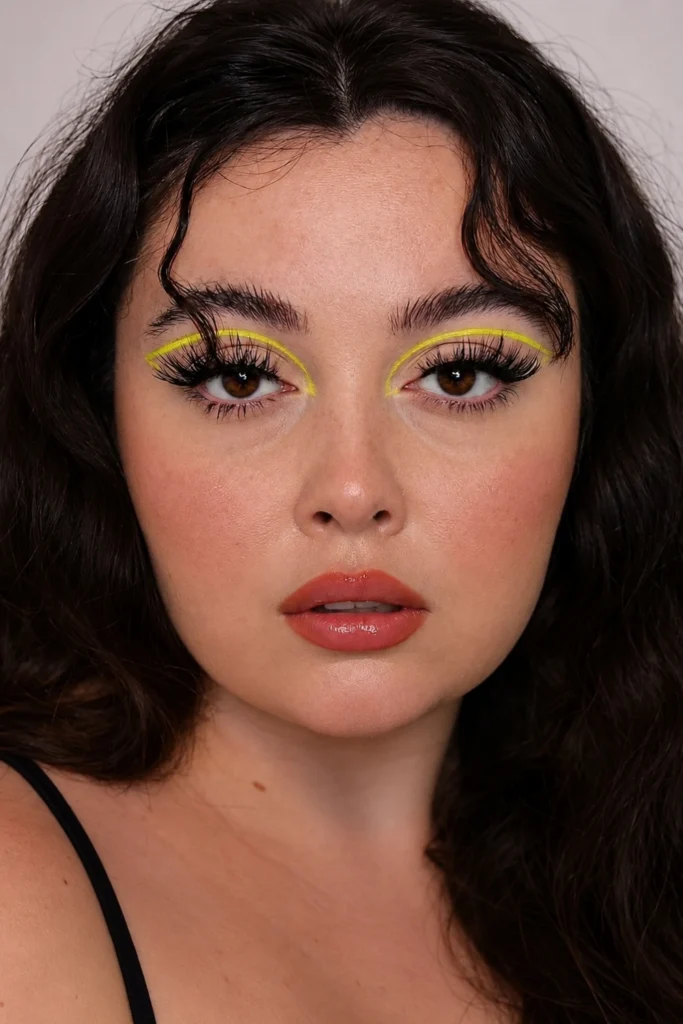
A neon liner drawn in a graphic shape above the crease rather than at the lash line, floating free from the lash line on a bare or neutral lid. Sidsel Marie Bøg names floating liner specifically as one of the statement eye approaches that is back in 2026 with freedom and imperfection as its defining quality.
Draw the floating line above the crease using a felt-tip or gel liner in a neon shade. The line does not need to follow the shape of the eye. A straight horizontal line, a curved arc, or an angled geometric shape all produce different visual results. A Q-tip loaded with micellar water cleans any edge that lands outside the intended line without disturbing the surrounding makeup.
For more bold liner ideas, see our festive eyeliner looks.
 Save
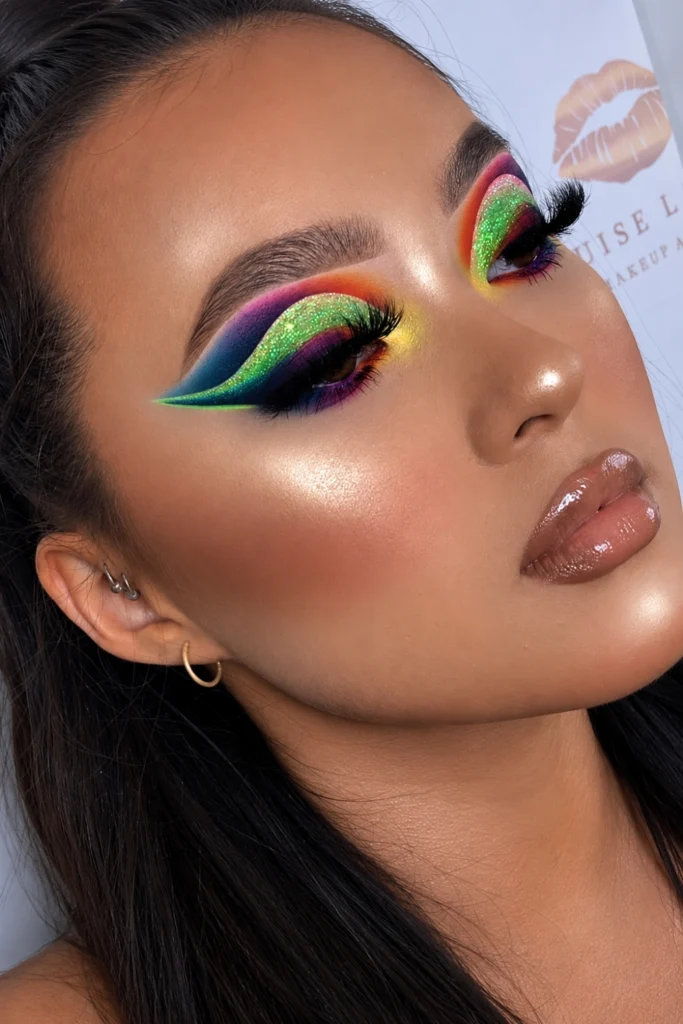
Graphic Neon Cut Crease
A neutral transition shade in the crease, a neon shadow pressed precisely onto the mobile lid below the crease line with a clean edge between the two shades, and a white or nude highlight on the brow bone. The most technically demanding neon eye look on this list.
Apply the neutral transition shade in the crease first and blend fully before touching the lid. Then press the neon onto the mobile lid with a flat brush, using the transition shade as the upper boundary. The clean edge forms at the point where the two textures meet rather than requiring a precise brush placement.
 Save
Step 3: The Face with Neon Eyes
Keep Skin Simple and Dewy
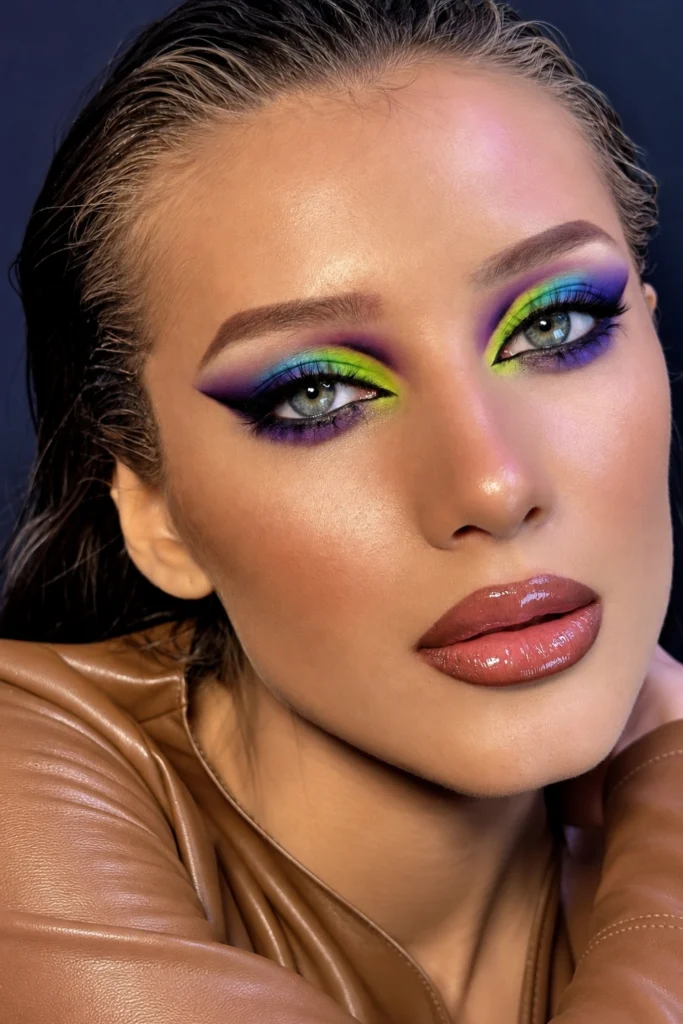
A skin tint, a light concealer under the eyes only, and a cream blush in a warm or peachy tone applied high on the cheekbones. No powder over the face. No contour. The skin stays dewy and light so the neon eye is the only structured element in the look.
Diffused blush applied high on the cheekbones adds the warmth and colour that the face needs when the eye is doing all the work. Blush is replacing contour as the main way to add shape and warmth. A cream blush in a warm rose or peach pressed with the fingers and blended upward toward the temple is the approach that reads most natural and dewy.
For a fresh, hydrated base, see our beauty tips.
 Save
Brow Grooming for Bold Eye Looks
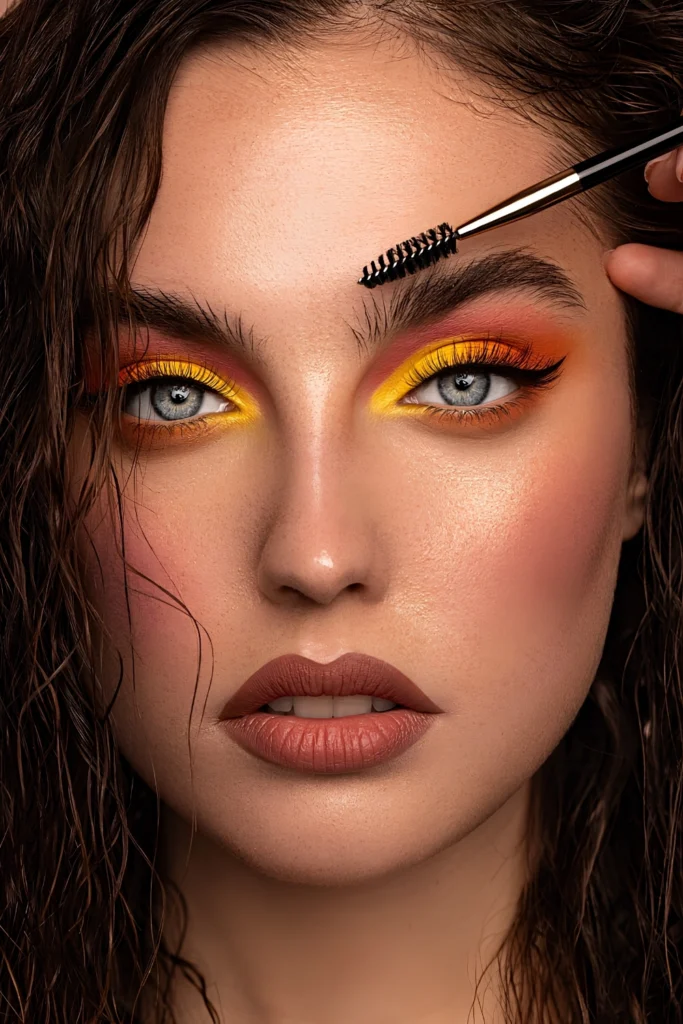
Clean, groomed brows set with a clear or tinted brow gel, the hairs brushed upward and outward rather than down and into the brow shape. A fluffy, upward-brushed brow alongside a neon eye reads as fashion-aware rather than competing with the colour below.
The 2026 brow trend leans toward lightly brushed, up-styled, fluffy brows that frame rather than dominate. A heavily filled or sharply shaped brow beside a neon eye creates two competing graphic elements on the upper face. A brushed-up, natural brow disappears into the frame and lets the neon colour be the single visual focus.
 Save
Step 4: Lips with Neon Makeup
Clear or Nude Gloss for Neon Eyes
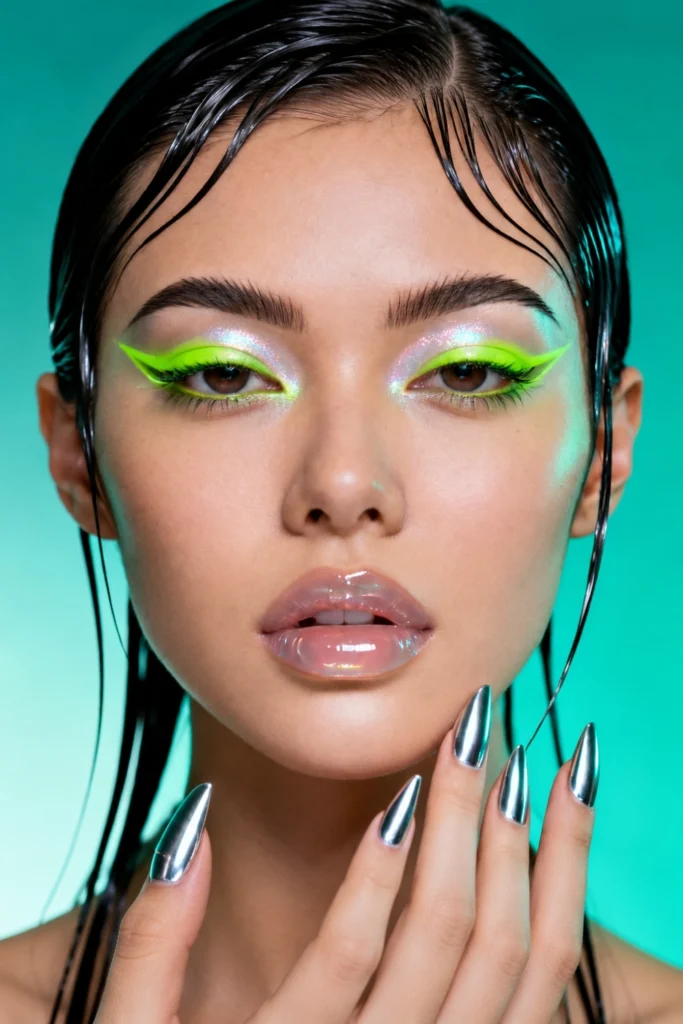
A clear high-gloss lip balm or a sheer nude gloss applied to bare lips when the eye is the statement. The gloss adds the moisture and slight luminosity that bare lips lack in photographs without adding any colour competition to the neon eye above.
Think glossy finish rather than deep colour. A clear gloss on well-hydrated lips reads as intentional and modern. A matte nude lip beside a neon eye reads as a makeup look where someone ran out of time. The gloss is the finishing decision, not an afterthought.
 Save
Neon Lip with Minimal Eye
A single vivid neon shade on the lips, the colour fully opaque and applied with a lip liner first before the neon lipstick or gloss, with completely bare or near-bare eye makeup. The neon lip as the single statement.
A neon lip applied with a matching lip liner underneath gives the vivid colour a defined edge that the formula itself cannot hold all day. Fill the full lip with liner first, then apply the neon shade over the top. Blot once and reapply for colour that lasts significantly longer than a single gloss application.
 Save
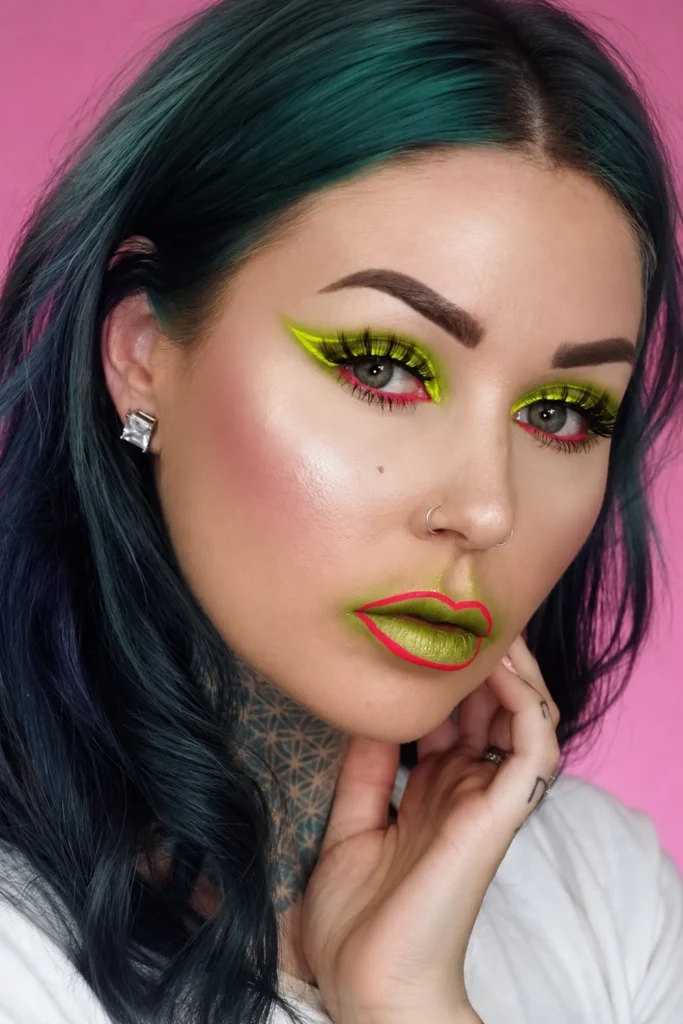
Monochrome Neon: Eye and Lip in the Same Colour
The same neon shade used on both the eye and the lip simultaneously, the colour monochrome across both features in the same family, with completely bare skin between them. Makeup artist Holm is a fan of monochrome makeup, pairing rosy with rosy.
A monochrome neon look requires both the eye shadow and the lip product to be genuinely the same shade family. A warm neon coral eye beside a cool neon pink lip reads as clashing rather than monochrome. Press a small amount of the same cream or powder neon shadow at the centre of the lip and add a clear gloss over the top if the formula is not lip-safe. Many cream eyeshadows transfer directly to the lip.
 Save
Step 5: Setting and Longevity
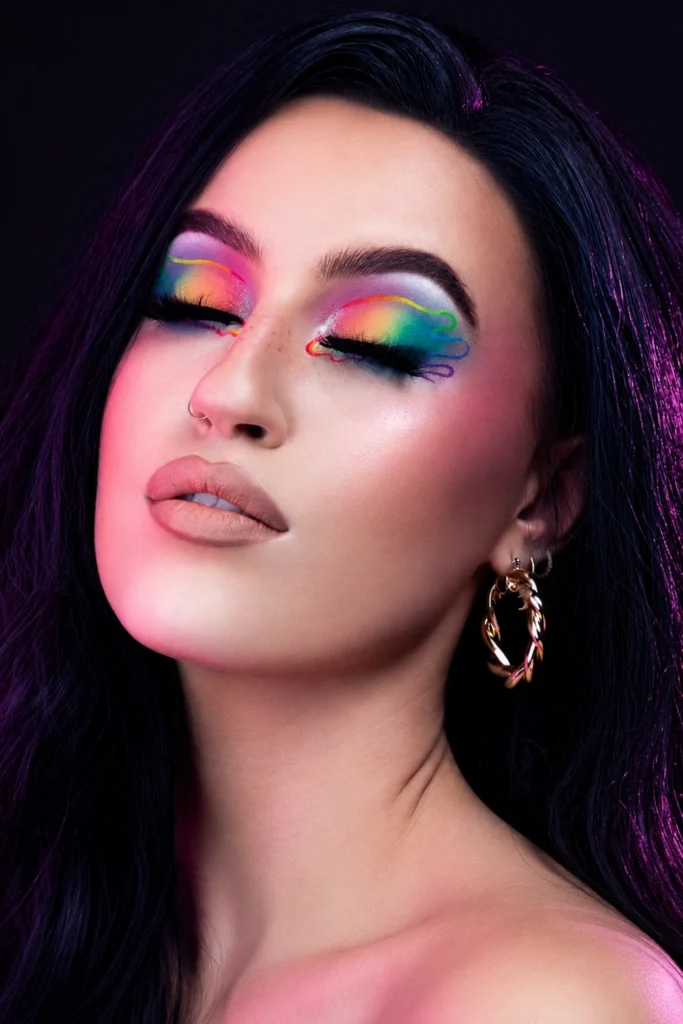
No Powder Over Neon Eyeshadow
Set the rest of the face with a light translucent powder at the T-zone only, never over the neon shadow itself. Powder over a neon shadow shifts the vivid tone toward the surface and dulls the saturation by catching the loose translucent particles in the coloured pigment.
A light dusting of translucent powder helps with staying power, but apply it only at the under-eye area to catch any fallout from the shadow, never over the lid itself where the neon colour sits.
 Save
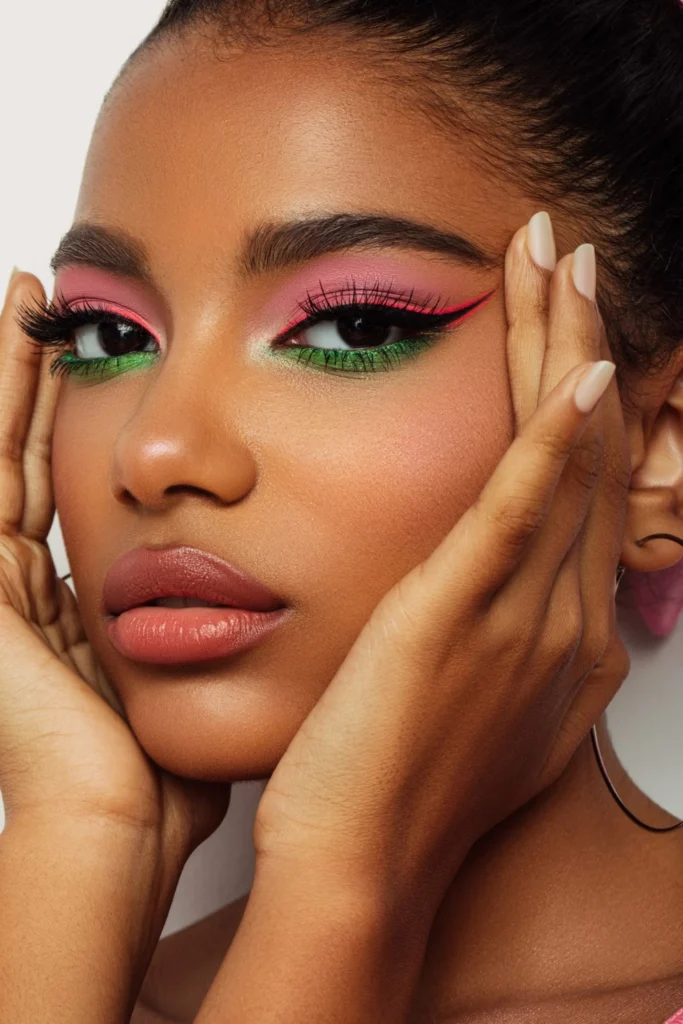
Waterproof Liner for Neon Edge Work
Use a waterproof neon liner rather than a standard formula for any floating, graphic, or lash-line neon liner work. A non-waterproof liner can smudge as the day goes on, which turns a precise graphic line into a smudged streak.
Sharp lines need sharp tools: felt-tip liners work for most graphic work and gel pots with an angled brush give more control for thick lines or filling in shapes. A waterproof felt-tip in the neon shade of your choice is the liner format that holds through a full day or evening without migration.
 Save
Neon Makeup by Skin Tone
Fair skin looks striking with neon green, electric blue and bright pink. Neon orange and coral also photograph brightly against fair skin but can read as very warm if the skin undertone is already pink.
Medium and olive skin tones suit neon pink, neon orange, electric blue, and bright coral. The warm skin tone amplifies warm neons and provides the contrast base that cool neons like electric blue need to read clearly. Neon yellow on olive skin can read as slightly sallow if the undertone of the skin is already golden.
Deep and dark skin tones carry the most vivid neon results of any skin depth. Neon orange on deep skin photographs as a flame. Electric blue on deep skin photographs as a jewel. The contrast between a saturated neon pigment and a rich dark skin tone is the most photographically striking combination available. Apply the same white base under the neon on all skin tones. The white base benefits all skin depths equally.
Frequently Asked Questions
How do you make neon eyeshadow look good?
Apply an eyeshadow primer across the full lid and press flat before any colour. Apply a white matte shadow or liner over the primer as a base. Press the neon shadow with a flat shader brush using a press-and-roll motion rather than a sweep. Keep everything else in the look simple: a dewy skin base, a clear gloss lip, and fluffy natural brows. Bold makeup in 2026 is about fun colour combinations, not more product everywhere.
Is neon makeup in style for 2026?
Yes. Bold, colourful makeup is back in 2026 after years of minimal clean-girl looks. Copenhagen Fashion Week makeup artist Sidsel Marie Bøg told Vogue Scandinavia that statement eyes with unexpected colour placement are back, and makeup artist Hallberg sums up the shift as “makeup makeup is back.”
What is the best neon makeup look for beginners?
The neon inner corner accent is the most accessible entry point. Press a single hit of a neon colour at the inner corner of the eye with a fingertip on a primed lid over a white base. It takes under two minutes, requires no brush skill, and produces a result that photographs as fashion-aware and deliberate. The neon liner along the upper lash line using a felt-tip applicator is the second most accessible option. Felt-tip liners are the easiest liner format for beginners.
How do you make neon makeup last all day?
Prime the lid before any neon colour and apply a white matte base over the primer. Use a waterproof neon liner for any graphic or lash-line work. Do not apply translucent powder over the neon shadow itself. Apply powder only at the under-eye area to catch fallout.
Can you wear neon makeup during the day?
Yes. The neon inner corner accent, a single neon liner at the lash line, and a neon lip with bare skin all work for daytime because the colour is concentrated in one small area rather than covering the full face. A small, well-placed neon detail on a light dewy base reads as confident and editorial in daylight. Save the full neon lid wash or the graphic floating liner for evening and festival contexts where the vivid pigment has the artificial lighting it photographs best under.
Final Thoughts
Mastering the bold neon makeup look in 2026 starts with two steps that most tutorials skip. Prime the lid. Apply the white base. Without those two steps, neon shadows can look chalky and faded within hours. With them, the colour stays electric for hours and photographs at its full saturation under any light.
Start with the inner corner accent if neon is new territory. Add the full lid wash when you are ready for the bigger statement. The floating liner is the most photographically rewarding approach once your liner control is confident. All of it starts with the white base.