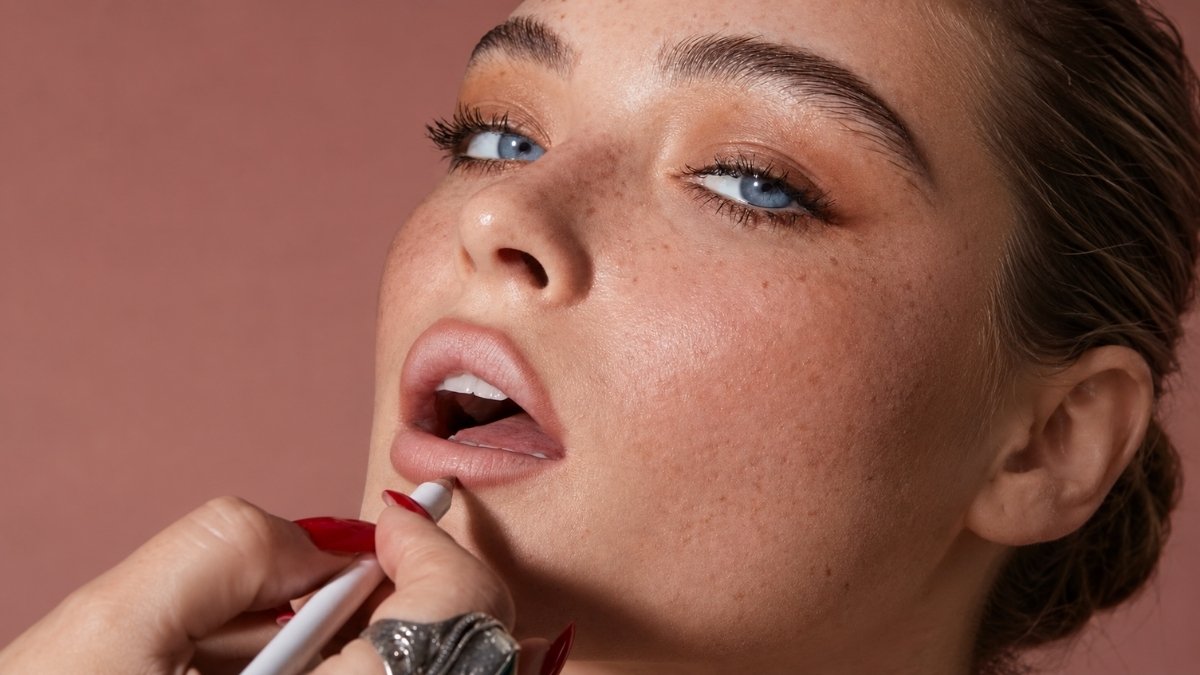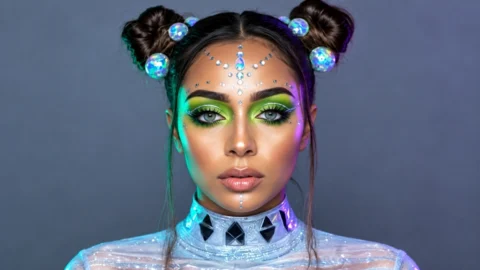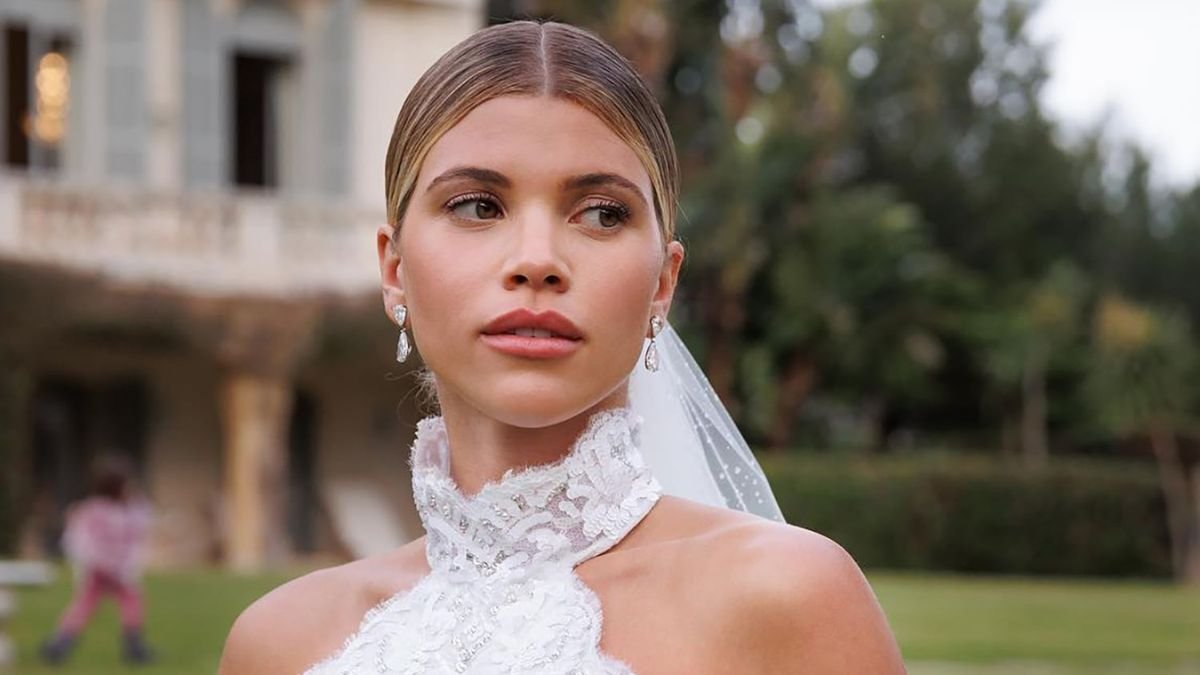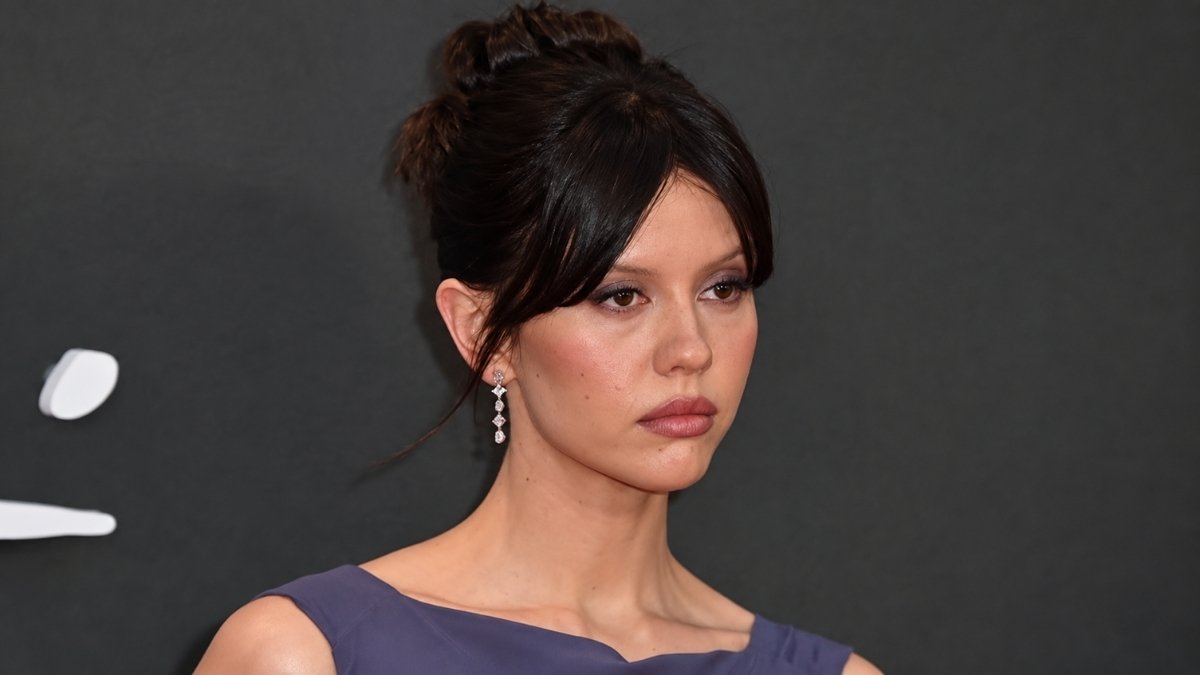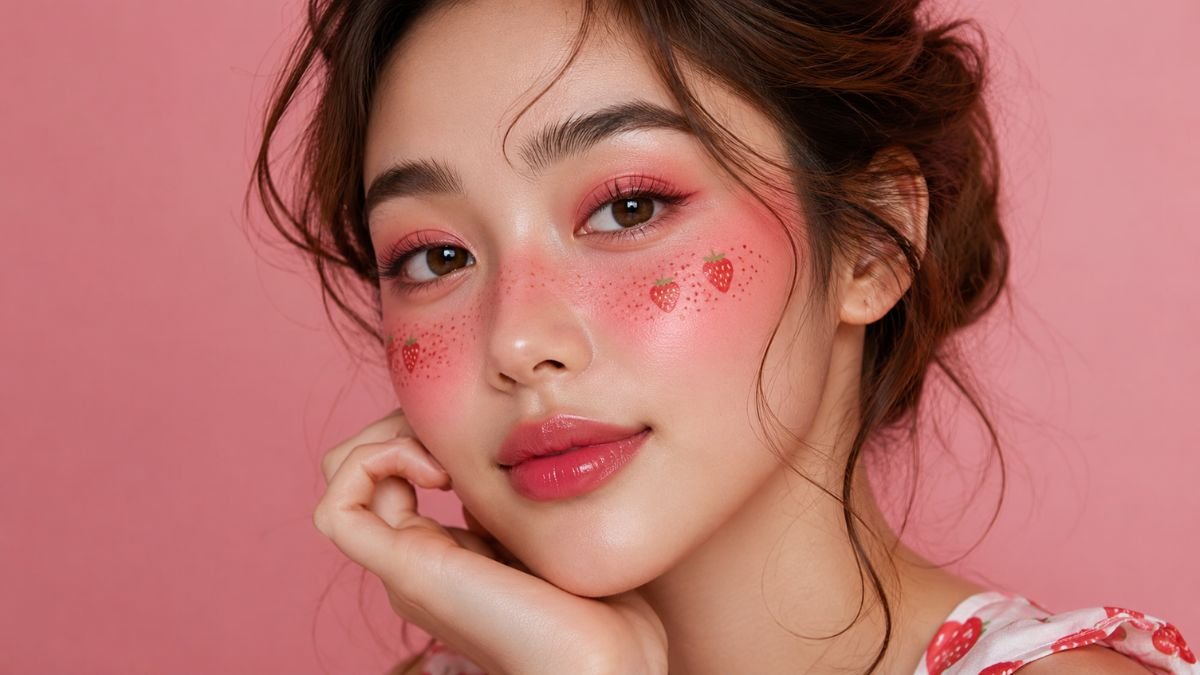
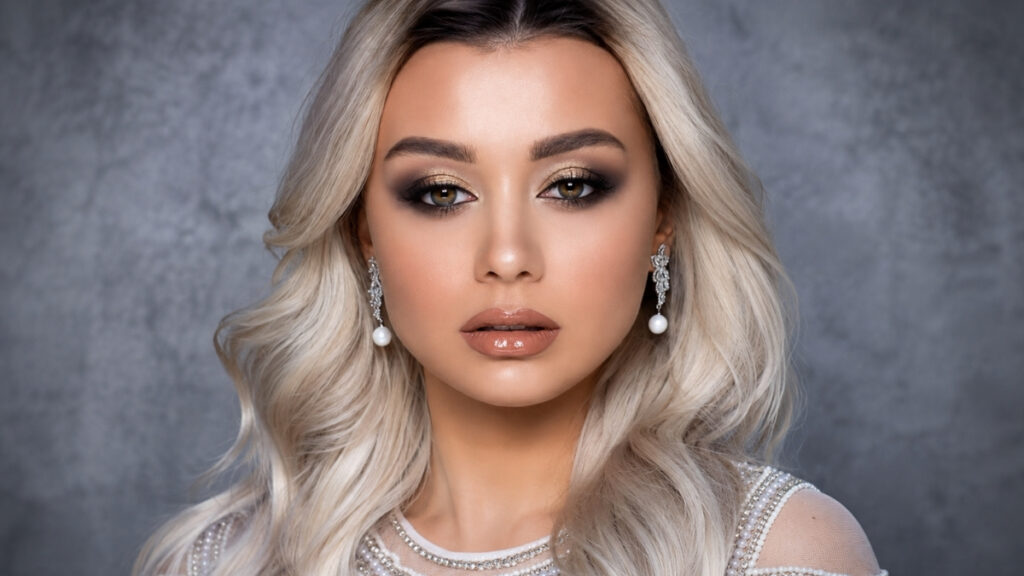
There is a contradiction built into this look that no product solves.
Shine comes from product that has not been set. Balms, glosses, creams, luminous foundations, dewy sprays: none of them are locked down, which is precisely why they catch light. And anything not locked down moves. It slides, it transfers, it settles into lines. The glossier you go, the less it lasts.
The second problem is photographic. Dewy makeup looks extraordinary under soft light and ring lights, and it can look greasy under flash. Which is unfortunate, because flash is what is present at weddings, parties, and every other occasion people actually wear this finish to.
Both problems have the same answer, and it is not a product. Glossy does not mean glossy everywhere. It means gloss in specific places, held in position by matte everywhere else.
Where the Gloss Actually Goes
The high points, and nowhere else. Cheekbones, brow bone, inner corners, cupid’s bow. That is the standard placement and it exists because those are the points that naturally catch light on a face.
The T-zone gets the opposite treatment. A mattifying primer there, a light dusting of powder, and the shine stays where you put it rather than spreading into the areas that shine on their own.
Build gradually and step back. Too much highlighter reads as sweaty rather than luminous, and the difference between the two is quantity more than product.
One useful substitution: a luminous foundation rather than a skin oil or a tint. Oils and tints are harder to control, and control is the entire game here.
Glossy Skin
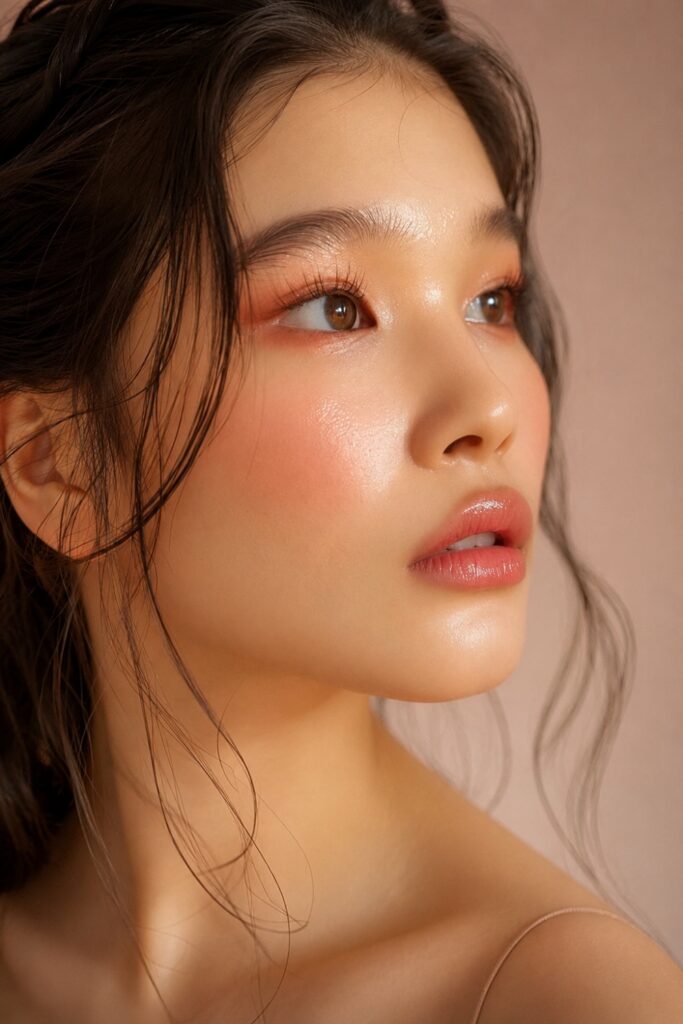
1. Glass Skin
The most reflective version: a hydrating base, minimal powder, and light bouncing evenly off the whole face.
The technique that separates it from simply looking oily is a light powder around the nose and upper lip only. That small amount of matte prevents sliding without eliminating the glow, and it is the difference between glowy and sweaty.
Best for daytime and soft-lit settings. It is the highest-risk look under flash.
 Save
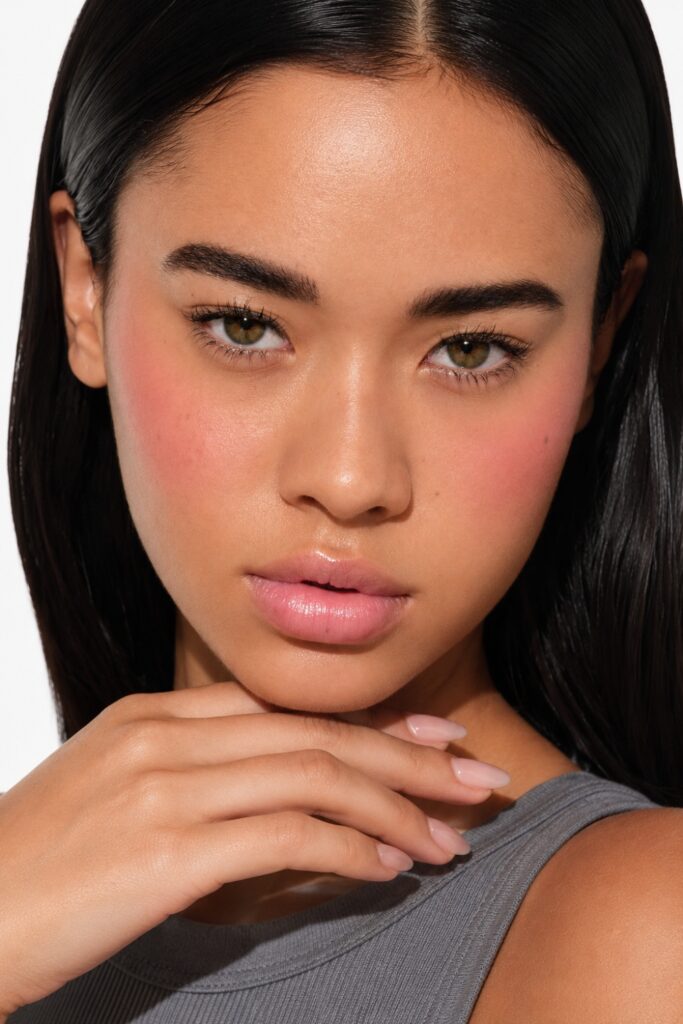
2. Dewy Base With a Matte T-Zone
The balanced version, and the one most people should actually be wearing.
Mattifying primer on the T-zone, hydrating products everywhere else. It gives you the finish without the midday slide, and it works on skin types that cannot carry all-over glow.
The single most useful entry here for anyone whose dewy makeup has failed by lunchtime.
 Save
3. Glazed Skin
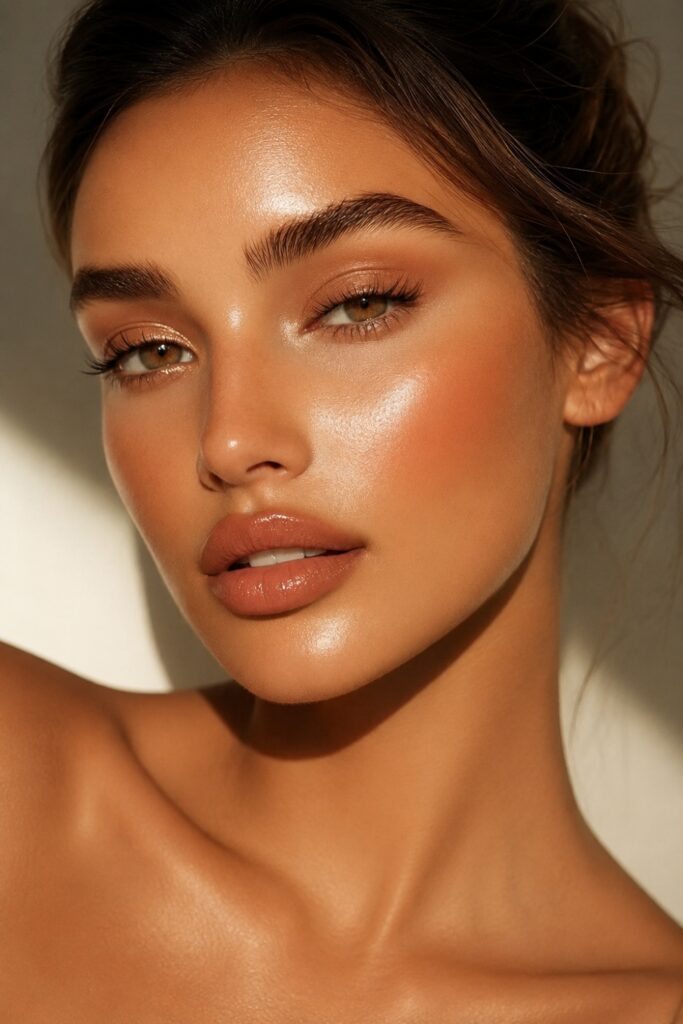
Dewy with an added warm, sun-kissed element, usually from a warm-toned highlighter or bronzer.
Worth distinguishing because it gets used interchangeably with dewy and is not the same thing. Glazed has warmth in it; plain dewy is neutral.
Warmer skin tones tend to find this more flattering than a cool-toned glow, which can read grey against warm undertones.
 Save
4. Glossy Skin for Oily Skin
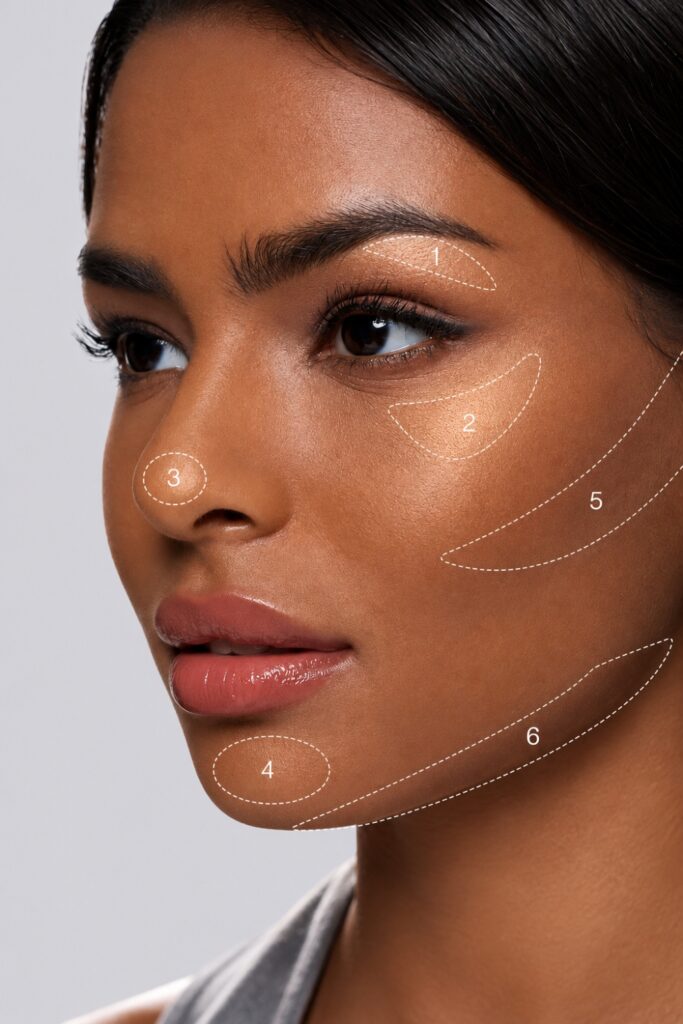
Glow concentrated on the outer face, meaning cheekbones, temples and jawline, with the forehead and nose bridge left alone.
This is the entry that matters most, because oily skin gets told this finish is off-limits and it is not. The rule is simply to place glow where your skin does not already shine, rather than adding to areas that will produce their own shine by noon.
Powder blush over cream blush too. Creams slide on oily skin where powders hold.
 Save
5. Glow on Dry Skin
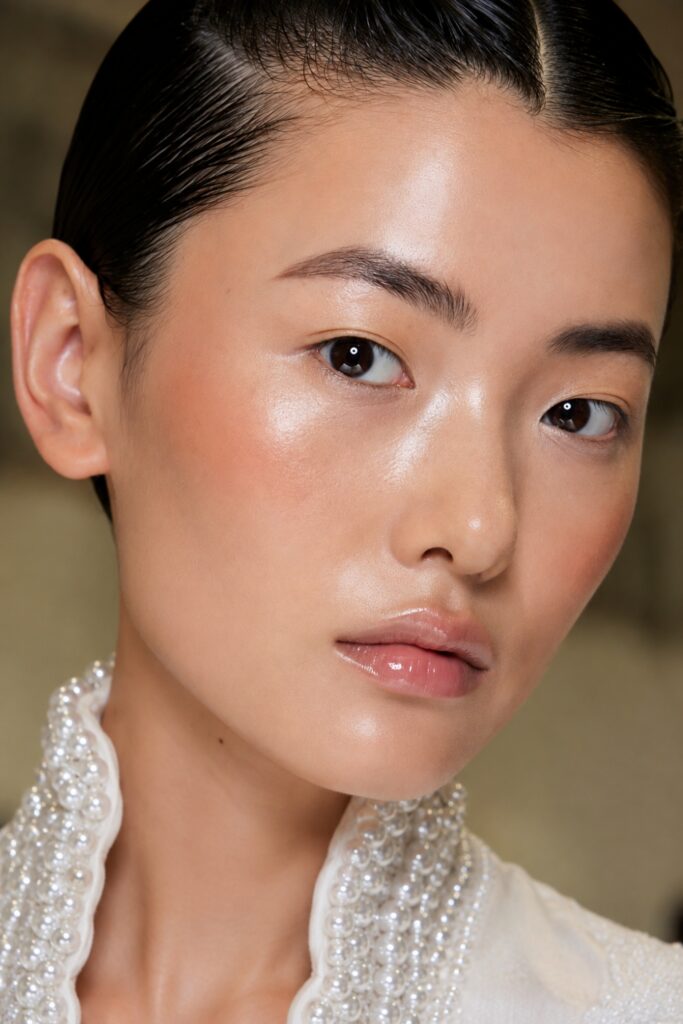
The one skin type that can take glow all over, with no strategic matte zones required.
Dry skin does not produce competing shine, which means the placement rules relax considerably. Hydration in the base does most of the work before any highlighter appears.
Skin prep is disproportionately important here. Product over dry, unprepped skin catches on texture rather than gliding over it.
 Save
Glossy Eyes
6. Glossy Lids Over Neutral Shadow
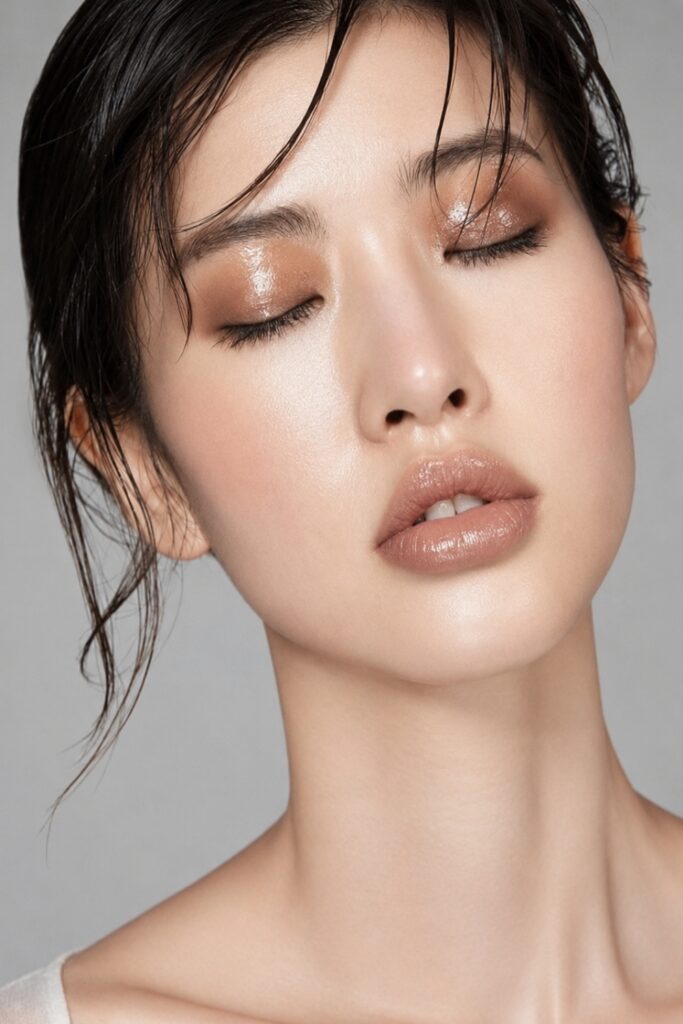
A clear or tinted gloss pressed over a simple neutral eye.
The highest-impact, lowest-skill glossy technique. A neutral shadow requires no blending expertise and the gloss does all the visual work.
It will not last a full day, and that is inherent rather than a failure. Glossy lids are a several-hour look. Carry the gloss.
 Save
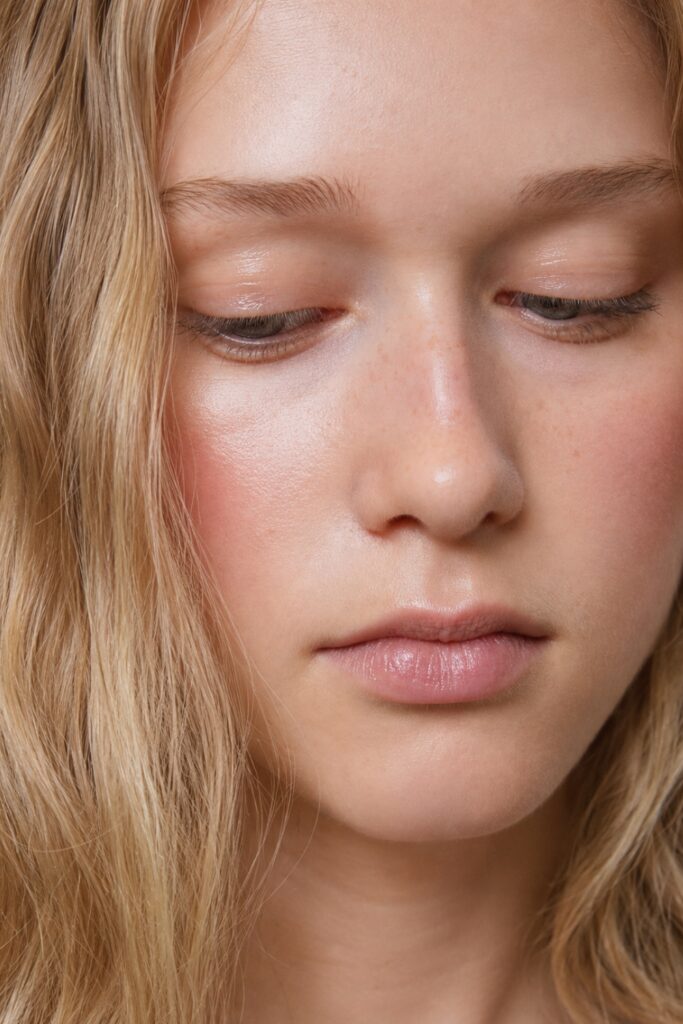
7. Glossy Lid With Bare Eyes
Gloss on an otherwise unmade eye, with mascara and nothing else.
The most modern version and the most editorial. It reads as deliberate rather than unfinished, provided the brows and lashes are done.
Avoid on hooded eyes if the lid folds away, since the gloss will transfer onto the upper crease within minutes.
 Save
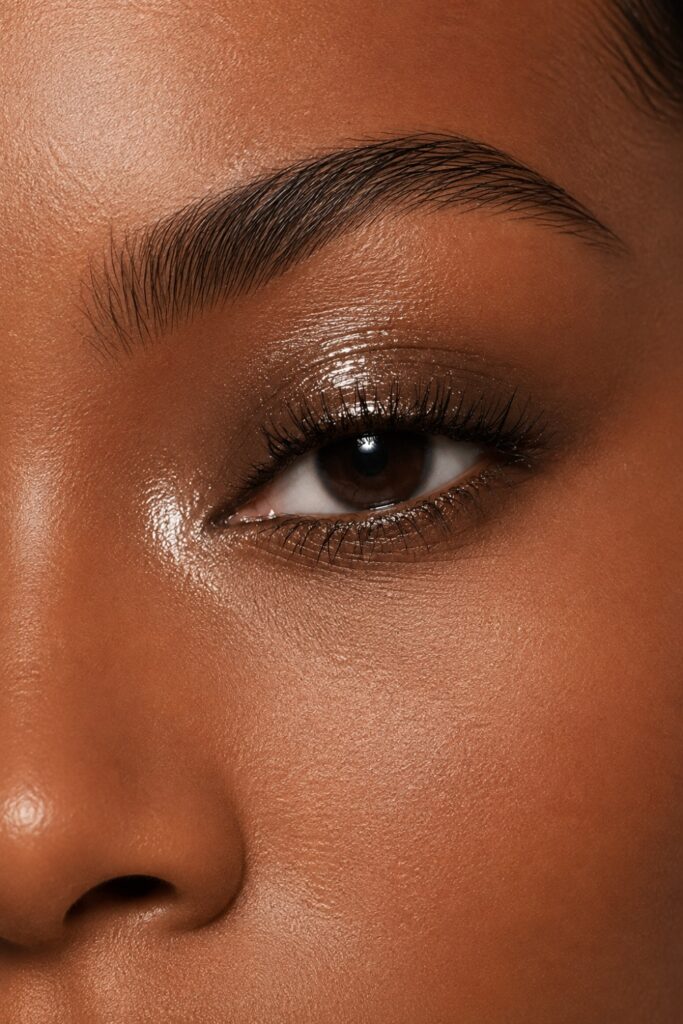
8. Wet-Look Inner Corner
Gloss or a liquid highlighter concentrated at the inner corner only.
The smallest possible commitment to this trend and one of the most effective. It brightens the eye instantly and stays put better than a full glossy lid because there is less product and less movement.
If you try one thing from this section, this is the one that will survive an evening.
 Save
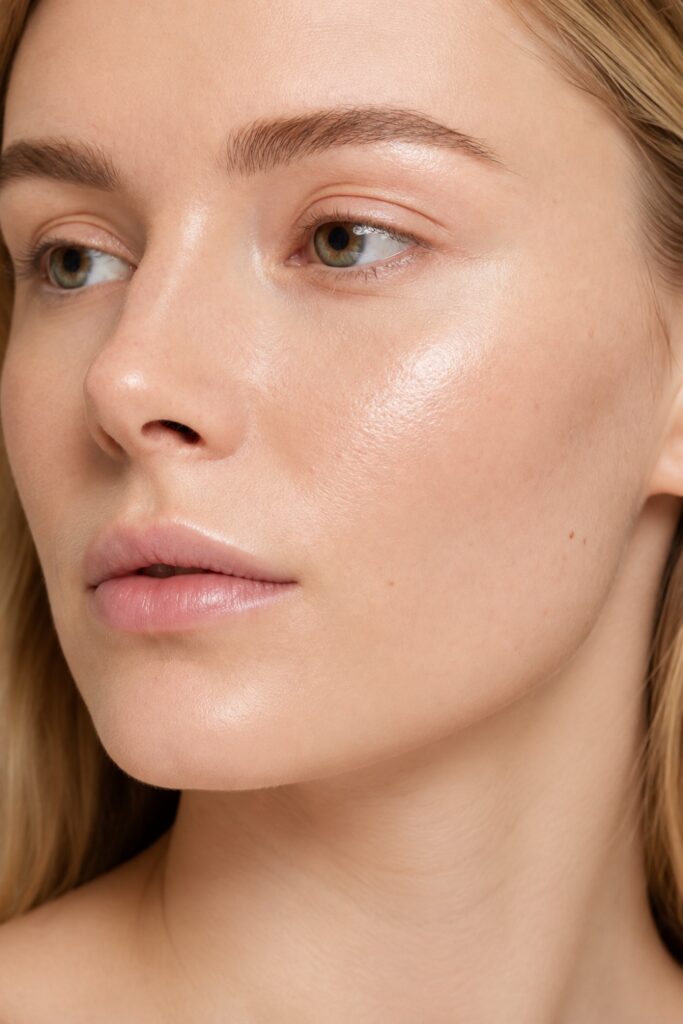
9. Glossy Under-Eye Highlight
A luminous liquid tapped along the top of the cheekbone under the eye rather than into the under-eye itself.
Placement matters enormously here. Directly under the eye, glossy product settles into fine lines and emphasises them. Slightly lower, on the cheekbone, it lifts the whole area.
Tap rather than sweep, and keep the amount small.
 Save
Glossy Lips
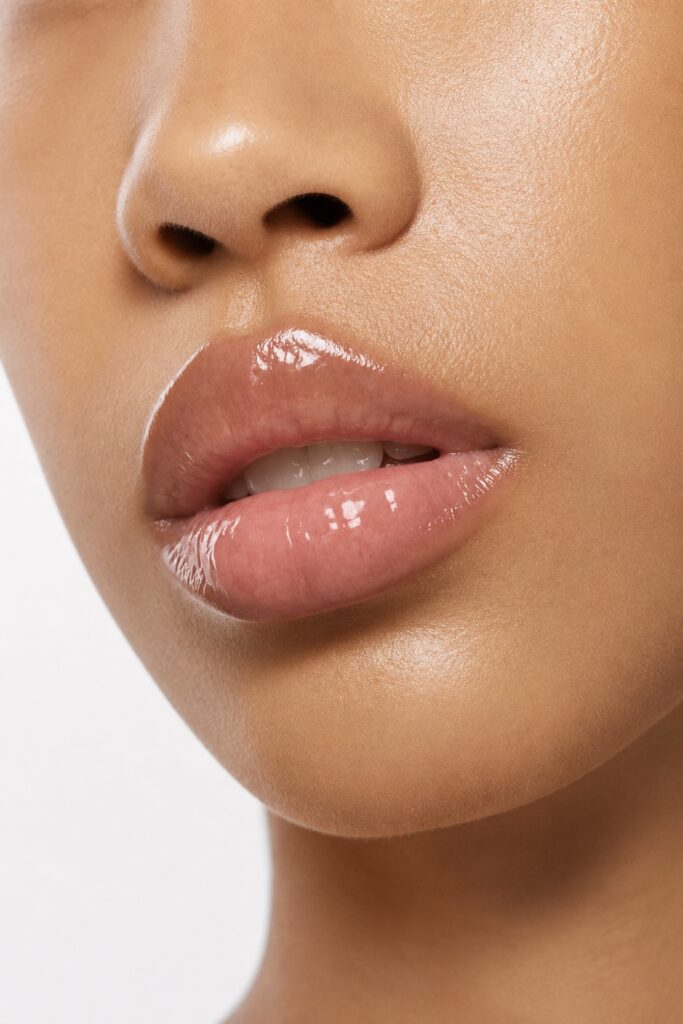
10. High-Shine Clear Gloss
Clear gloss over bare or lightly tinted lips.
The purest form of the trend and the most universally wearable. It catches light and ties a glowy face together without adding a colour decision.
The reapplication reality is the trade-off. Clear gloss goes at the first drink.
 Save
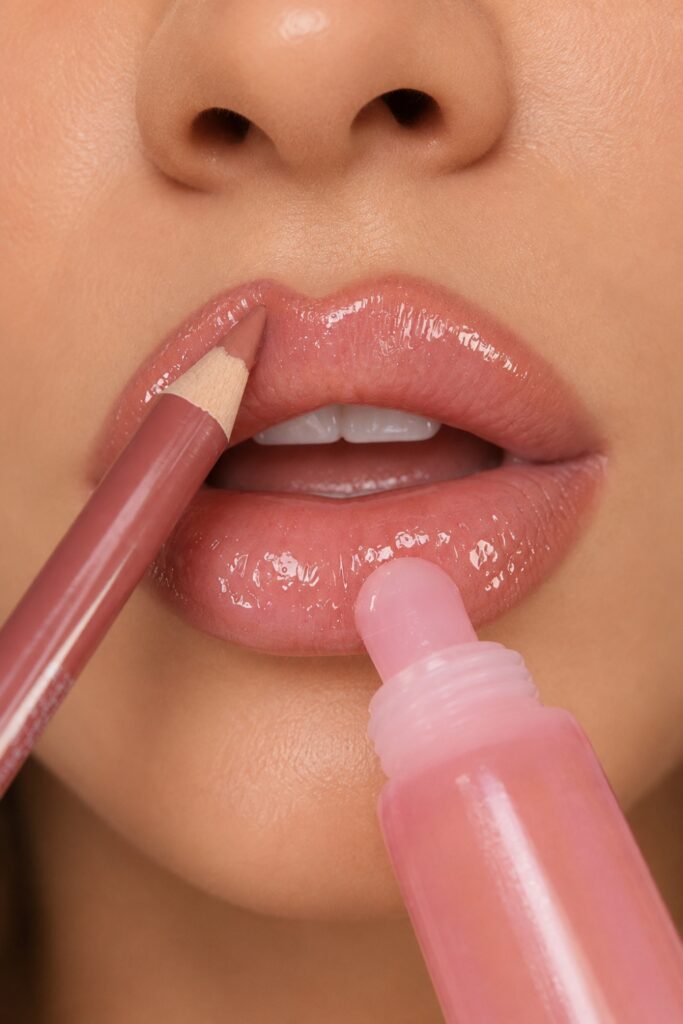
11. Glossy Lip Over Liner
Gloss layered over a lined and filled lip.
The version that actually survives an evening. The liner holds the shape and the colour when the gloss wears off, so what you are left with is a defined lip rather than nothing.
The standard fix for anyone who likes gloss and hates reapplying.
 Save
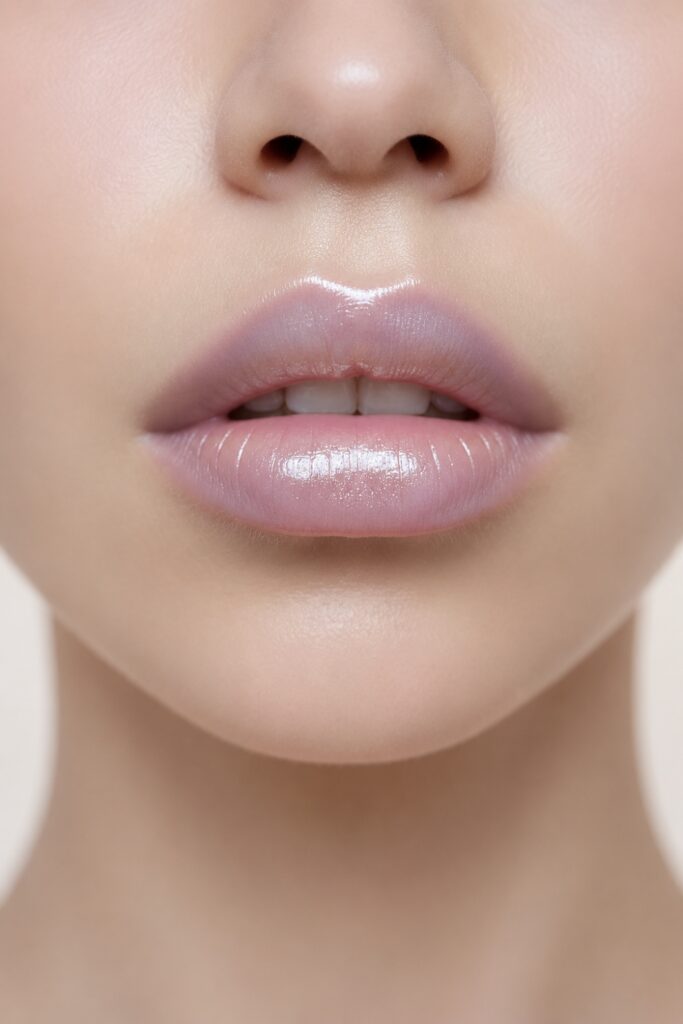
12. Blurred Glossy Lip
A soft, diffused lip colour with gloss pressed only at the centre.
Combining a blurred edge with central shine creates the impression of fullness without a liner or overdrawing. It also fades more gracefully, since there is no hard line to wear away unevenly.
Gloss on the centre only. Gloss across the whole lip removes the blurred edge entirely.
 Save
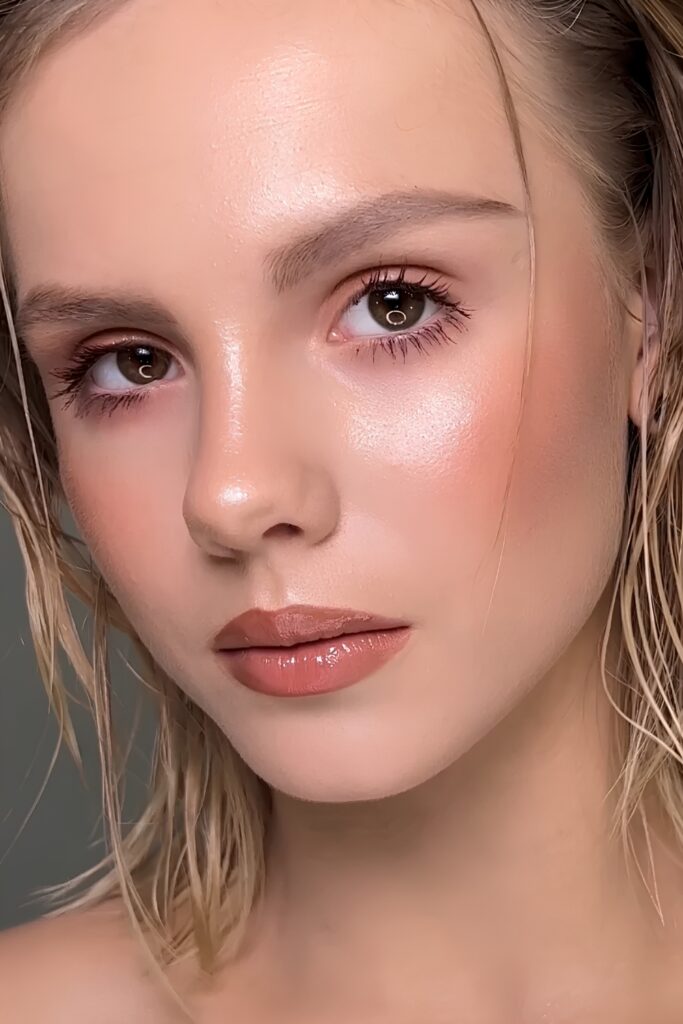
13. Glossy Nude With a Glossy Face
Nude gloss on the lips with the glow concentrated on the skin.
A monochromatic approach where the finish, rather than the colour, is the theme. It is the most cohesive way to wear this look and the most flattering in photographs, since nothing competes.
Choose a nude with warmth if your glow is warm-toned. A cool nude against a golden glow reads mismatched.
 Save
Full-Face and Occasion
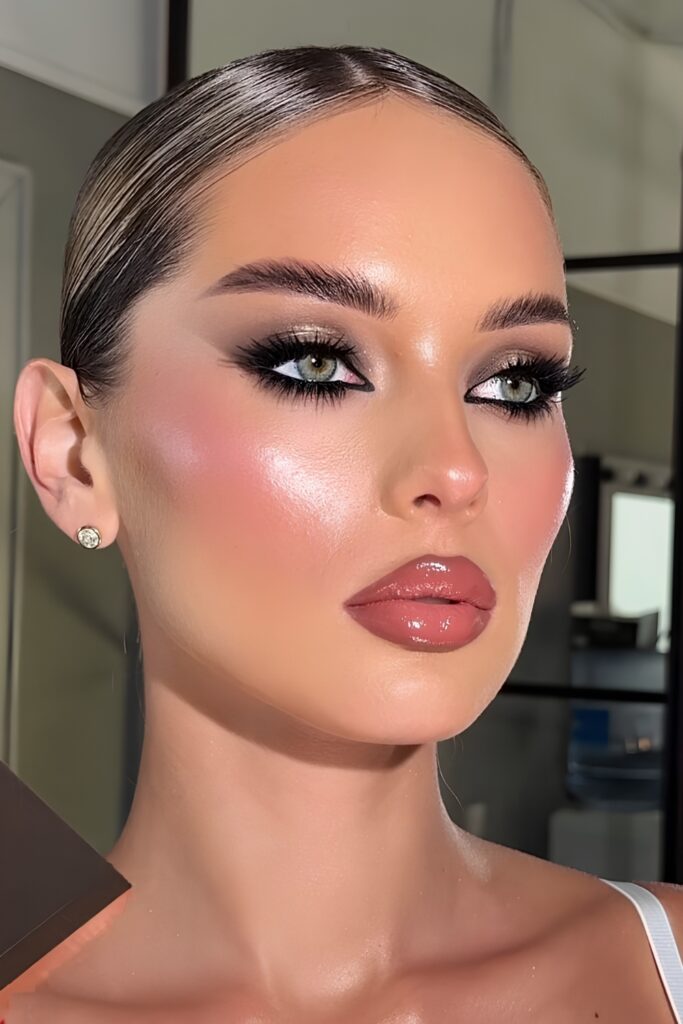
14. Glossy Full Glam
Full coverage base, defined eyes, and glow layered on top rather than instead of.
The event version. The key adjustment is that the glow goes on last, over a set base, rather than being built into it. That gives you the wear of a full-coverage face with the finish of a dewy one.
Set everything except the high points, then add the glow to those points afterwards.
 Save
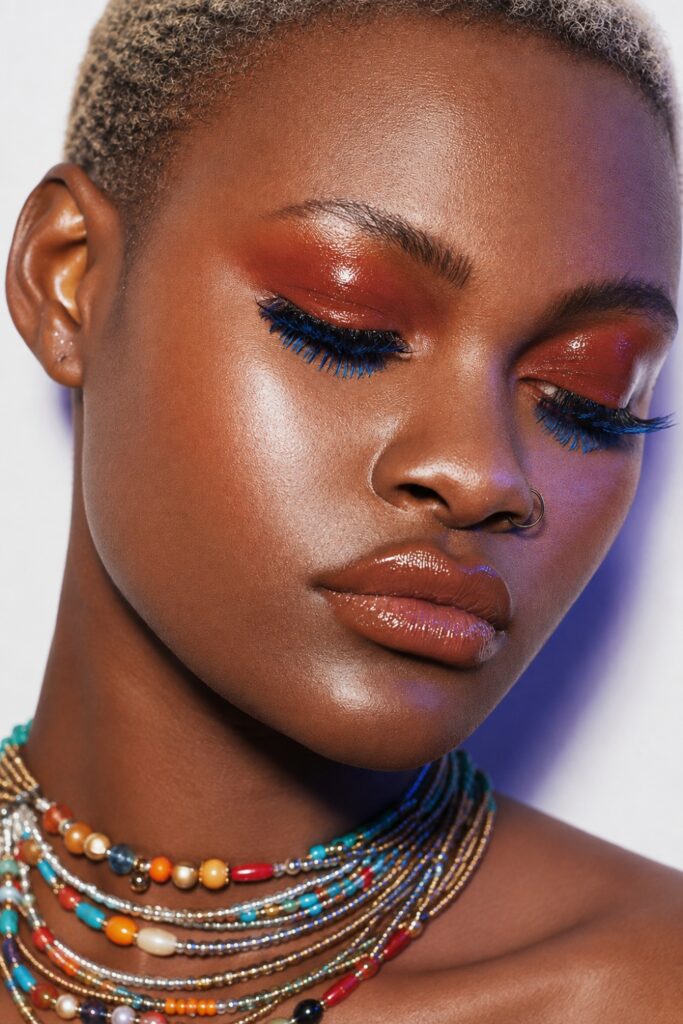
15. Glossy Skin With a Bold Eye
Luminous skin paired with a strong, defined eye look.
The contrast is what makes this work: a matte or heavily pigmented eye against a wet-looking complexion. Each makes the other more noticeable.
If you enjoy colour on the eye, keep the shadow blended and matte so the gloss stays the focal point.
 Save
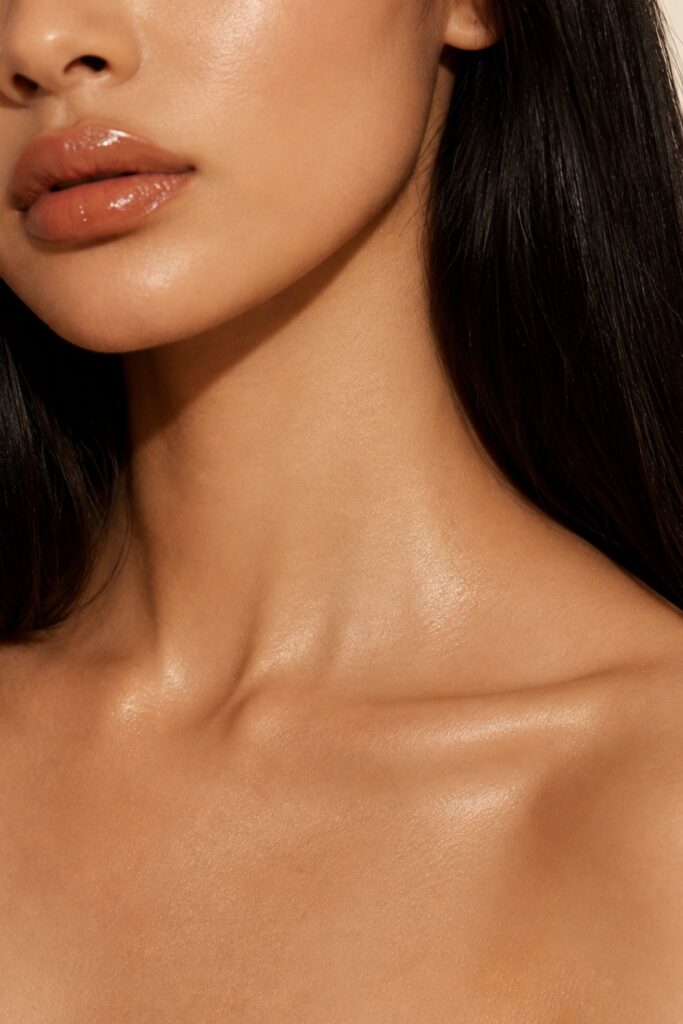
16. Body Glow
Highlighter or luminous lotion on the collarbones, shoulders, and shins.
Glow does not stop at the jawline, and for events with exposed shoulders it is the step that makes the face and body look like one finish rather than two.
Apply to the natural high points only, following the same logic as the face. All-over body shimmer is a different look.
 Save
The Flash Photography Rule
This is the most useful practical thing in the article, and it applies to weddings, parties, and any event with professional cameras.
Heavy highlighter around the nose and forehead washes out under flash. Those areas already bounce light, and a flash amplifies them until they blow out entirely. For photographed events, keep highlighter on the tops of the cheekbones and the inner corners, and skip the nose bridge altogether.
The reverse is true for video and soft studio lighting, where dewy is almost always more flattering than matte. Ring lights make glow look intentional, which is why so many beauty creators favour it.
If in doubt, check your face in more than one light before you leave. What reads as luminous in a bathroom mirror can read differently in daylight and differently again under flash.
Making It Last
With proper skin prep, a glossy base can hold for eight to twelve hours. Without it, the same products slide within hours, because product applied over unprepped skin catches on texture rather than sitting on it.
Touch up with a mist rather than more product. Adding more gloss to a face that has been wearing gloss for six hours produces the greasy result everyone is trying to avoid.
Four things cause most failures: too much product, combining formulas that pill against each other, poor blending at the hairline, jaw and around the nose, and skipping skin prep entirely. None of them is fixed by buying anything.
Choosing Products for Your Skin Tone
Highlighter shade matters more on this finish than any other, because the entire look depends on the glow reading as light rather than as a visible product sitting on top.
Deeper skin tones generally carry golds, bronzes and warm shimmers better than the pearl and champagne shades that dominate the category, and often need more pigment payoff to register at all. Our guide to dark skin makeup looks covers highlighting and shade selection for richer complexions specifically.
For evening and event applications of this finish, our seductive makeup looks guide covers the glow and highlighter placement that works under low light.
Frequently Asked Questions
Why does my dewy makeup look greasy by midday?
Usually placement rather than product. Glow applied all over, including to areas that produce their own oil, compounds through the day until the whole face reads shiny. Confine highlighter to the high points, use a mattifying primer on the T-zone, and set the nose and upper lip lightly. That keeps the shine where you chose to put it.
Can I wear glossy makeup if I have oily skin?
Yes. Place glow on the outer face, meaning cheekbones, temples and jawline, and leave the forehead and nose bridge alone entirely. Use a powder blush rather than a cream, since creams slide on oily skin. The mistake is adding glow to areas that will produce their own shine anyway.
How do I stop glossy lids from transferring?
Largely you do not, and that is inherent to the finish rather than a mistake you are making. Glossy lids are a several-hour look. If your lid folds when your eye is open, transfer will happen within minutes, and a wet-look inner corner is a better bet than a full glossy lid.
Is glossy makeup bad for photos?
It depends entirely on the lighting. Under soft light, ring lights and video, dewy is more flattering than matte. Under flash, heavy highlighter around the nose and forehead washes out. For a photographed event, keep highlighter on the tops of the cheekbones and inner corners and skip the nose bridge.
How long will it last?
Eight to twelve hours with proper skin prep, considerably less without. Touch up with a hydrating mist rather than reapplying product, since adding more gloss to a face already wearing it is what produces the greasy result.
Final Thoughts
The instinct with a glossy look is to add glow until it reads as glossy. That instinct produces the sweaty version, because shine on top of shine is just shine.
Put it on the high points, matte the T-zone, and leave the nose bridge alone if there will be a flash. Those three placement decisions do more than any product you could buy.