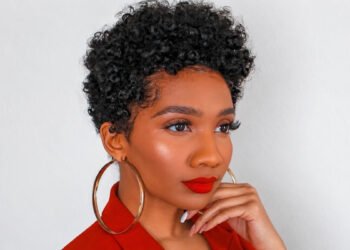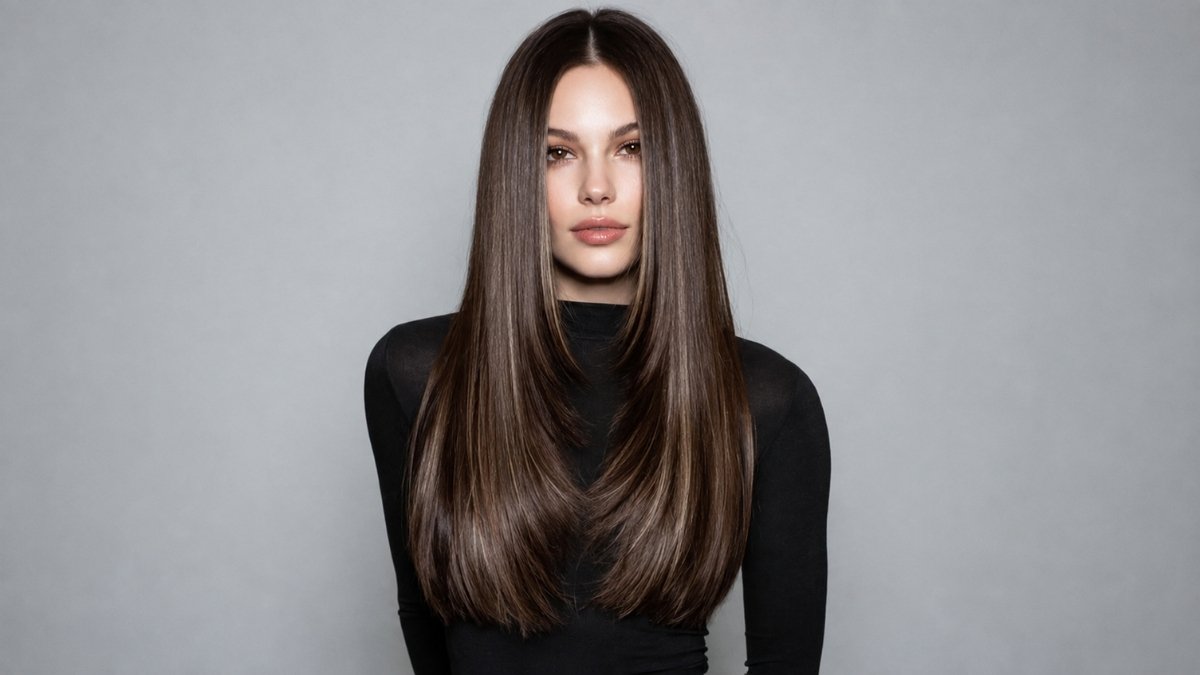
A middle part turns long layers into a geometry problem. Both sides of the face are exposed at once, so the shortest pieces, cheekbone framing, and transitions into the long lengths need to balance without looking copied and pasted.
Long, bouncy layers are one of the big haircut directions of 2026: long hair with movement, face framing and volume on top. The most flattering versions start the face-framing layers around the cheekbones and let them cascade softly toward the shoulders.
This guide keeps to one combination: long layers plus a middle part. For volume on straight hair, see our long voluminous straight hairstyle looks.
16 Long Layers With a Middle Part
1. Classic Center-Part Long Layers
Begin visible layers below the chin and blend them into a full chest-length perimeter. The middle part exposes both sides, so balance matters more than dramatic cutting.
Best for: straight/wavy hair, medium density, first-time layering.
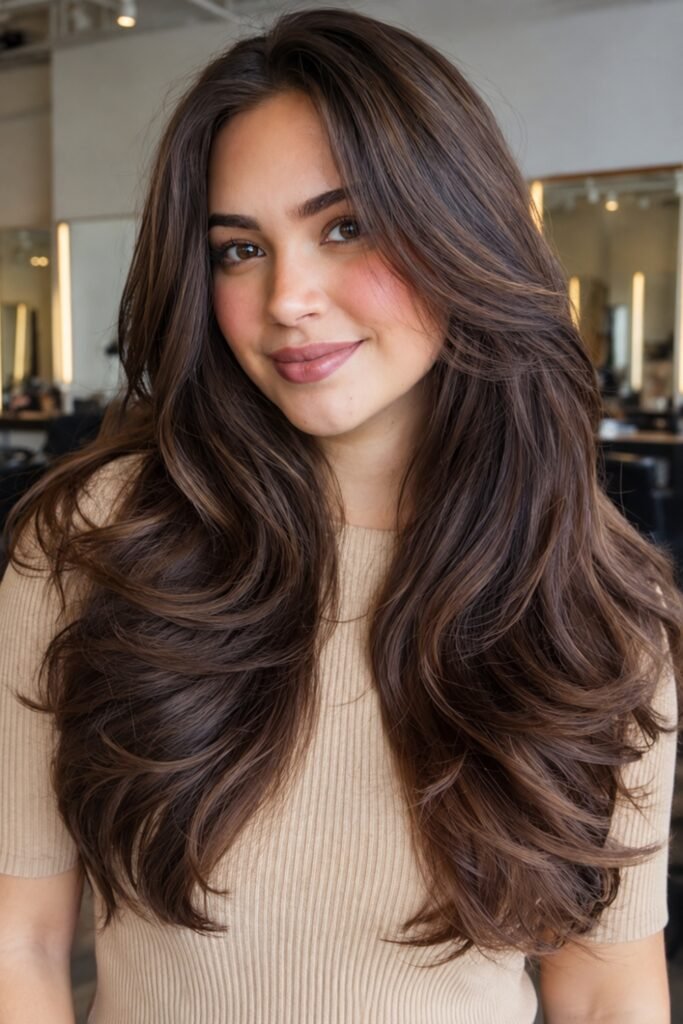
2. Cheekbone Face-Framing Layers
Start the shortest front pieces around the cheekbones, then cascade through chin and shoulders. Keep the transition soft rather than choppy.
For a shorter-layered take, see our butterfly layered haircuts.
Best for: long hair needing a visible refresh, medium/thick density.

3. C-Shaped Long Layers
Shape the front layers into soft C-curves around the cheekbones and jaw, then let the lower lengths open outward. The C-shape gives movement and structure in one cut.
Best for: blowout lovers, medium/thick hair.
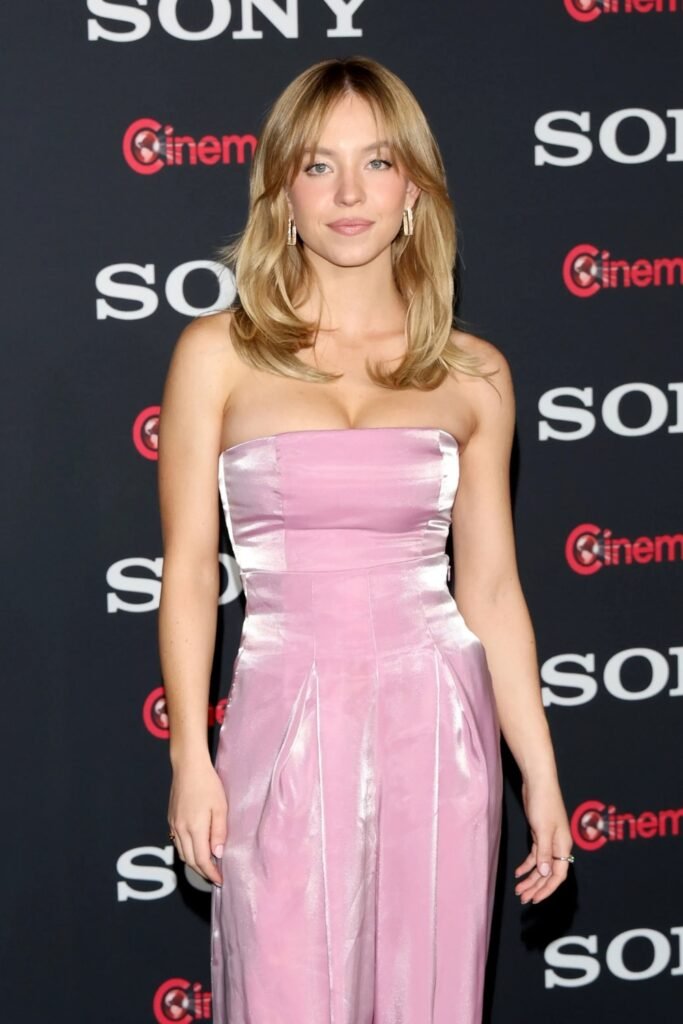
4. 90s Supermodel Layers
Use long connected layers, crown lift, and outward ends around a precise middle part. Keep enough perimeter weight that the blowout does not leave thin ends.
More of the decade is in our 90s hairstyles for women.
Best for: medium/thick hair, big blowouts.
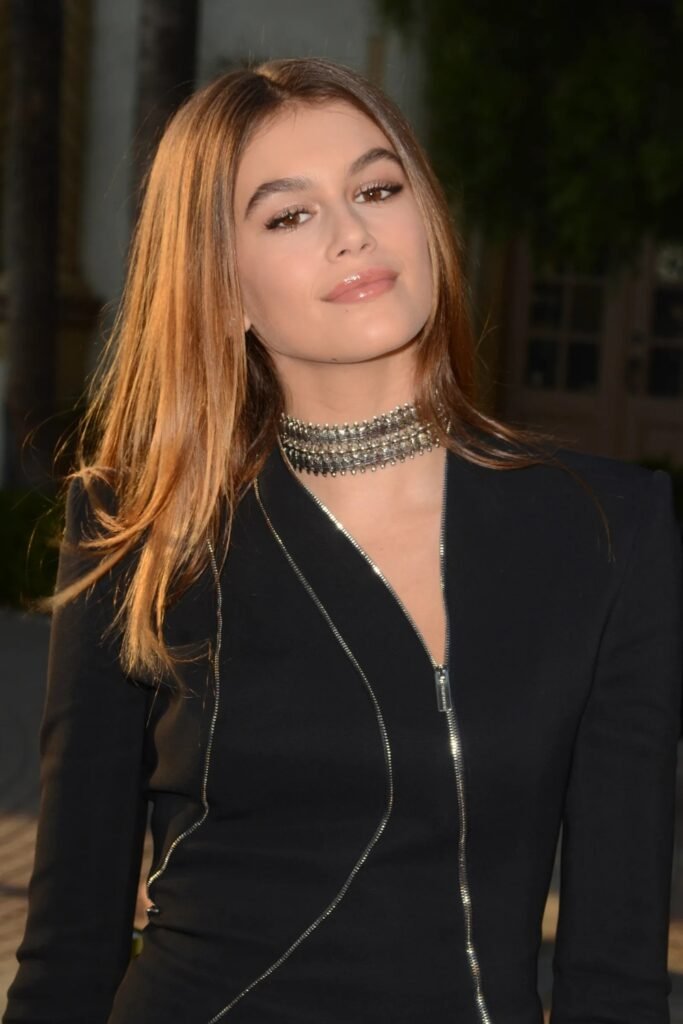
5. Long Curtain Bangs
Split long curtain bangs through the center so they open around the cheekbones and blend directly into the first face layer.
Compare fringe lengths in our curtain bangs guide.
Best for: women wanting bangs without a blunt fringe, most textures.
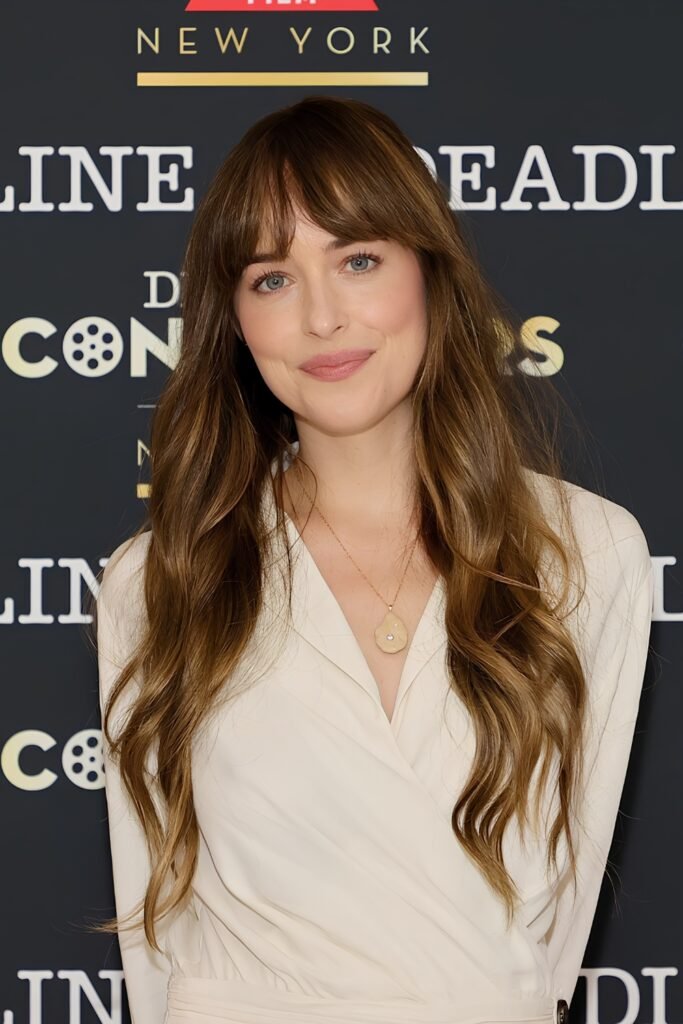
6. Sleek Straight Layers
Keep the layers long and restrained, then style smooth with a precise center part. The layer changes should appear as subtle movement rather than steps.
Best for: straight hair, fine-to-medium density, minimalist styling.

7. Long Wavy Middle-Part Layers
Use connected layers through natural waves so both sides move around the middle part without becoming mirror images. Protect wave clumps instead of texturizing every bend.
Best for: 2A–2C waves, medium density.
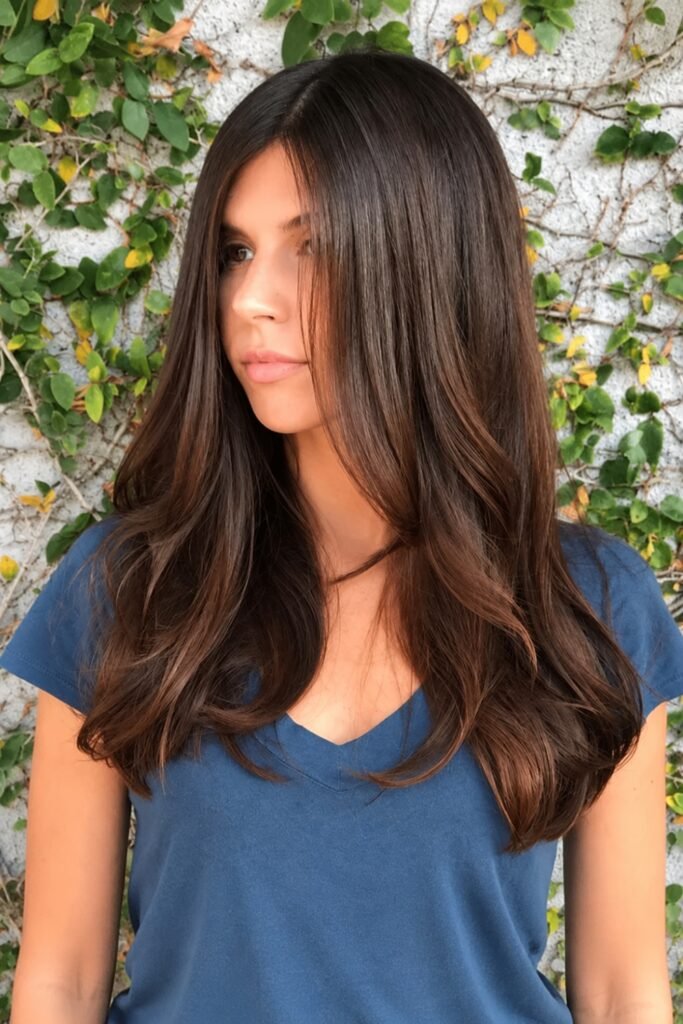
8. Fine-Hair Long Layers
Use fewer layers and keep them long. Face framing can begin around the chin or collarbone while the bottom stays dense enough to avoid transparent ends.
Best for: fine straight/wavy hair, fuller-looking ends.
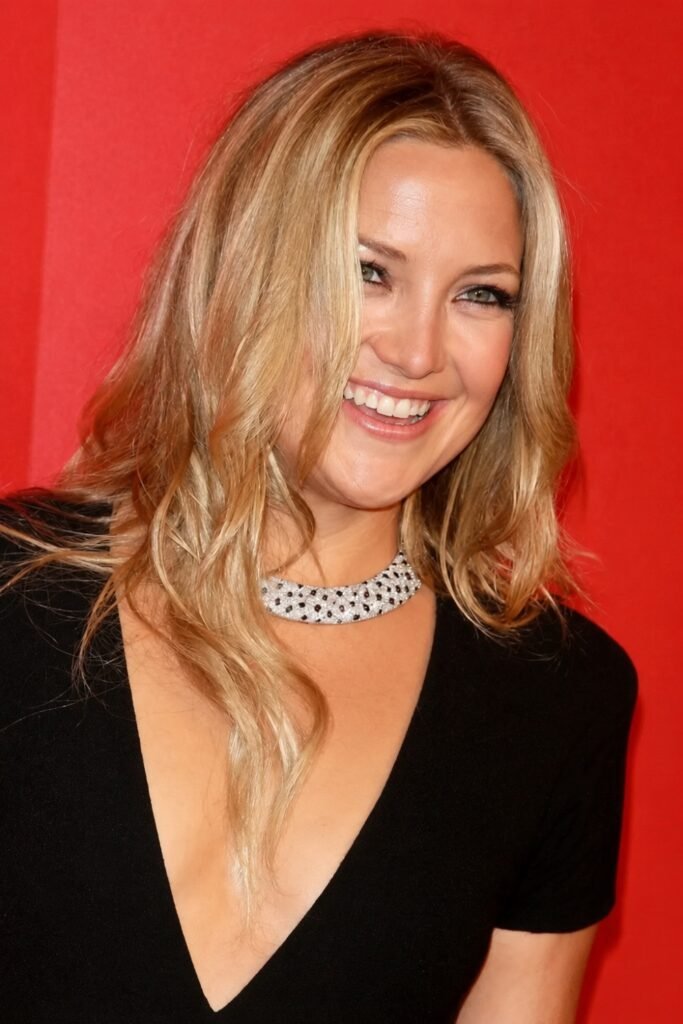
9. Thick-Hair Internal Layers
Keep the face frame visible, then remove selected weight inside dense mid-lengths rather than thinning the outer ends aggressively.
Best for: thick straight/wavy hair, heavy sides.
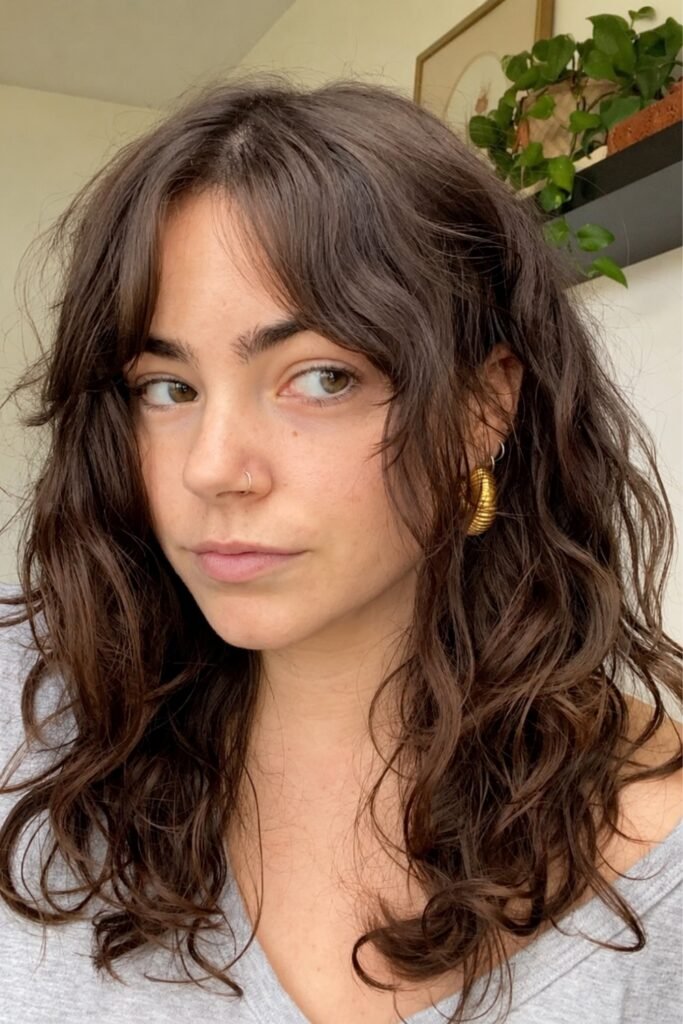
10. 70s Feathered Layers
Build shorter top and face layers around the center part, then feather the ends away from the face through the lengths. Keep the movement airy rather than stiff.
Best for: straight/wavy hair, round-brush styling.
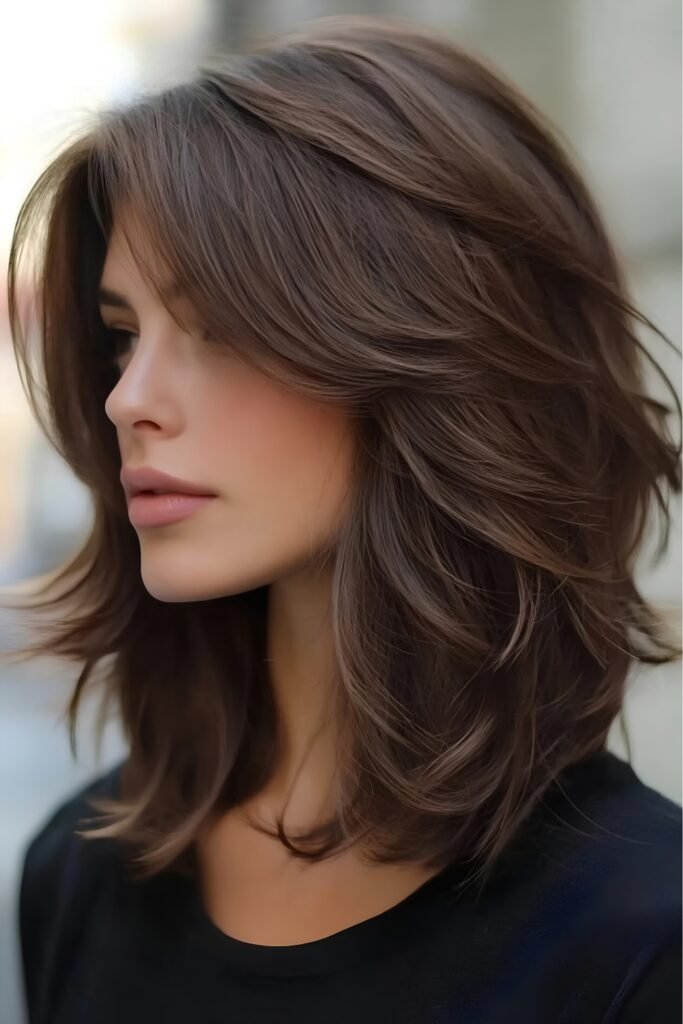
11. Collarbone-Starting Long Layers
Keep the shortest major layer around the collarbone so most of the hair still reads as one long length. The center part supplies structure while lower layers add movement.
Best for: very long hair, low-maintenance routines.

12. Wispy Curtain Fringe + Long Layers
Use a light separated curtain fringe that opens through the middle and blends into long face layers. Keep some forehead visible.
Best for: fine/medium hair, fringe beginners.
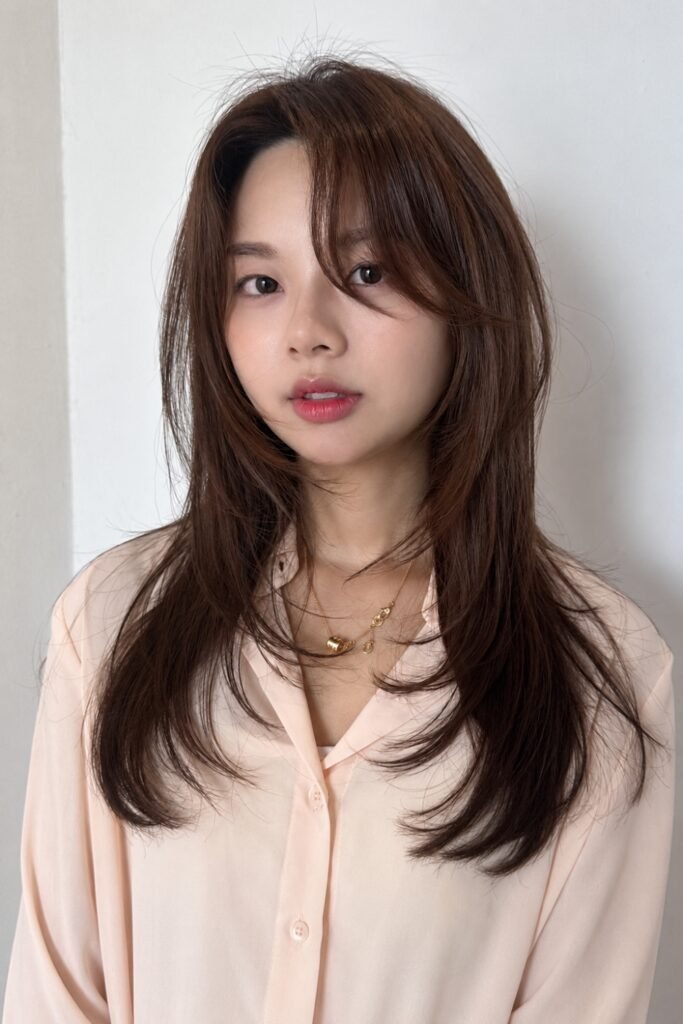
13. Long Layers With Rounded Ends
Keep the center part and long layers polished, then bevel the ends softly inward instead of flipping them out. This creates a quieter silhouette than a 70s blowout.
Best for: straight hair, office styling.
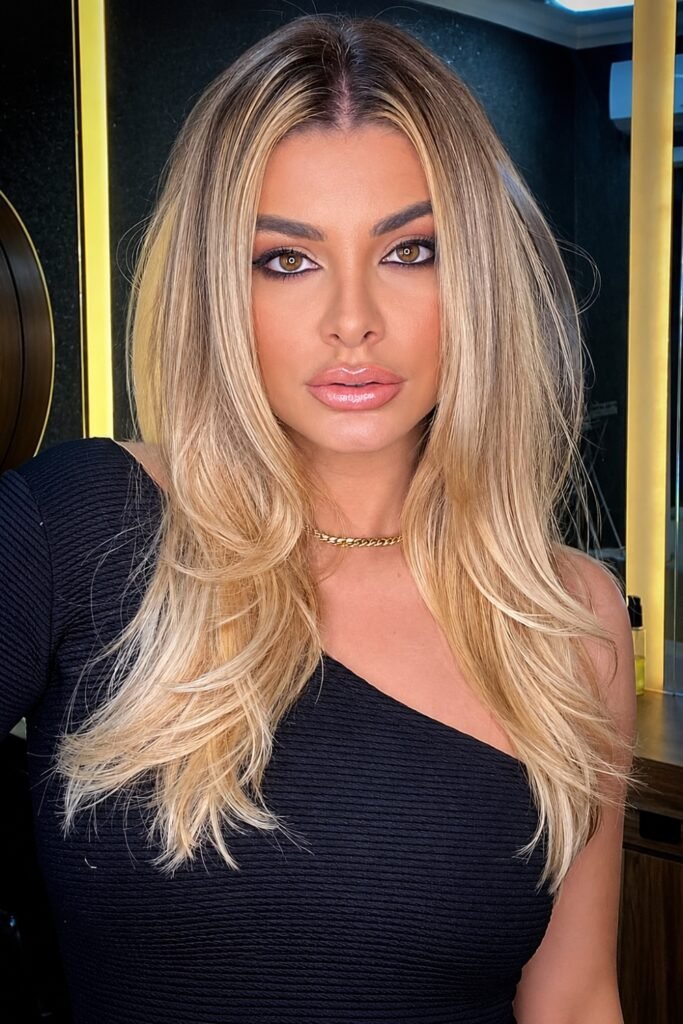
14. Air-Dried Middle-Part Layers
Use restrained connected layers that still fall intentionally in natural straight-to-wavy texture. The center part should settle without a full round-brush reset.
Best for: low heat use, everyday routines.
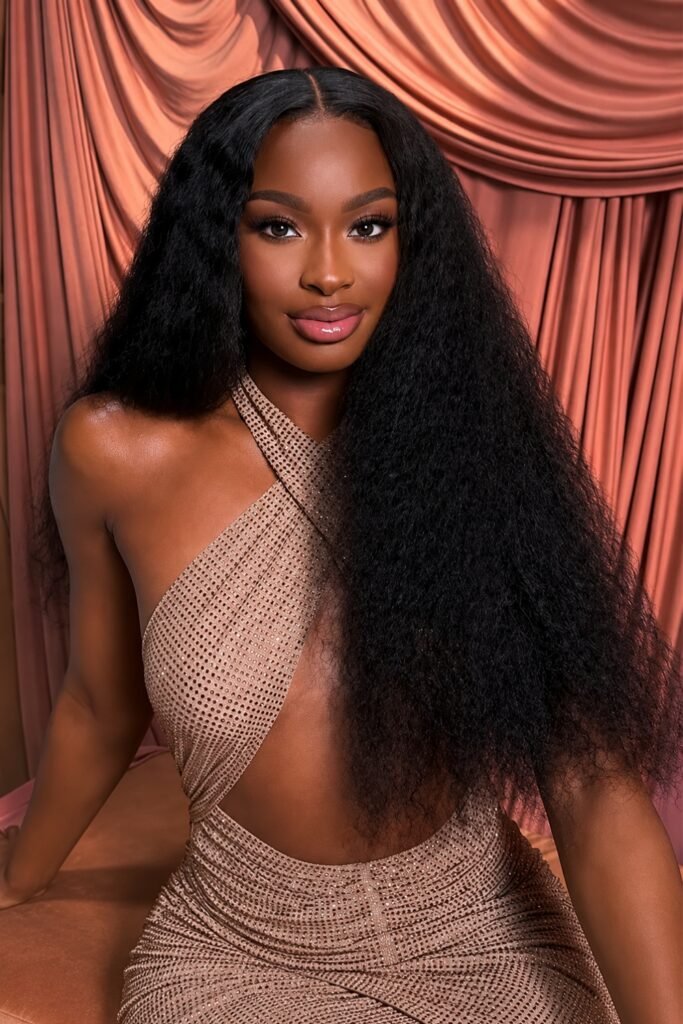
15. Balayage-Defined Long Layers
Place subtle balayage or face-brightening highlights along the middle-part frame and selected layer edges. Color should reveal movement already created by the cut.
Best for: brunettes/blondes wanting dimension.
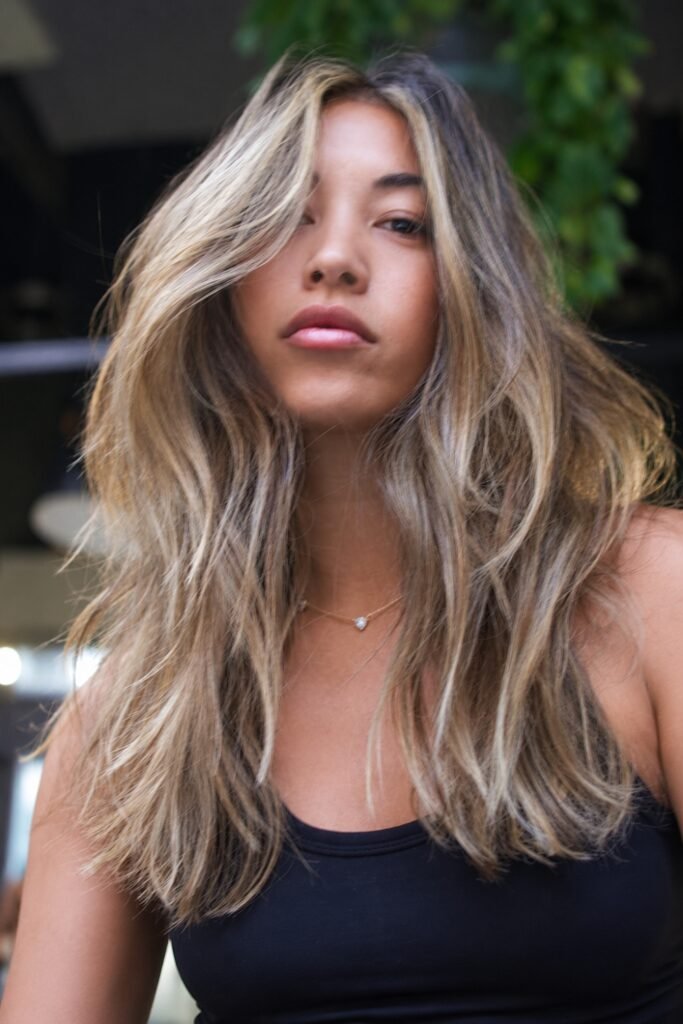
16. Extra-Long Layers With Full Bottom
Build face framing and long upper layers while leaving the deepest bottom section dense and minimally layered. This gives movement without sacrificing the inches you grew.
Best for: chest-to-waist hair, medium/thick density.
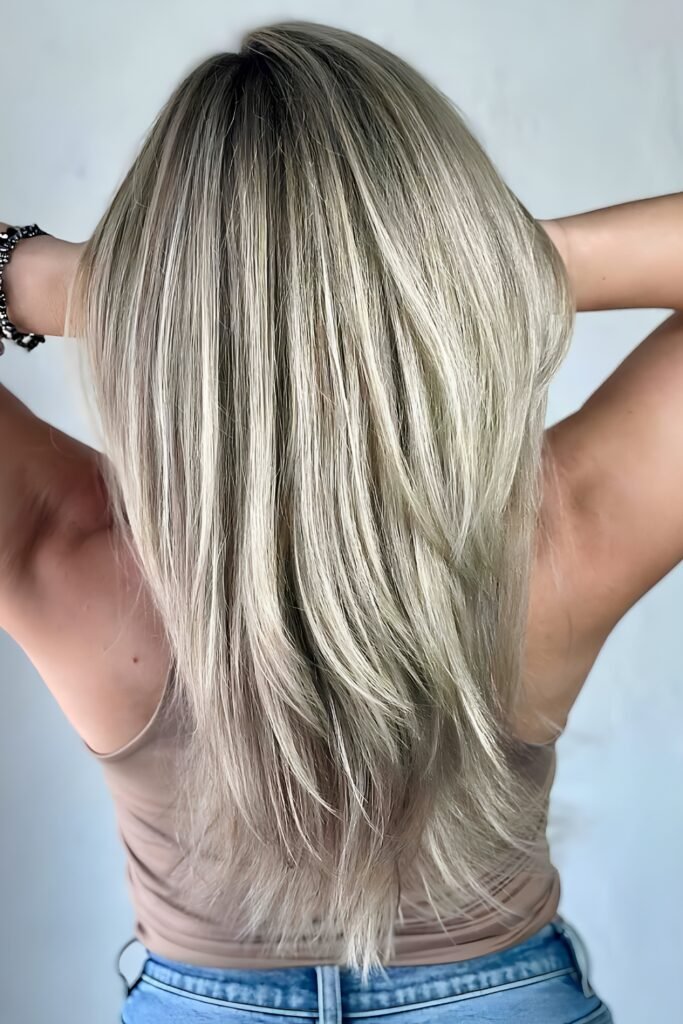
Quick Guide: Choose Your Middle-Part Layer Map
| Hair / goal | Strong choices | Layer priority | Watch for |
| Fine hair | Fine-hair, collarbone-start | Preserve bottom density | Too many short layers |
| Thick hair | Internal, cheekbone frame | Remove hidden bulk | Choppy surface |
| Straight hair | Sleek, rounded, C-layers | Connected visible lines | Uneven symmetry |
| Wavy hair | Wavy, air-dried | Protect wave clumps | Over-texturizing |
| Big blowout | 90s, feathered, C-layers | Crown lift + movement | Thin perimeter |
| Maximum length | Collarbone-start, extra-long | Long frame + full bottom | Front cut too short |
Why Does a Middle Part Work So Well With Long Layers?
A middle part creates a stable center line while layers create movement around it. The contrast makes cheekbone, chin, and collarbone pieces easy to read.
It also exposes uneven framing quickly. Balanced does not mean mathematically identical because density and growth direction can differ from side to side.
Where Should the Shortest Layer Start?
Cheekbone layers create the strongest frame. Chin layers are softer and easier to tuck. Collarbone layers preserve the most length.
Choose based on routine and hair behavior, not a face-shape rule alone.
Fine Hair vs. Thick Hair
Fine hair usually benefits from fewer long layers and a denser perimeter. Thick hair can support more internal movement but may need hidden weight removal.
Both can wear a middle part; the difference is how much density the haircut can spend before the ends stop looking healthy.
What to Tell Your Stylist
Ask for a true middle part with connected long layers and specify the shortest face-framing point: cheekbone, chin, or collarbone. Explain whether you normally wear the hair straight, wavy, air-dried, or blown out.
For fine hair, preserve perimeter density. For thick hair, ask about internal layering without a choppy surface.
How to Style Long Layers With a Middle Part
Set the middle part while damp so the roots dry in the correct direction. For a blowout, direct the face layers away from the center and use larger sections through the lower lengths.
For a sleek finish, smooth the lengths and keep a soft bend at the ends. For waves, preserve the natural pattern and let the middle part provide structure.
Frequently Asked Questions
Are long layers with a middle part in style in 2026?
Yes. Long, bouncy layers and face-framing layers are major 2026 haircut directions, while polished center parts remain current in sleek and voluminous styling.
Where should long face-framing layers start?
Cheekbone, chin, and collarbone are all useful starting points. Cheekbone creates stronger framing, chin is softer, and collarbone preserves the most front length.
Are long layers good for fine hair?
Yes, if the layers stay long and restrained. Fine hair usually benefits from a full perimeter and less aggressive thinning so the ends do not look sparse.
Are long layers good for thick hair?
Yes. Thick hair can support more layering and may benefit from internal weight removal through the mid-lengths while the visible perimeter remains full.
Can wavy hair wear long layers with a middle part?
Yes. Connected long layers can release natural wave movement while the middle part provides structure. Avoid excessive texturizing that breaks healthy wave clumps.
Do I need curtain bangs with a middle part?
No. Curtain bangs naturally complement a middle part, but cheekbone, chin, or collarbone face-framing layers can create the same centered structure without a true fringe.
How do I keep a middle part from looking flat?
Set the part while damp, add root lift without heavy product, and use face-framing layers or crown movement. A middle part does not require the roots to be pressed flat.
Can I air-dry long layers with a middle part?
Yes. Choose connected layers that suit your natural texture and set the part while the hair is damp. The cut should still show movement without a full blowout.
The Center-Line Test
Set the middle part and let the hair fall naturally. Look at the shortest layer on each side, then follow the transition down toward the shoulders. Do both sides feel related without looking artificially identical?
If yes, the cut is balanced. Long layers with a middle part should make the length move around a clear center line, not turn the face into two matching curtains.