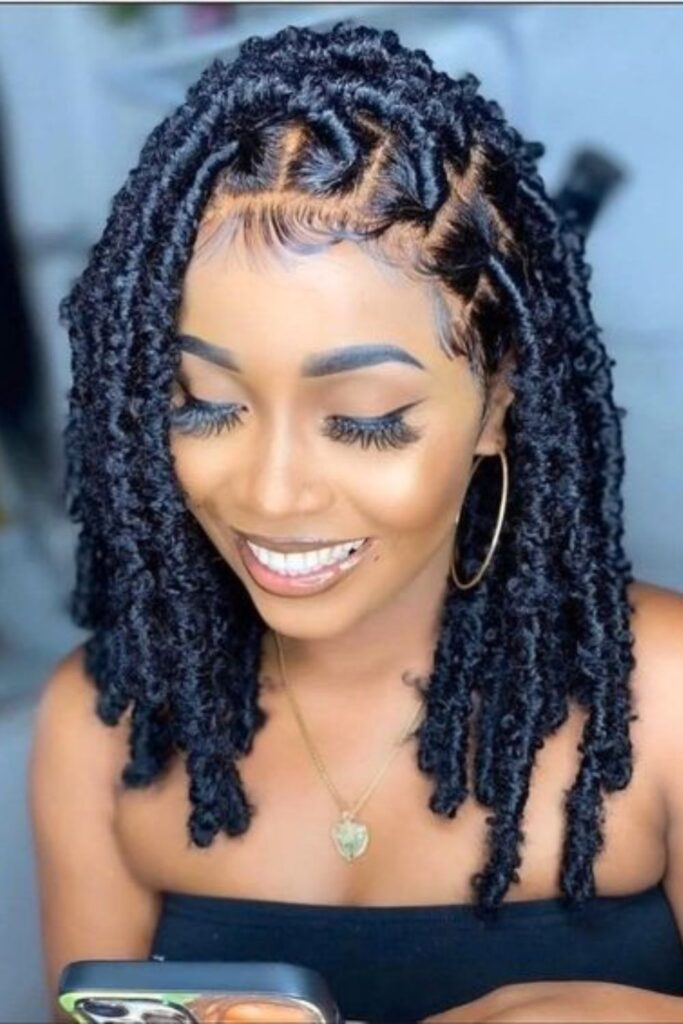
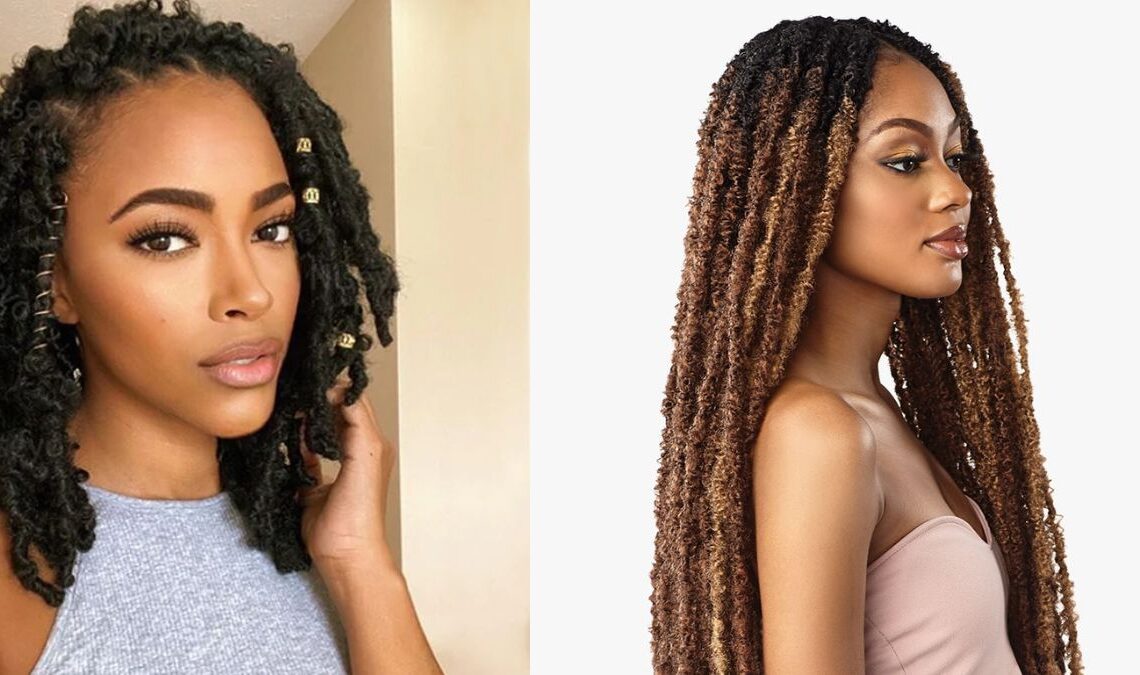
If you’re considering getting butterfly locs, you’re in for a treat! This style is often seen as a more creative and unique alternative to traditional locs. Both men and women can wear butterfly locs and style them differently.
This guide is for you if you’re thinking about getting short or long butterfly locs. In it, we’ll cover everything you need to know about this stylish and eye-catching hairstyle.
Jump Link
What Are Butterfly Locs?
A protective style mainstay, distressed locs are very close to this new loc style. The crisp faux locs that first gained popularity a few years ago have a hippie cousin called distressed locs. The only difference between distressed locs and butterfly locs is their curled loops.
Butterfly locs were created by combining goddess locs and passion twists. The chaotic, Bohemian appearance is ethereal, easy to maintain, and incredibly authentic. They’re gorgeous and provide a great protective look that you can wear all year.
This style can be for you if you desire a look that can alter over time; it only requires a little effort to keep and embraces curls and coils while still protecting your hair.

Do Butterfly Locs Require a Lot of Hair Packets?
Let’s learn how many packs of hair for butterfly locs require. You’ll need at least 6 to 8 packets of wavy hair extensions to complete this protective style.
Depending on your hair, how long and full you want your butterfly locs to be will determine how many extensions you need. Additionally, shorter styles have larger locs, whereas longer styles have thinner locs. Ensure your hairstyles or packs aren’t too heavy to avoid straining your scalp.
Butterfly Locs: How to Do Them
Now let’s learn how to do butterfly locs. No matter the method you choose to use to install Butterfly Locs, you may prefer to start by rinsing the hair you bought with an apple cider vinegar rinse if it is artificial.
Two parts water and one part vinegar work well most of the time. Rinse the hair thoroughly after soaking it for a few hours. If you have a sensitive scalp, this helps prevent itching.
1) The Crochet Method
To give your style some adaptability, we recommend leaving the front and back of your hair free for individual braids or twists if you prefer the crochet method, which is quicker. Now, let’s take a closer look at what crochet butterfly locs are.
Step 1 – Twist Your Hair
- The first step is to soak your locs extension in an apple cider or vinegar rinse. This will stop itching on your scalp and hair in any way, especially if your scalp is sensitive.
- Next, decide on a parting style for your sections. You can utilize triangle box braid parts, zigzag, diamond box braid, or large square box braid components. You can use any edge control to keep your pieces clean.
Step 2 – Make Your Water Waves
- Divide into two the two sections of water wave extensions.
Step 3 – Crochet the Extension Into Your Hair’s Root
- On your scalp, insert the crochet needle into the base of your braid.
- Closing the needle’s hook, drag the divided water wave hair halfway through the eye. To begin wrapping, you’ll need about 3/4 of the water wave hair on one side.
Step 4 – Start Wrapping the Extensions
- You should now wrap the lengthy extension around your natural hair.
- To keep your hair firm, wrap it at the base roughly 6-7 times. Wrap the last portion of your hair, and then go messy. Not as firmly as the roots, but still necessary.
Step 5 – Close the Ends
- Sealing the ends of your locs is the next step after reaching the length you want. Wrap the remaining portion upwards using a loop near the extension’s end.
- As you cover upward, you can also use nail adhesive to secure the strands firmly.
- For each of your braids, follow the same procedure. Your polished look will be ready when you’re done!
2) Braid and Wrap Method For Butterfly Locs
Depending on how much time you have, how skilled you are, and how patient you are, there are several ways to get Butterfly Locs. The wonderful thing about this style is that anyone can get stunning results; you don’t need to be an expert hair braider.
Most individuals can complete this style in 3 to 6 hours; however, the longer the length, the longer it could take.
Step 1 – Twist or Braid Your Hair
- Select a hairstyle for your section, then braid or twist it. To maintain order, use any edge control. Rubber bands are optional; however, you are not required to use them.
Step 2 – Make Your Water Waves
- You can either do this step as you go or all at once. Split the two water wave hair strands in half. The end product should be fluffy while still being reasonably cohesive.
Step 3 – Crochet the Water Wave Hair Into the Braid’s Core
- On your scalp, insert the crochet needle into the braid’s base. Place the separated water wave hair in the needle’s hook, secure it, and only partially pull it through.
- To begin wrapping, you’ll need about 3/4 of the water wave hair on one side. This is quite similar to how you would start the box braid extension that goes behind the faux loc if you are familiar with faux loc styling methods.
Step 4 – Start to Wrap
- Take hold of the shorter section of the water wave hair with your braid. Start wrapping the longer water-wave hair around the braid while holding the shorter portion against it.
- To ensure the root is firmly affixed to the scalp, wrap it 5–6 times. However, avoid using too much tension. Use the thumb technique to make the loops as you wrap.
The Thumb Technique
Wrap a section of the water wave hair loosely around your thumb as you wrap it down two or three times. As a result, the loc will get its signature loops.
Some hairstylists recommend wrapping the hair three times before relocating it with your thumb.
Step 5 – Close the Ends
- You must cut the loc off and seal the ends after reaching the desired length. To do this, make a tiny loop at the end of the braid with your finger, then wrap the remaining hair back up the braid until you run out of water wave hair.
- Use nail adhesive for additional hold as you wrap the final inch or two. It is crucial to use the loop since it will give your loc a good finish and ensure that it is secure.
- Avoid burning the ends.
Maintenance of Butterfly Locs
Your scalp and hair’s health heavily depends on a protective style. Before inserting the locs, ensure your hair is spotless, deeply conditioned, and moisturized. This style also requires routine care. Basically, to keep your locs in place:
- Always have oil on hand to massage your scalp and keep it hydrated.
- Moisturize your Butterfly Locs to prevent flyaways and give them a polished appearance.
- You may have to sometimes re-wrap a few locs and apply edge control to fresh growth.
How Long Do Butterfly Locs Last?
You can wear short or long butterfly locs for 4 to 8 weeks if you properly maintain and care for them. However, it’s important to use moisturizing products, wash your locs with dry shampoo, or let them air dry if you’re using liquid shampoo.
If you want to prevent frizz or dandruff growth, make sure to clean your scalp while you’re cleaning your locs.
Wrapping Up!
In conclusion, butterfly locs are a type of hairstyle that is achieved by using different techniques. This style is popular among African American women because it allows them to wear their hair without using chemicals or heat. If you are considering this style, consult a professional to ensure it is done correctly.


