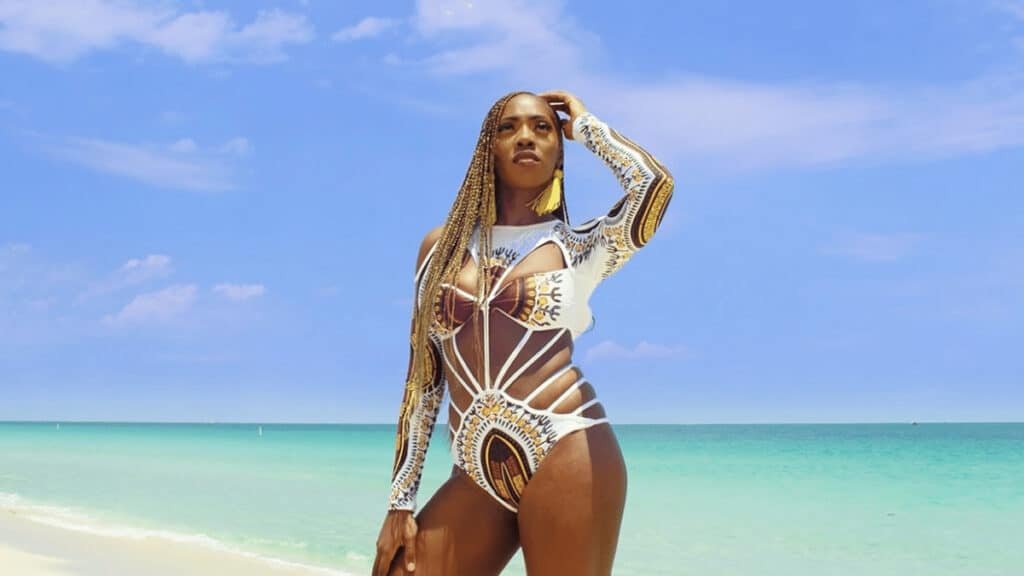
Ghana braids, also called banana braids or cornrows with extensions, have roots that go back centuries in West Africa, where braided patterns could signal a person’s community, age or status. Today they are one of the most popular protective styles in the world.
Difference between Ghana braids and regular braids
Ghana braids
Ghana braids are raised cornrows that start small at the hairline and get thicker towards the back as extension hair is fed in. This “feed-in” technique makes them look natural and puts less tension on the edges.
Regular braids
Regular cornrows stay the same size from start to finish and are usually made only with natural hair or a little added hair. Ghana braids are bolder and fuller. For more braided ideas, see our goddess braids.
How to make Ghana braids?
- Focus on the roots, where your hair will most likely turn dry. It would be best if we use a cream specially developed for curling your hair or braiding your corn. Choose a natural cream, such as a curling cream of coconut.
- You can have as many or as few sections as you want, but keep in mind that the more sections you make, the more extensions you need to add. Around six or so parts would have been perfect.
- Use a rat-tail comb to make clean, tidy strands of hair. Clip each segment out of the way before moving to the next one. Play the parting around. Not all of them have to come along the hairline. Instead, you can have all of them start from the center of your head.
- You’re going to need about 12 strands per cornrow. If you want thicker, more powerful cornrows, you’re going to need 24 strands. Each line should be a little thicker than the last one. Get your first selection of strands spread out and ready for use. The extensions don’t have to match the color of your hair. Feel free to use a bright color for a surprising effect.
- Take the first segment and split it into three smaller parts. Wrap the left section over the middle section, then cross the right section over the middle section.
- Fold the thinnest kanekalon strand in half, and put it around the back of your head. The looped portion should be facing your hairline, and the two tails should be hanging on the back of your head.
- The best way to do this would be to feed the middle portion of the loop. Now the kanekalon beach should be between your real hair and your scalp. Make sure it’s based around.
- Make sure that the central (folded) portion of the kanekalon line is tucked under the middle section of your braid. Add the braid’s left side to the left side of the braid and the right side to the right side of the braid.
- Holding the left side of the kanekalon hair and the left side of your braid together, cross it over the middle portion. Repeat this step to the right segment. If you want a bulkier cornrow, add another strand of kanekalon hair to the middle section after crossing the correct section.
- Take a much thicker line this time than before. Tuck it under the middle line, and add the left and right sides to the left and right parts of your braid.
- Apply the kanekalon to the thinner, more natural braid after you cross both the left and the right parts. Attach the kanekalon after each cross-over to a thicker, more dramatic braid. Start with thinner lines and work your way to thicker ones. Keep your stitches close and friendly. Use more curling cream to smooth down your hair, if necessary.
- You can regular-braid the kanekalon hair for a few more inches/centimeters if you want to, but leave the bottom half of your hair unbridled for now.
- Keep a pair of scissors parallel to the line with the tips pointing upwards. Cut the end of the line to thin it out. What you need to do is thin the bottom a few inches/centimeters. This will allow your flange to retain the same thickness throughout.
- Do this with a regular braid. Keep your stitches nice and tight. You can tie as far down as you want, but more stylists can secure down to the end of the extension. If you’re not braiding down, cut off the excess extensions.
- Wrap a thin elastic hair a couple of times around the end of the braid. Tuck your tail under the elastic, then loop the elastic a couple more times. This hides the end without having to deal with heat sealing.
- You may have found that some of the hairs stick out of the folded end of your braid. This is entirely natural. Use little scissors to trim any stray strands away.
- This can get tiring, mainly if you do it on your own. Remember to take breaks, particularly if your arms are starting to feel sore. You can use the same color of the extension for each cornrow or add a few colored attachments for a unique look.
- Use your fingers to add some moisturizing hair cream to the fine hair on your hairline. Smooth them with a soft brush of the bristle.
Hairstyles for Ghana braids
1. Side braided hairstyle
Side-swept Ghana braids curve to one side of the head for an elegant, asymmetric look.
 Save
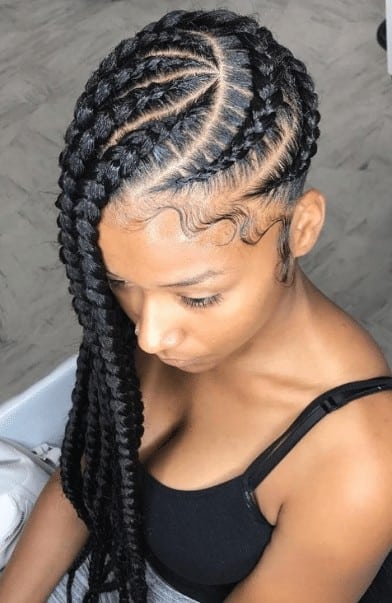
Save2. Vortex Ghana braids
Vortex braids spiral from the crown outwards, creating a striking, swirling pattern.
 Save
Save3. Single sided Ghana braids
Braids on one side only, with the other side loose or shaved, give a bold, modern look.
 Save
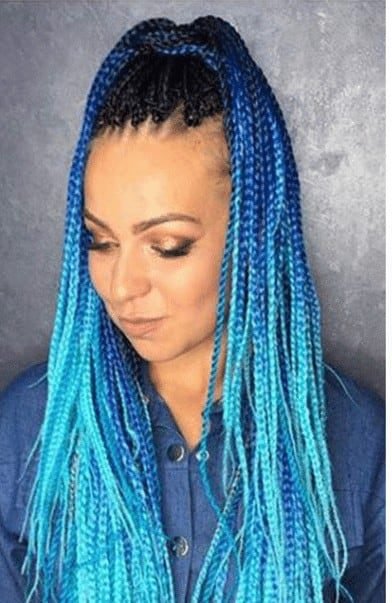
Save4. Thin braids with low blue lights
Thin braids with subtle blue highlights add a hint of colour that catches the light.
 Save
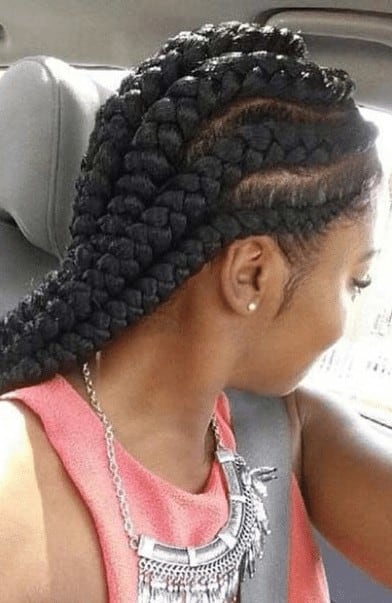
Save5. Braids with curves
Curved braids follow the shape of the head for a soft, flowing design.
 Save
Save6. Bulky Ghana braids
Bulky, chunky Ghana braids are quick to install and make a strong statement.
 Save
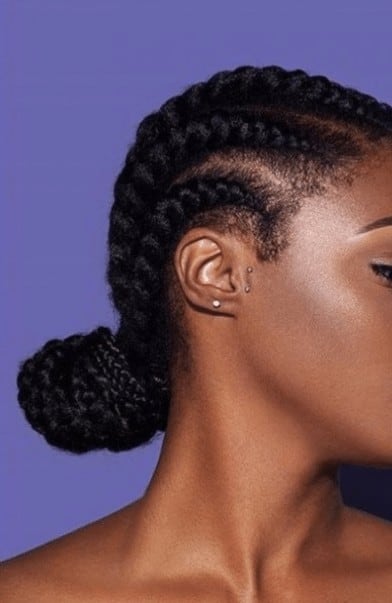
Save7. Ghana braids in a bun
Ghana braids gathered into a bun look neat and are perfect for work or events.
 Save
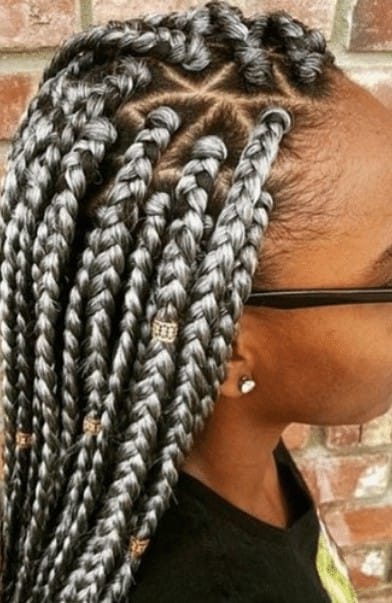
Save8. Customized Mohawk along with extensions
A mohawk made from braids and extensions runs down the centre of the head for an edgy, eye-catching style.
 Save
Save9. Braided bun
A braided bun wraps the braids into a sculpted shape at the crown.
 Save
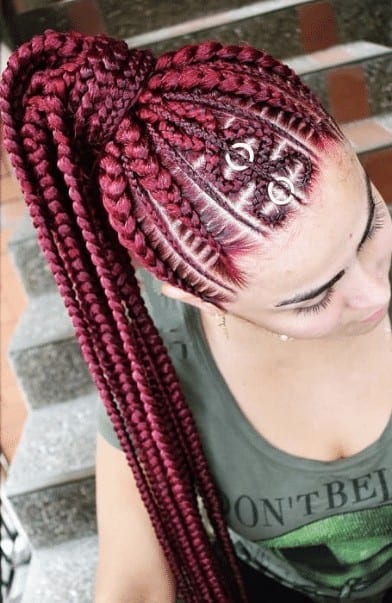
Save10. Medium Ghana braids
Medium-sized Ghana braids are a balanced choice: not too heavy, but still full.
 Save
Save11. Funky braids
Funky braids mix colours, patterns and zigzag parts for a playful look.
 Save
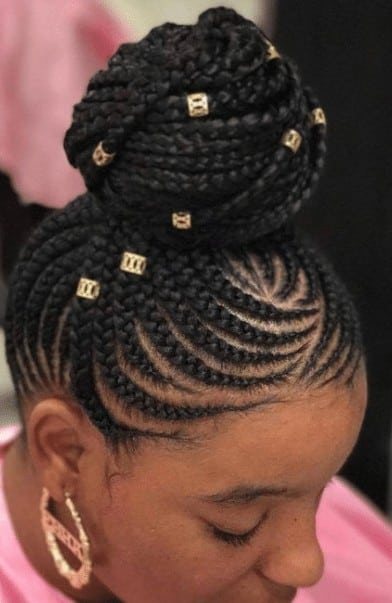
Save12. Ghana braids with unique accessories
Gold cuffs, beads, rings and thread add personality to your braids. Browse more ideas in our two-layer braids.
 Save
SaveFrequently Asked Questions
How long do Ghana braids last?
Ghana braids usually last two to four weeks. Smaller braids last longer than large ones.
Do Ghana braids break your hair?
They should not break your hair if they are installed correctly and removed on time. Ask your braider for “feed-in braids with light tension at the edges” to protect your hairline.
How to Maintain?
- Protect your hair at night: just like your hair in its natural state, you should always be wearing a satin scarf or a satin cap on your bed.
- Moisturize your scalp: this can be not easy, but there’s a straightforward way to do it.
- Trim flies away: be careful with this move because you don’t want to cut your hair accidentally.
How to wash Ghana braids?
- Shampoo and Soak. Soak your braids with water before shampooing, and then apply your shampoo.
- Be thoroughly rinsed. Thoroughly rinse; repeat if necessary. I suggest using a light conditioner to add some moisture back in.
- Dry your braids full.
- Product Apply.
How to sleep with braids?
Wrap your braids in a satin scarf or bonnet at night, or sleep on a satin pillowcase to reduce frizz.
Which hair is more likely used for Ghana braids?
Synthetic braiding hair, such as Kanekalon, is most commonly used because it is lightweight and holds the braid well.
Can you Ghana braids without extensions?
Yes, if your natural hair is long enough. Without extensions, the braids will be thinner and shorter, but the pattern still looks beautiful.