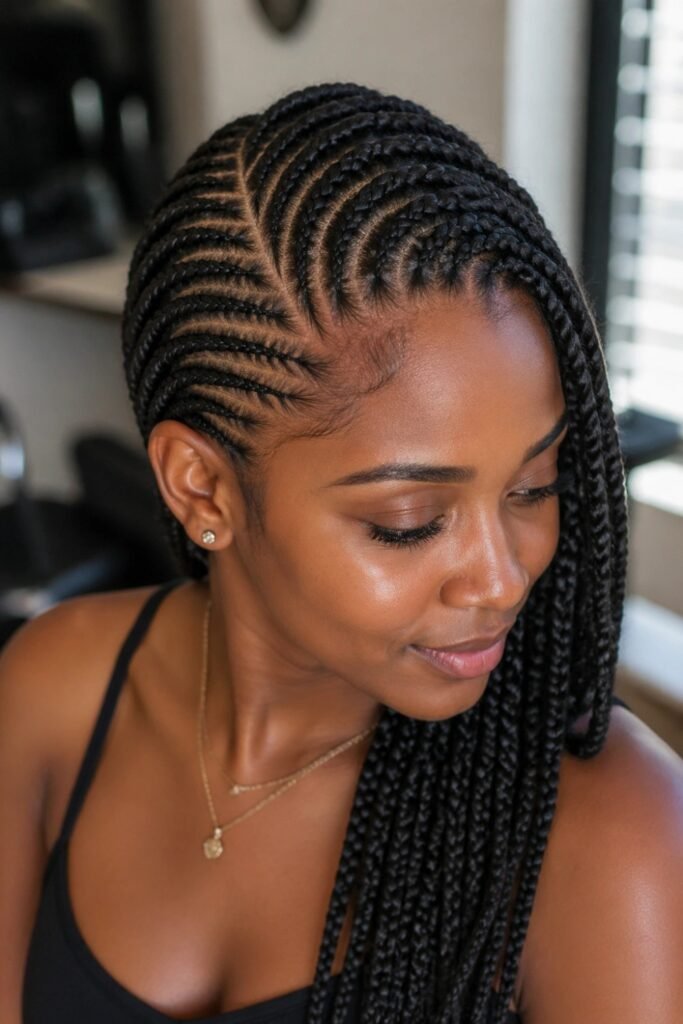
Christmas tree braids are a cornrow design. The parting pattern forms the tree, the braids form the branches, and the whole thing sits in the same family as the heart cornrow designs that have been popular for years.
That distinction matters, because it tells you what you are actually booking. This is design work. It takes longer than a straightforward back-to-front set, it needs a braider who does patterning rather than just installation, and the quality of the finished style depends almost entirely on the cleanness of the parting.
Cornrowing itself is not seasonal and never has been. Braiding traditions across Africa and the diaspora go back thousands of years, and patterned designs have historically carried real meaning, marking tribal affiliation, age, marital status, and status within a community. A festive design sits inside that tradition rather than borrowing from it.
Before Anything Else: Tension
Braids that are installed too tightly cause traction alopecia. That is hair loss from sustained pulling at the follicle, and around the hairline and temples it can become permanent.
The signs to watch for during installation are small raised bumps along the parting, a stinging or burning sensation, and skin visibly lifting at the root. None of these are normal. Tightness is not evidence of a good braid and it does not make the style last longer.
Say something in the chair. A good braider will loosen the section without complaint, and any braider who tells you the pain is part of it is not one to book again. This matters most on the front sections, on children, and on anyone whose edges have already thinned.
What to Expect Logistically
Design cornrows take longer than plain ones because the parting is the work. A full head with a detailed tree pattern is generally a multi-hour appointment, and more intricate designs sit at the longer end of that.
Most cornrow styles hold for two to four weeks before the roots grow out enough that the pattern loses definition. Styles combining a cornrowed design with individual braids can run longer. Beyond that, the general rule for protective styling applies: leave enough time between installations, since braiding too frequently causes more breakage than it prevents.
Book earlier than you think for December. Braiders fill up for the season well in advance, and a rushed appointment is exactly the situation in which tension gets away from everyone.
The Tree Pattern Itself
1. Classic Centre-Back Tree
The tree sits centred at the back of the head, tip at the crown, widening toward the nape, with the surrounding cornrows fed straight back on either side.
This is the version most people picture and the most straightforward to execute cleanly. Because the design sits at the back, it reads as a surprise rather than a statement, which suits anyone who wants the pattern without it dominating.
Ask for the surrounding rows to be kept plain. Competing patterns either side of the tree flatten the whole effect.
 Save
Save2. Side-Parted Tree
The tree is placed off-centre, usually toward one side of the crown, with the parting sweeping the remaining rows diagonally around it.
Placing the design asymmetrically gives the whole head more movement, and it works particularly well if you already wear a side part. The diagonal rows also do something useful: they lead the eye toward the design rather than framing it symmetrically.
Bring a reference photo showing the placement, not just the pattern. Position is the variable that gets lost in translation.
 Save
Save3. Twin Trees
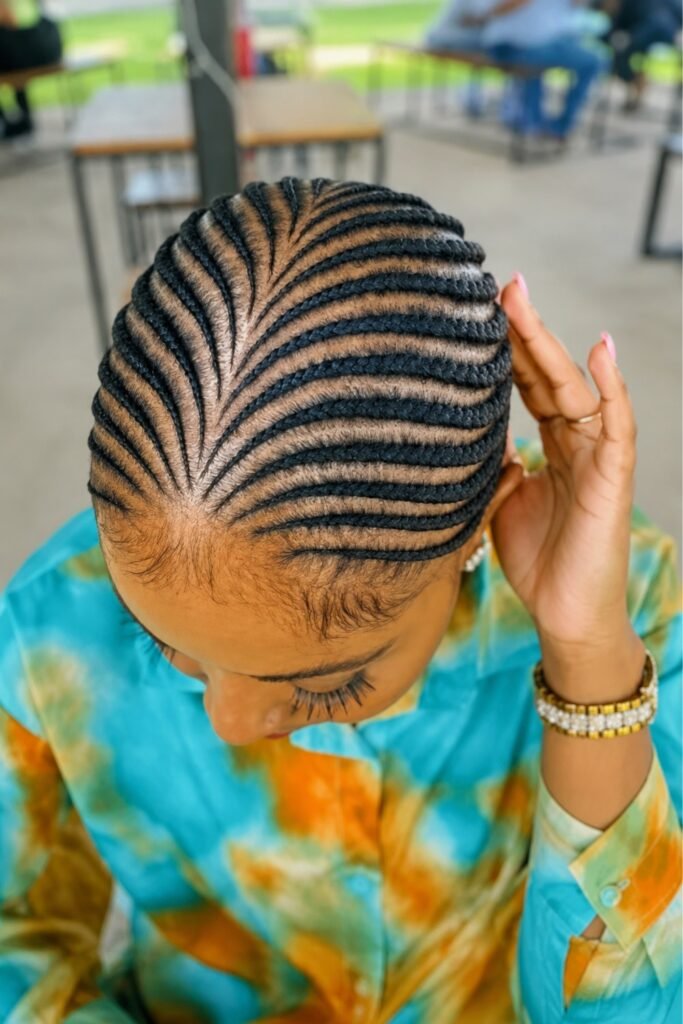
Two matching trees, one on each side of a centre parting.
Symmetry is the appeal here and also the difficulty. Two designs that do not mirror each other precisely are immediately obvious, so this version depends more than any other on the braider’s precision.
Worth confirming your braider has done mirrored design work before. Not every excellent braider does patterning.
 Save
Save4. Single Statement Tree at the Front
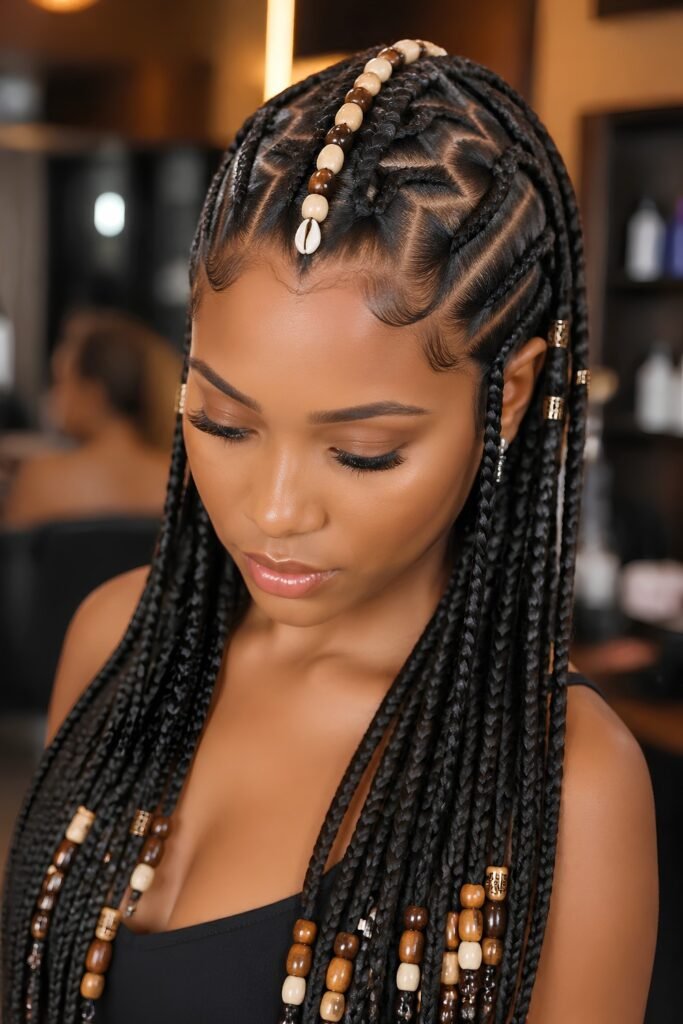
One tree placed at the front or side of the head where it is visible from the front, with everything else kept simple.
The boldest placement and the one that reads instantly. If the point is that people see the design, this is the version that achieves it.
Keep the front hairline sections deliberately loose. Front placement means the design sits exactly where tension damage does most harm.
 Save
SaveScale and Detail
5. Micro Cornrow Tree
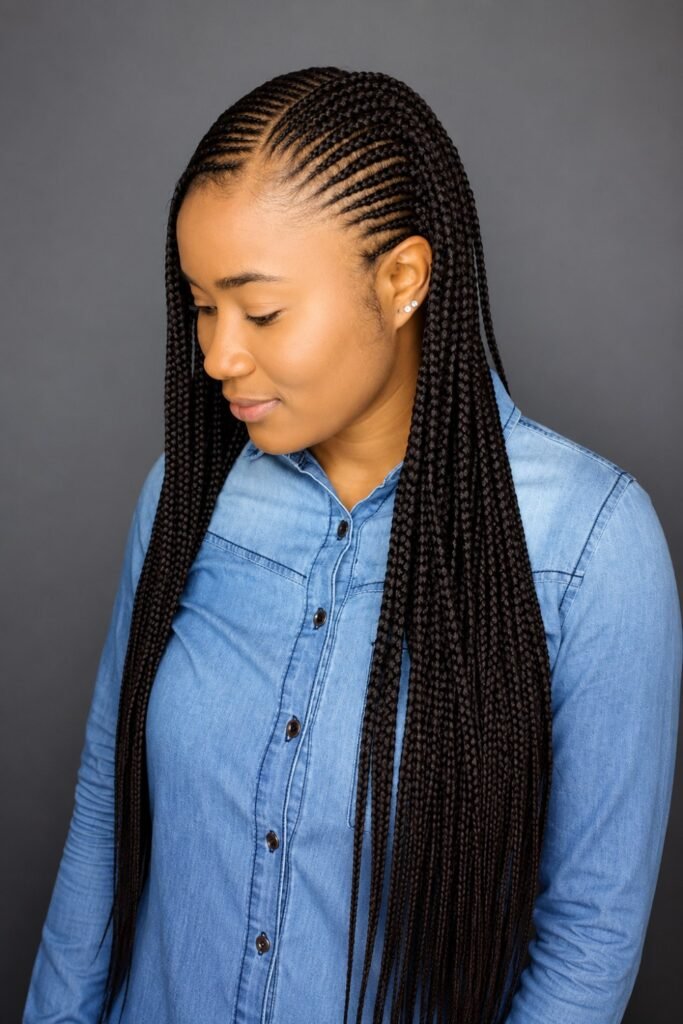
The tree rendered in very fine cornrows, allowing detailed branch tiers and a defined trunk.
Fine braiding gives the most detailed result and the most convincing tree shape, since narrow rows can follow a more complex outline. It is also the longest appointment on this list by a considerable margin.
Micro braiding puts more sections under tension across the scalp. If you are prone to soreness, this is the version to size up from.
 Save
Save6. Jumbo Tree
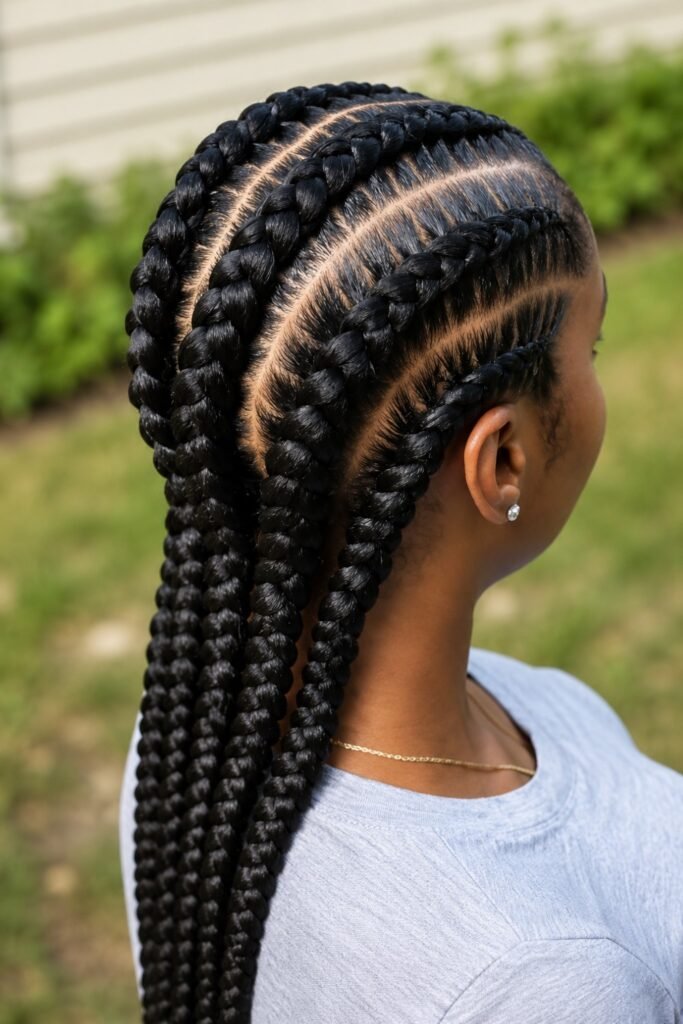
The same design in chunky, wide braids. Bold, graphic, and far quicker to install.
Jumbo braids trade detail for impact and time. The tree reads as a simplified silhouette rather than a detailed shape, which is a legitimate aesthetic choice rather than a compromise.
Also the most comfortable option here, since fewer, larger sections mean less overall pull.
 Save
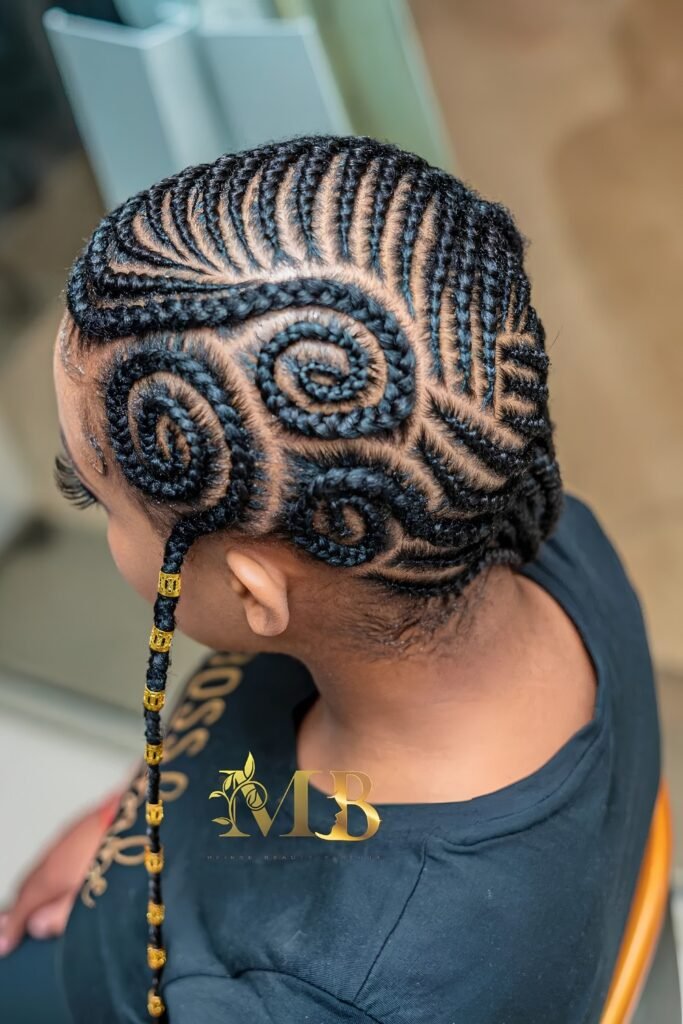
Save7. Tree Outline With Negative Space
The tree formed by the exposed parting lines rather than by the braids themselves, using the scalp as the drawing surface.
The most technically impressive version. Here the empty parted channels create the shape and the braids sit around them, which inverts how most people expect a design to work.
This needs a braider who genuinely does design work. It is the one style on this list where the parting is the entire finished product.
 Save
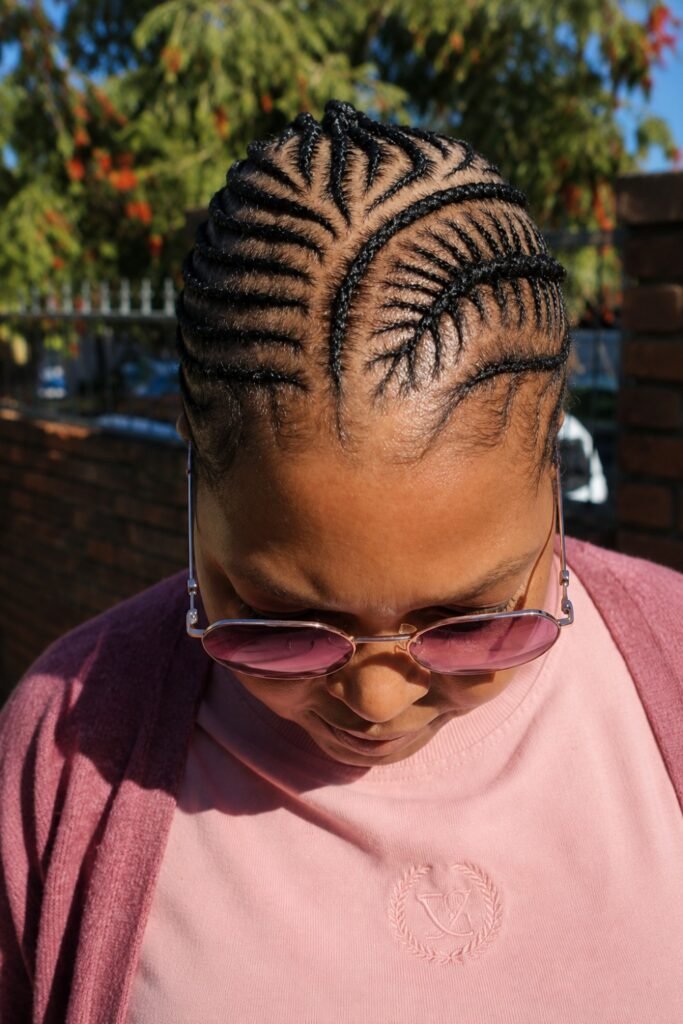
Save8. Layered Branch Tiers
Horizontal tiers stepping outward down the tree, each row of braids forming a distinct branch layer.
The tiered approach reads most clearly as a tree at a distance, which makes it a good choice if the design is going to be photographed rather than examined closely.
Each tier needs even spacing to work. Uneven tiers read as a mistake rather than as a style.
 Save
SaveFestive Colour and Accessories
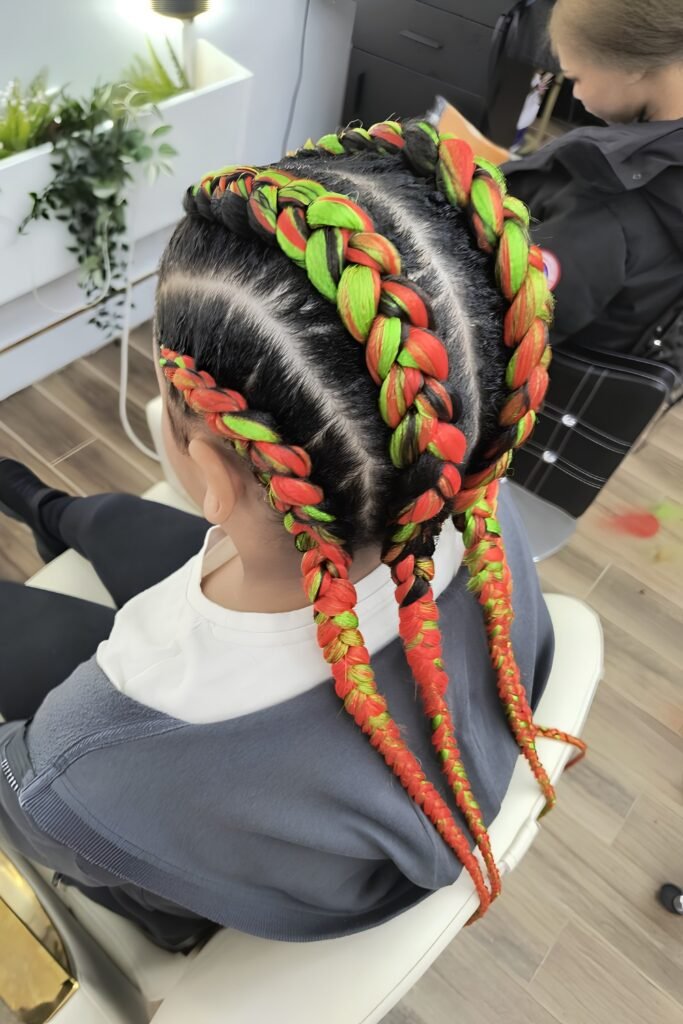
9. Red and Green Braiding Hair
Extension hair in festive tones worked into the design, either throughout or as accent rows only.
Full red or green is a substantial commitment for a seasonal style. Using colour on accent rows only, with your natural tone elsewhere, gives the festive reference without the full effect.
Deep burgundy and forest green read more sophisticated than bright primary tones and are easier to wear past the holiday itself.
 Save
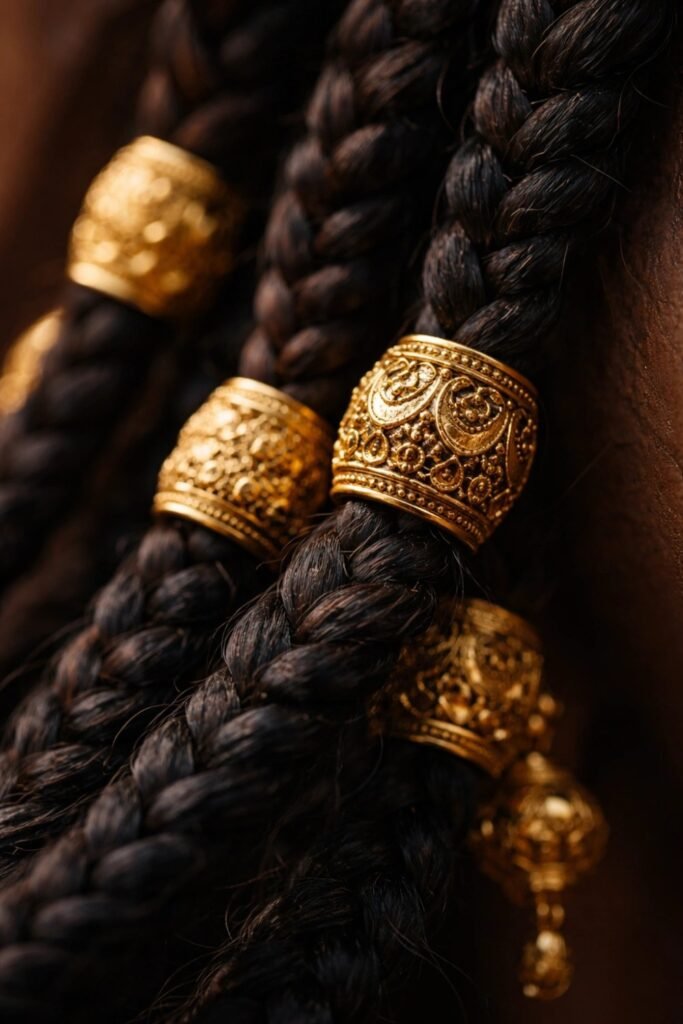
Save10. Gold Cuffs and Beads
Metal cuffs and beads placed along the braids as ornaments.
Beads and cuffs have a long history in African braiding and are the most natural fit for the ornament idea. Gold reads festive without anything specifically Christmas about it, which means the style survives into January.
Weight is worth watching. A lot of metal on fine braids adds real pull over a full day.
 Save
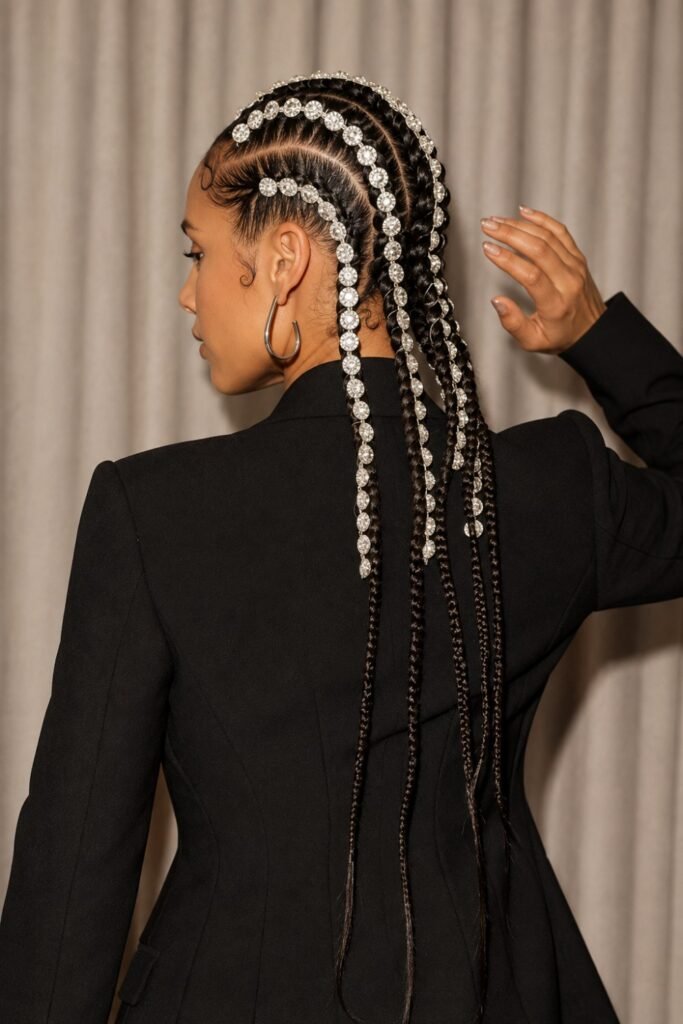
Save11. Gems Along the Parting
Small adhesive gems or rhinestones applied along the exposed parting channels.
The lightest possible way to add sparkle, since nothing hangs from the braid. It also emphasises the parting, which on a design style is the part you want seen.
Adhesive gems come off in the wash and are genuinely temporary. Useful if you want the sparkle for one event rather than for weeks.
 Save
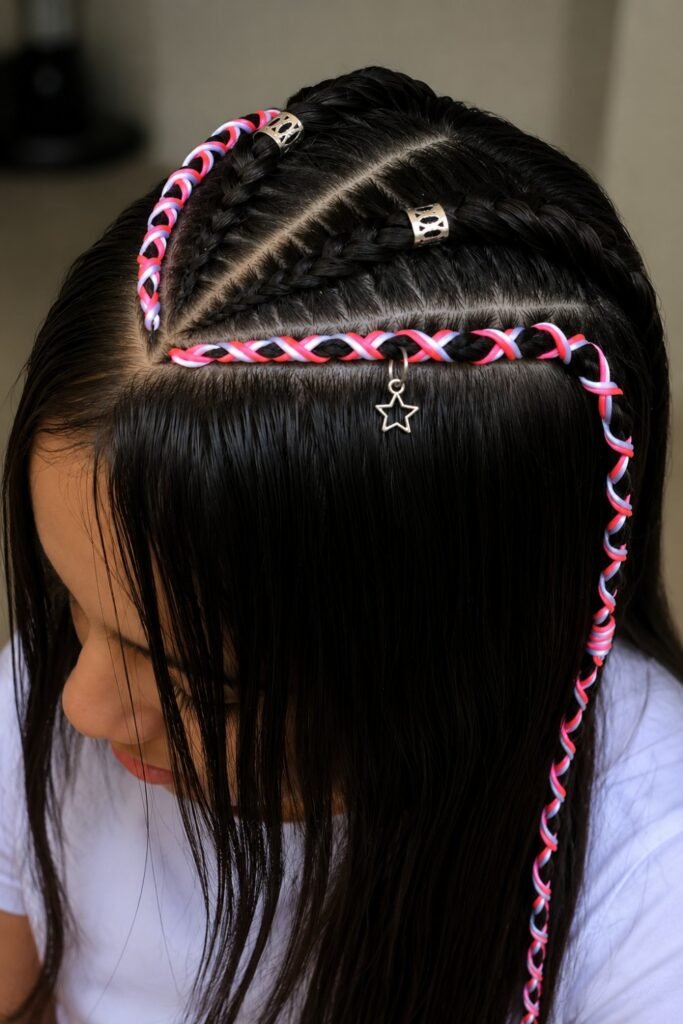
Save12. Ribbon Woven Through
Satin ribbon threaded through the braids, either along the tree or through the surrounding rows.
The most easily removed festive element on this list. Ribbon can be threaded in for an occasion and taken out the same night without disturbing the braids.
Thin satin sits more neatly than wide grosgrain, which tends to bunch at the crossover points.
 Save
SaveCombined With Other Styles
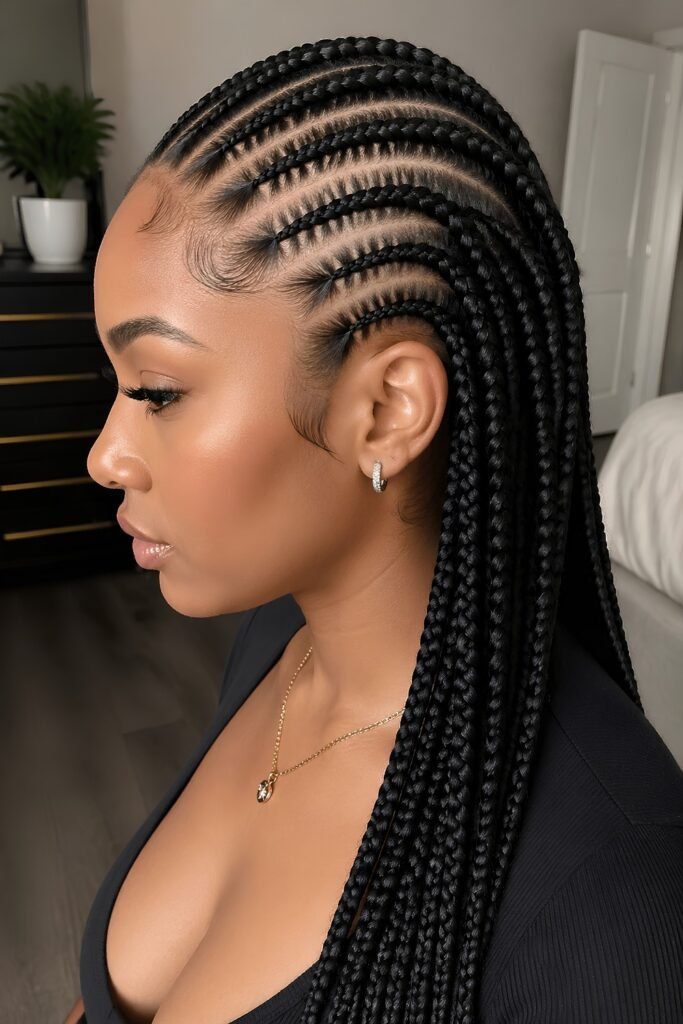
13. Tree Design Into Box Braids
The tree cornrowed at the back or crown, with the remaining hair installed as individual box braids.
The most practical combination, because the individual braids give you the versatility and lifespan that cornrows alone do not. The design stays sharp for a few weeks while the braids carry on well past it.
This is also the option that gets the most value from a long appointment, since you leave with a style that lasts.
 Save
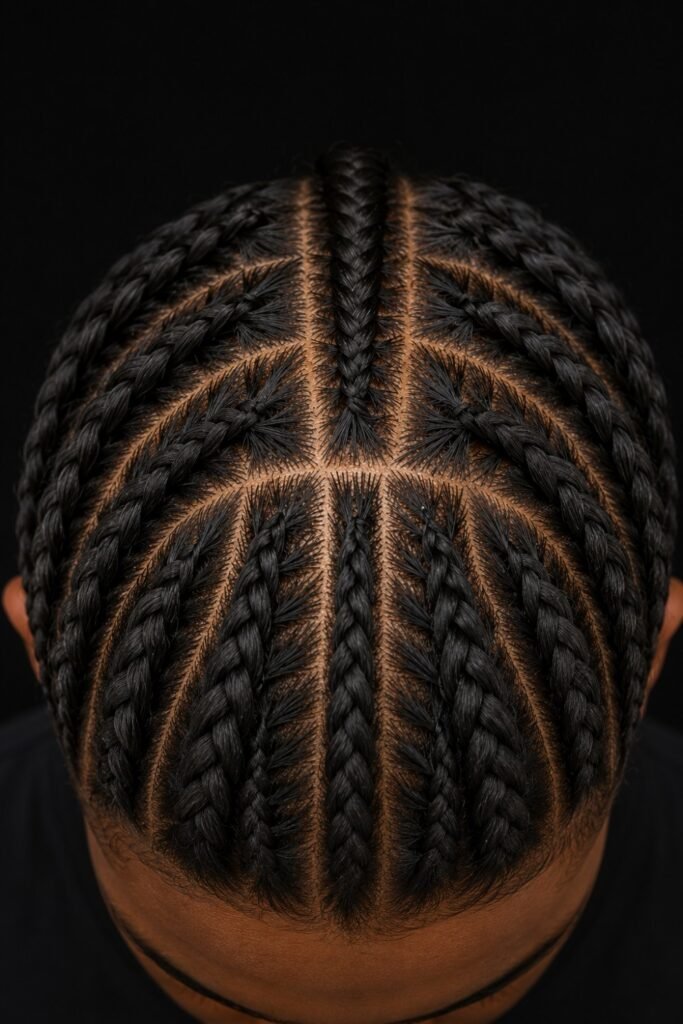
Save14. Tree Design With Knotless Braids
The same combination using knotless braids, which begin with your own hair and add extension gradually.
Knotless installation puts less immediate tension on the root than a knotted base, which makes it the gentler choice for anyone with fine edges or a history of thinning.
Slightly longer to install and usually priced accordingly. Generally worth it.
 Save
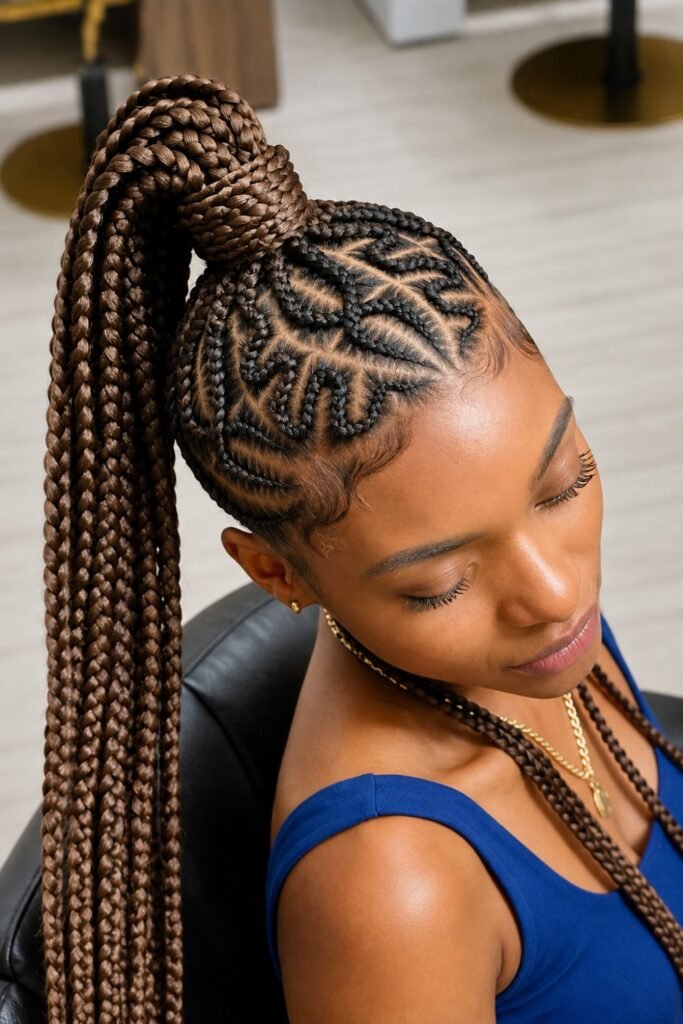
Save15. Tree Cornrows Into a High Ponytail
The design cornrowed at the sides and back, feeding into a high ponytail or bun.
Gathering the length up leaves the design fully visible from every angle, which no down style manages. It also keeps the hair off your neck, which matters at a long event.
Watch the tension at the gather point. A high ponytail pulls the same front sections the braiding already stressed.
 Save
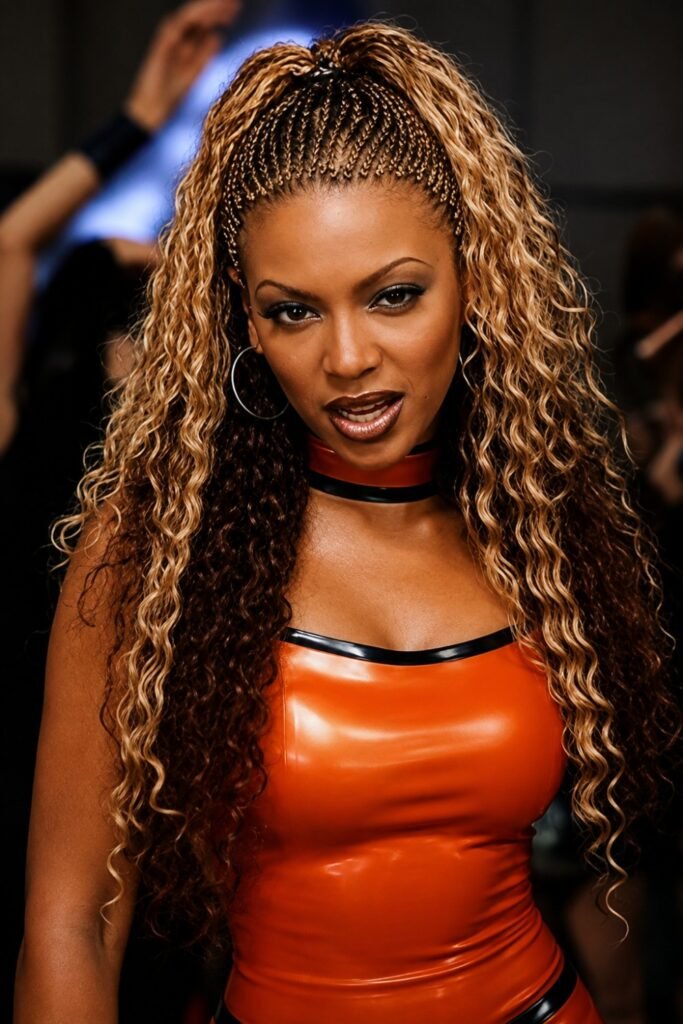
Save16. Tree Cornrows With Loose Ends
The tree design cornrowed at the top with extension hair released to fall loose below, in the tree braids technique.
Worth clarifying, since the names collide: tree braids are a separate technique in which extension hair is fed into cornrows and released so the loose strands cover the braided base. Combined with a tree design at the crown, you get the pattern above and movement below.
The loose hair tangles more than braided ends do, particularly in winter weather. Factor that into the upkeep.
 Save
SaveLooking After Them
Wrap your hair at night in a satin or silk bonnet or scarf. This is the single most useful habit for any braided style and it costs almost nothing.
Keep the scalp moisturised rather than the braids. A light oil applied along the parting lines addresses dryness where it actually occurs, and on a design style the partings are exposed and dry out faster than usual.
Take them down before they take themselves down. Cornrow designs lose their definition as the roots grow, and leaving them in past that point risks matting at the base and breakage on removal. If you want more on maintaining braided styles between installations, our guide to protective styles for Black hair covers the wash, moisturise, and seal routine in more detail.
A Note on the Other Christmas Tree Braid
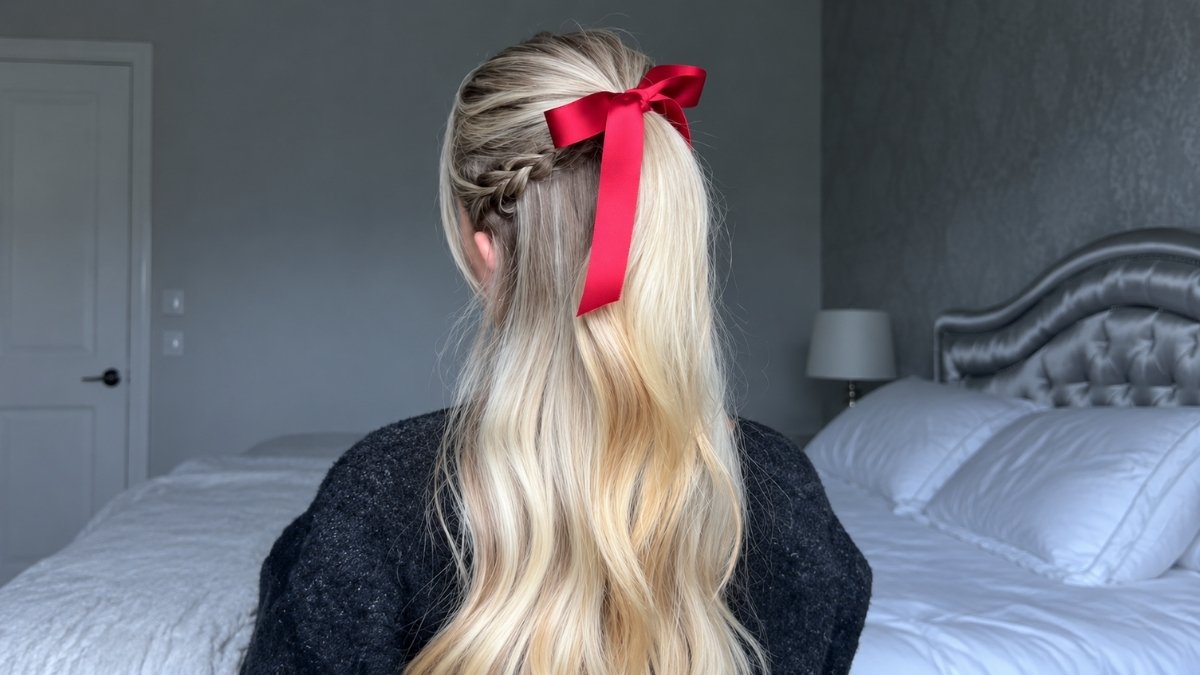
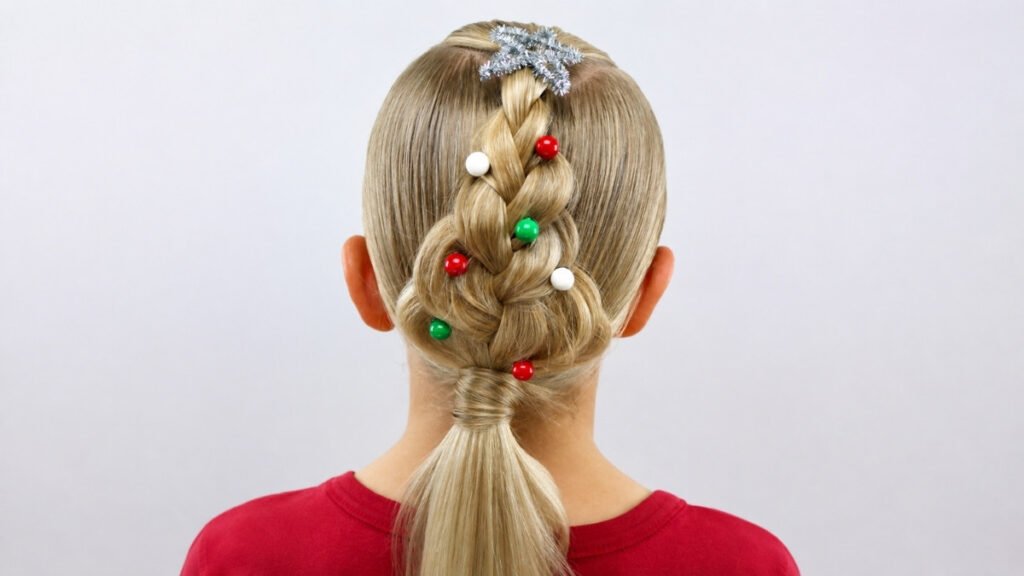
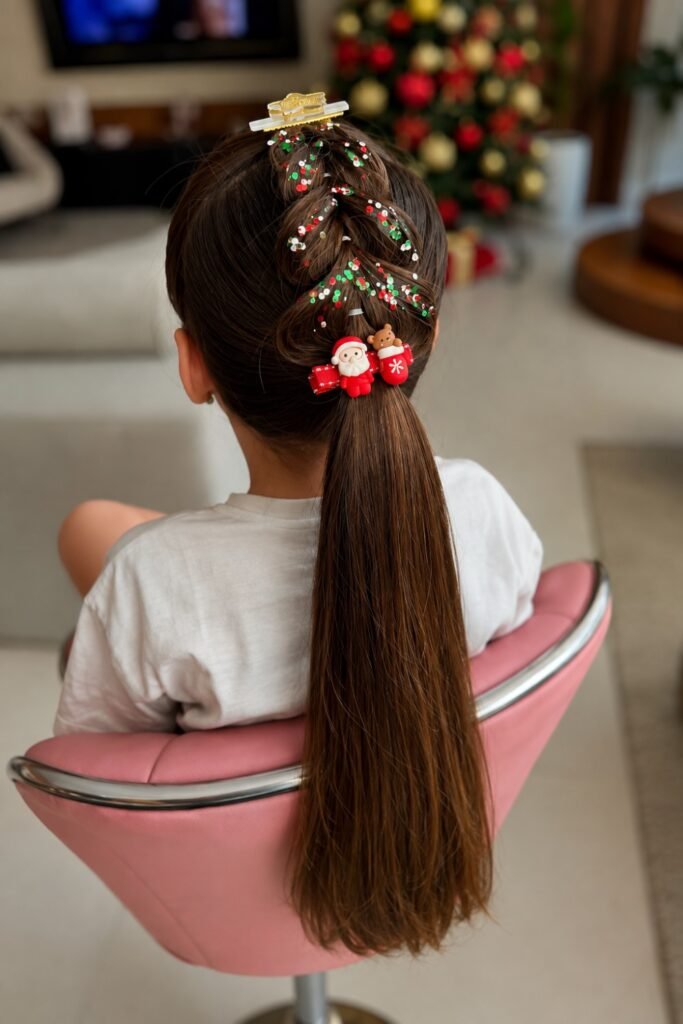
There is a second, entirely separate style with the same name: a pull-through or bubble braid on loose hair, arranged so the sections widen going down into a tree silhouette, then decorated with ribbon, small ornaments, or a star at the crown.
That version is worn mostly on straight or loosely textured hair, is usually done at home, and takes minutes rather than hours. If that is what brought you here, it is a genuinely different technique with its own tutorials and no relationship to cornrow design work beyond the name.
Common Questions
How long do Christmas tree braids last?
Most cornrow designs hold their definition for two to four weeks before root growth blurs the pattern. Combining the design with individual box or knotless braids extends the wearable life considerably, since the braided sections outlast the design itself.
How long does the appointment take?
Longer than plain cornrows, because the parting is where the work is. Expect a multi-hour appointment for a full head with a detailed pattern, and longer for micro braiding or negative space designs. Jumbo versions are substantially quicker.
Do they damage your hair?
Not when installed at a reasonable tension and taken down on time. The damage risk comes from three things: braiding too tightly, leaving them in too long, and reinstalling too soon. Traction alopecia from sustained pulling at the hairline is the specific risk, and it is largely preventable by speaking up in the chair.
Can children wear them?
Yes, and they are popular for children over the holidays. Tension matters more, not less, on a child’s hair, and children are less likely to say when something hurts. Ask directly and repeatedly during the appointment, and choose larger braid sizes over micro work.
What if I want colour but not for weeks?
Use removable elements. Ribbon threads in and out in minutes, adhesive gems wash off, and cuffs slide on and off without disturbing the braid. Coloured extension hair is the only genuinely committed option, so use it on accent rows if you are unsure.
Can I get this style if my hair is short?
Yes. Cornrow designs work on short natural hair, and the pattern comes from the parting rather than from length. If you want length in the finished style, extension hair can be fed in during braiding. If you want to explore other braid designs on shorter or natural hair, our Bo Derek braids guide covers cornrow-based styles across a range of lengths and textures.
Final Thoughts
The best version of this style is the one your braider can execute cleanly, at a tension you can wear for weeks, in the time you have actually booked.
Take a reference photo showing placement as well as pattern. Ask about tension before they start and again once they have. And if you want the design to outlive the season, pair it with box or knotless braids so you are not sitting through a long appointment for a look that expires on the 26th.