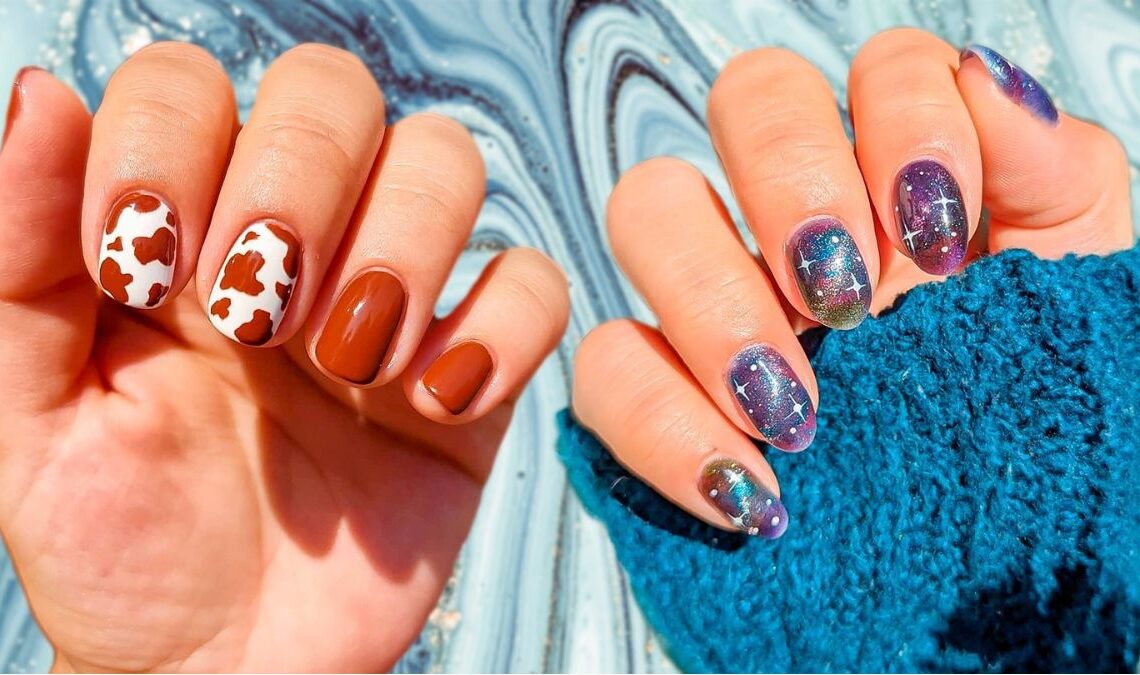
Short gel nail designs are perfect for those who prefer a more practical length without compromising on style.
Gel nails are like fake nails that go on top of your real ones. They’re made of a special gel that hardens when exposed to UV or LED light.
One of the best things about them is that they last longer than regular nail polish without getting peeled.
These short gel nail designs are easier to maintain and complements a wide range of outfits and events.
There are various celebrities who frequently rock the short gel nail designs. These include big names like Zendaya, Khloe Kardashian, Hailey Bieber, and many others.
Best Short Gel Nail Design Ideas
When a trendy new nail design pops up, it’s usually modeled on long nails. But that’s not really fair to those with shorter nails, right?
If you’re someone who prefers short nails, don’t worry! We’ve put together a list of our top short gel nail designs for you.
These designs are ideal for summertime vibes and offer a mix of classic and super unique styles.
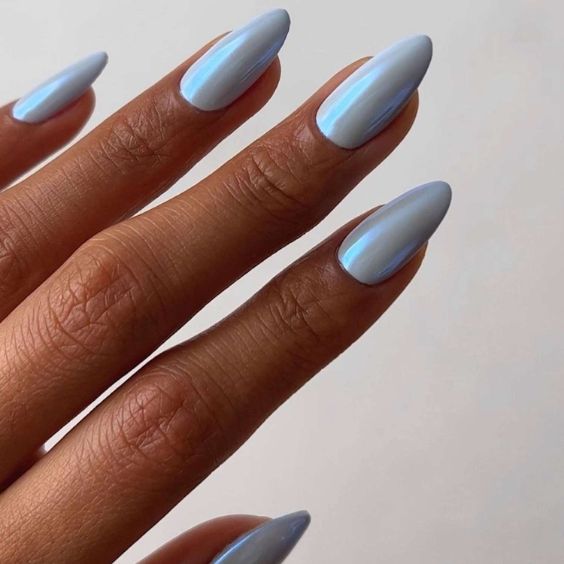
1) Ice Blue Gel Nails
Start with applying a gel base coat all over your nails and put your nails under UV or LED light for 30 seconds to a minute.
Next, paint two or three thin layers of the blue gel polish onto each nail. Sprinkle the glitter onto each nail, from the top to the bottom.
Gently press the glitter into your nails and then put them back under the UV or LED light. Once the glitter is set, put a layer of gel top coat over it and let it dry under the light one last time.
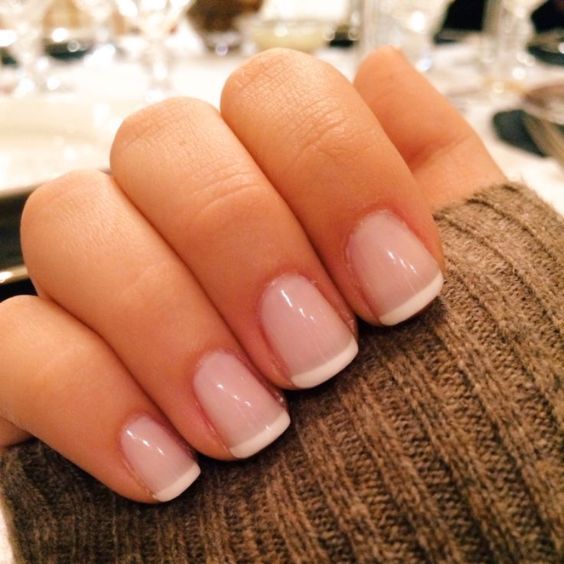
2) French Gel Nails
Start by painting nails with base gel color and cure before doing a second coat. Clean nails with a cleaner.
Put white gel on nail tips and create smile lines. Clean up the nail tips by using a nail brush and nail cleansing solution.
Once every nail tip has been refined, cure the nails for 30 seconds under an LED lamp or UV light.
Apply a thin layer of gel top coat to each nail, cap the free edge, and cure for one last time under LED or UV. Moisturize by applying cuticle oil.
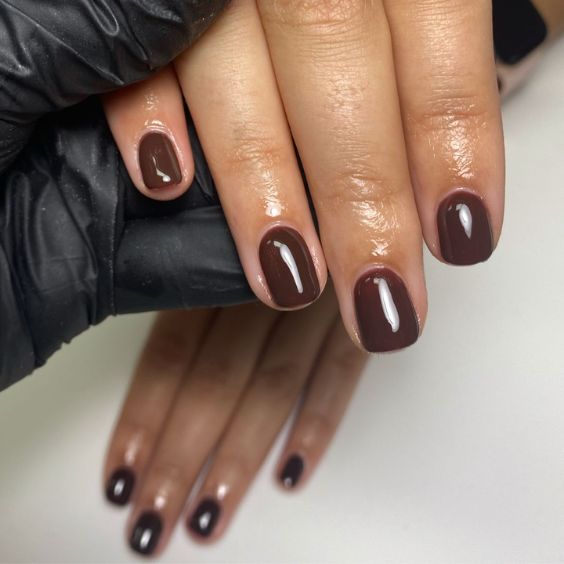
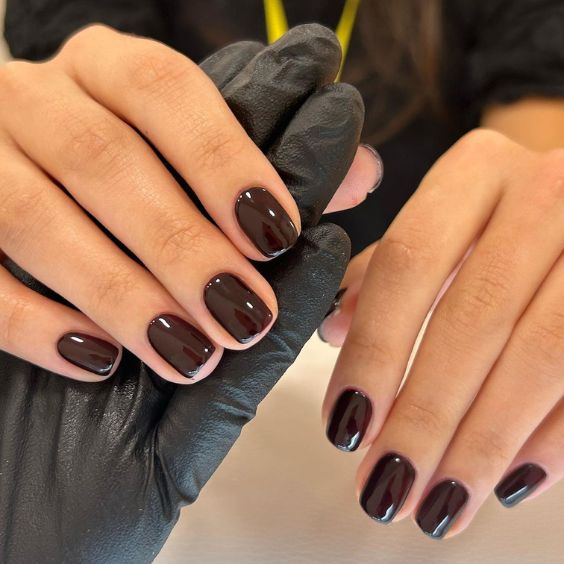
3) Chocolate Gel Nails
Start by prepping your nails. Apply a thin layer of gel base coat and cure it under UV or LED light.
Then, apply chocolate gel polish in thin coats and cure after each one until you like the color. Finish with a matte or glossy gel top coat and cure again.
Clean off any stickiness with nail cleanser and moisturize your nails with cuticle oil. Enjoy your sweet chocolate nails!
4) Short Skittle Nails
Short gel skittle nails are like having a colorful candy assortment on your fingertips! Each nail gets painted a different color, just like a bag of skittles.
You can pick any colors you like to match your style or mood. Start with a gel base coat, then paint each nail with your chosen gel polish colors.
Finish with a shiny gel top coat for nails that pop and last a long time.
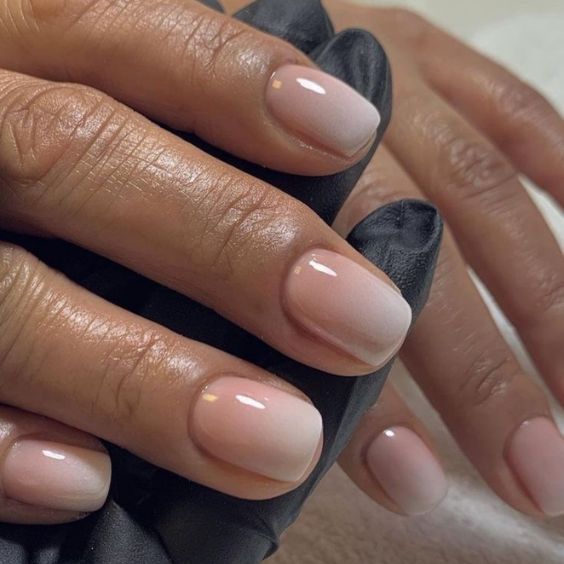
5) Short Gel Gradient Nails
Gradient nails create a beautiful transition of color from one shade to another and give your nails a soft and blended look.
This technique involves blending two or more nail polish colors. Starting with a light base color, gradually layer darker shades towards the tips or cuticles.
Use a gradient brush to achieve a smooth transition between colors. Finish with a clear top coat and add shine, resulting in stunning gradient nails.
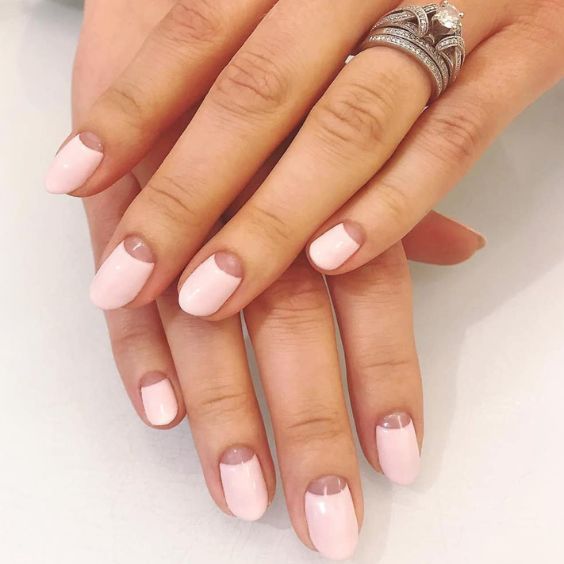
6) Negative Space Half Moons
Negative Space Half Moon nails offer a modern twist to traditional short nail designs.
This edgy design includes bare sections of the nail, creating a trendy half moon shape near the cuticle. You can use nail tape to create clean lines.
You can pair it with contrasting colors or metallic accents. Finish with a clear top coat to protect the design and enhance shine.
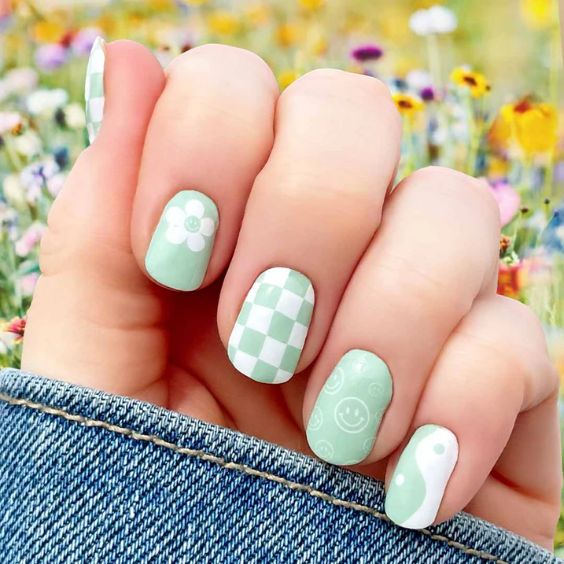
7) Checkerboard Nail Designs
Checkerboard nail designs offer a bold and graphic look that’s perfect for making a statement.
It is achieved by painting squares of nail polish in a grid-like fashion. Checkerboard nails can be customized with any color combination to suit your style.
Whether you prefer bright or neutral tones, this versatile design is sure to add a fun and playful touch to your nails. Finish with a glossy top coat for a polished and professional finish.
8) Bedazzled Daisies Design
Bedazzled daisies are nails that look like pretty flowers with sparkles. The flowers have shiny centers and are made with rhinestones or little jewels to make them sparkle more.
They are painted carefully on each nail to look like real daisies. These nails are perfect if you want to feel extra special or add some sparkle to your day.
They’re sure to make you smile with their shiny, flowery charm!
9) Single-Tone Short Gel Nails
Single-tone short gel nails are nails painted in just one color, without any fancy designs or patterns. They’re simple, stylish, and perfect if you want a clean and polished look.
With endless color options to choose from, you can pick a shade that matches your mood or outfit.
These nails are great for everyday wear or special occasions when you want a classic and versatile style. Just apply the gel polish, cure it under a light, and you’re ready to go!
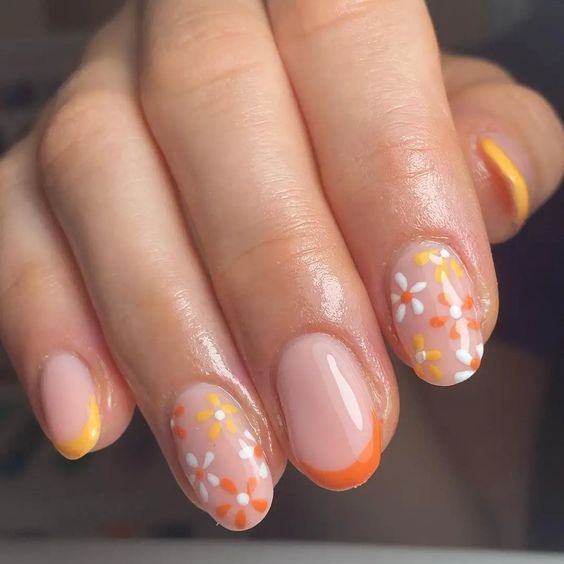
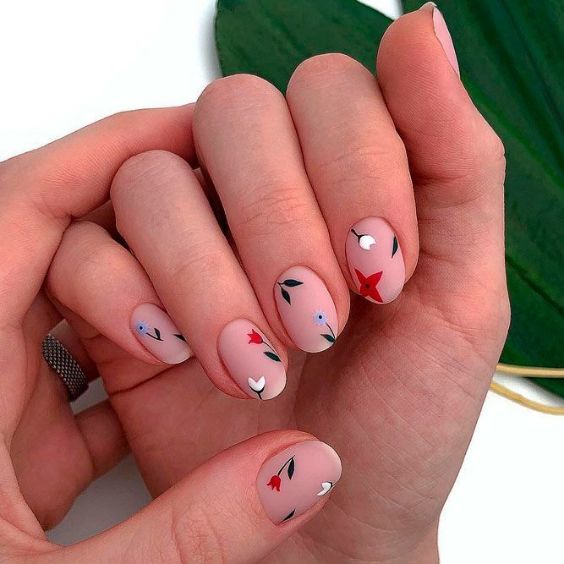
10) Lovely Flowers Nail Designs
Lovely Flowers Short Gel Nails are perfect for adding a touch of beauty to your fingertips.Each nail contains flowers painted in vibrant colors. It creates a cheerful and feminine look.
These nail designs are versatile and suitable for both casual and formal occasions.
Whether you’re attending a wedding or simply want to brighten up your day, Lovely Flowers Short Gel Nails are sure to make you feel lovely and confident with their charming floral elegance.
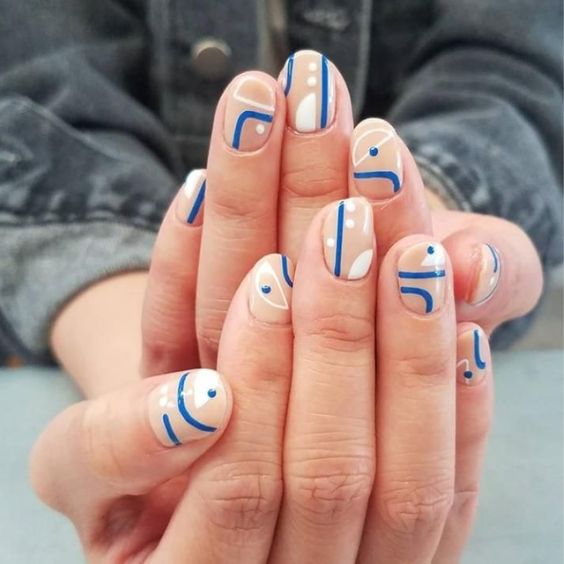
11) Trendy Abstract Short Gel Nails
Instead of traditional designs, these nails feature bold and artistic patterns, like geometric shapes, swirls, or splatter paint.
Start by preparing your nails and applying a gel base coat. Choose your desired gel polish colors and tools for nail art.
Cure each layer of gel polish under a lamp before applying a clear gel top coat to seal in the design and add shine.
Finish by cleaning any sticky residue and moisturizing your cuticles. Now, you’re ready to rock your trendy abstract nail look!
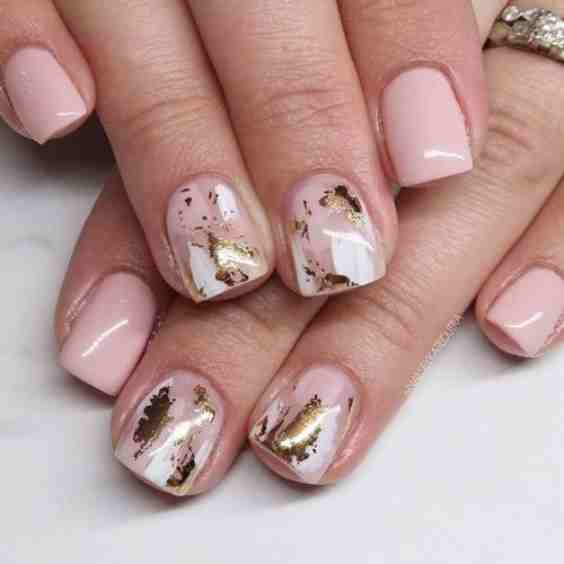
12) Short Gel Nails with Foil Pattern
Begin by applying a thin layer of gel base coat and cure it under a UV or LED lamp. Select your desired foil pattern and cut it into small pieces to fit your nails.
Next, apply a layer of gel polish in your chosen color and cure it. Carefully press the foil pieces onto your nails in your preferred design.
Peel off the foil backing to reveal the pattern. Now add a clear gel top coat and cure. Clean around the nails and moisturize your cuticles for a polished finish.
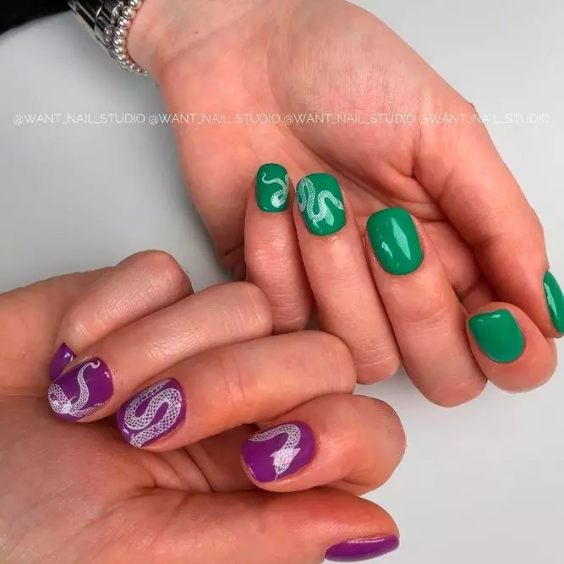
13) Two-toned Hands with Short Gel Nails
Choose two complementary gel polish colors, one for each hand. Apply a gel base coat to protect your nails and ensure a smooth application.
Apply one color to one hand and the other color to the opposite hand. It will create a stylish contrast.
Cure each layer under a UV or LED lamp for 30 seconds to a minute. Finish with a clear gel top coat to seal in the colors and add shine. Enjoy your fashionable two-toned gel nails!
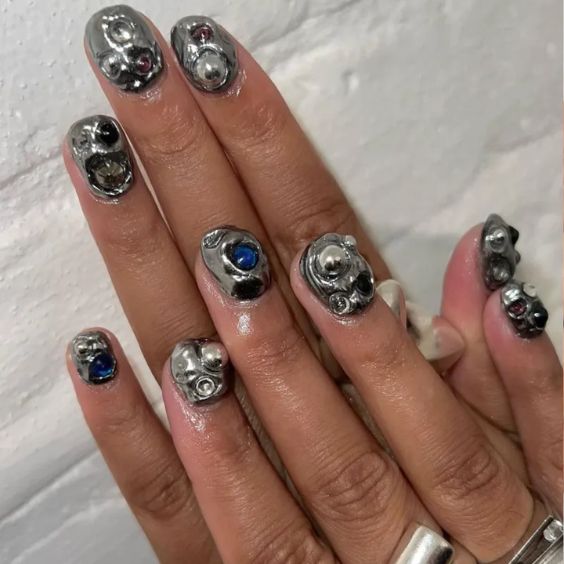
14) 3D Short Gel Nails Designs
Apply a gel base coat to protect your nails and provide a smooth surface for the designs.
Choose your desired 3D elements, such as studs, gems, or charms. Apply them to your nails using a small amount of gel polish as adhesive.
Arrange the 3D elements in your preferred design. Cure each layer under a UV or LED lamp.
Finish with a clear gel top coat to seal in the designs and add durability. Enjoy your stunning and dimensional short gel nails!
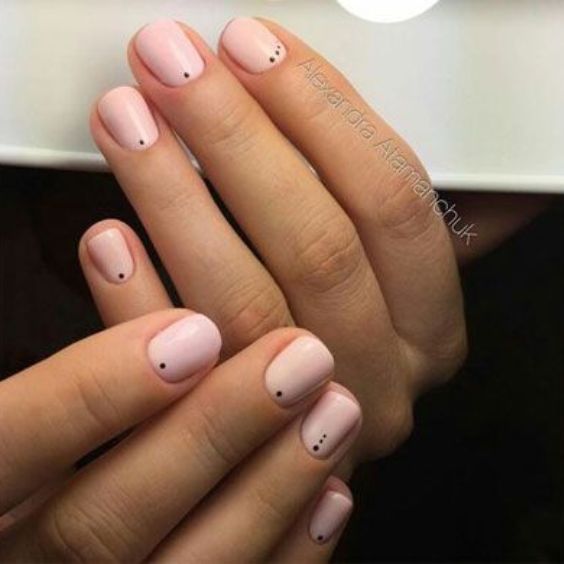
15) Simple Dots Nail Designs
Apply a thin layer of gel base coat and cure it under a UV or LED lamp. Choose your preferred gel polish color and apply it evenly to your nails.
Once dry, use a dotting tool or the end of a small brush to create dots on each nail. You can vary the size and placement of the dots for a customized look.
Cure the nails again to set the dots, then apply a layer of clear gel top coat and add shine.
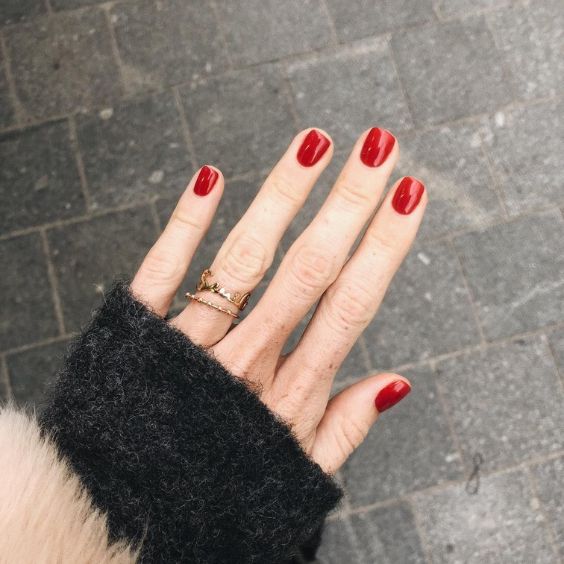
16) Classic Red Short Nails
Apply a thin layer of gel base coat and cure it under a UV or LED lamp. Choose your favorite shade of classic red gel polish and apply it evenly to your nails.
Ensure complete coverage and smooth application. Cure the nails under the lamp according to the gel polish instructions.
Finish with a layer of clear gel top coat to seal in the color and add shine. Enjoy your timeless and elegant classic red gel nails!
17) Liquorice-Inspired Gel Short Nails
Apply a thin layer of gel base coat and cure it under a UV or LED lamp. Select a deep black gel polish resembling the color of liquorice and apply it evenly to your nails.
Ensure thorough coverage and smooth application. Cure the nails under the lamp according to the gel polish instructions.
Finish with a layer of clear gel top coat and add a glossy finish. Enjoy your sleek and sophisticated liquorice-inspired gel nails!
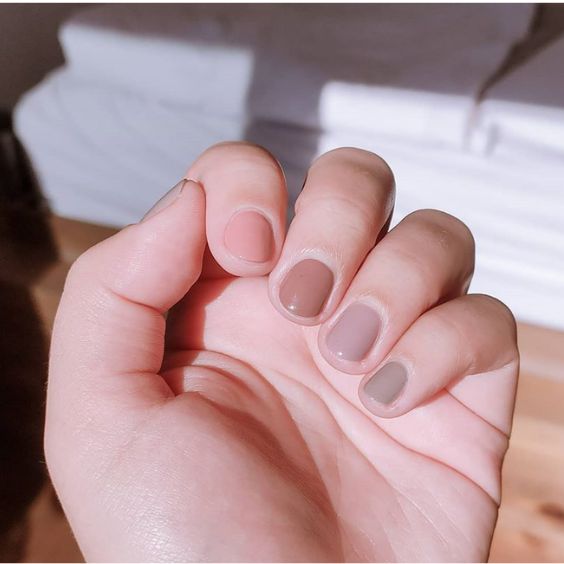
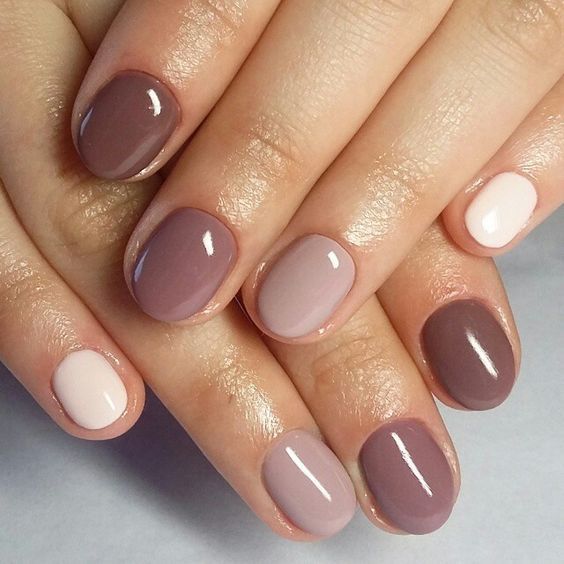
18) Short Gel Nails in Neutral Hues
Apply a thin layer of gel base coat and cure it under a UV or LED lamp. Choose any neutral gel polish shades, such as beige, taupe, or soft pink, and apply them evenly to your nails.
Alternate between colors or create a gradient effect for added dimension. Cure the nails under the lamp according to the gel polish instructions.
Finish with a layer of clear gel top coat to seal in the neutral hues and add a glossy finish. Enjoy your versatile neutral gel nails!
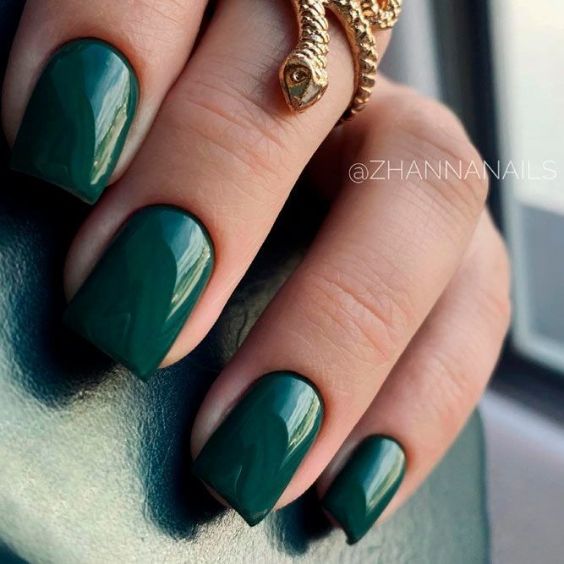
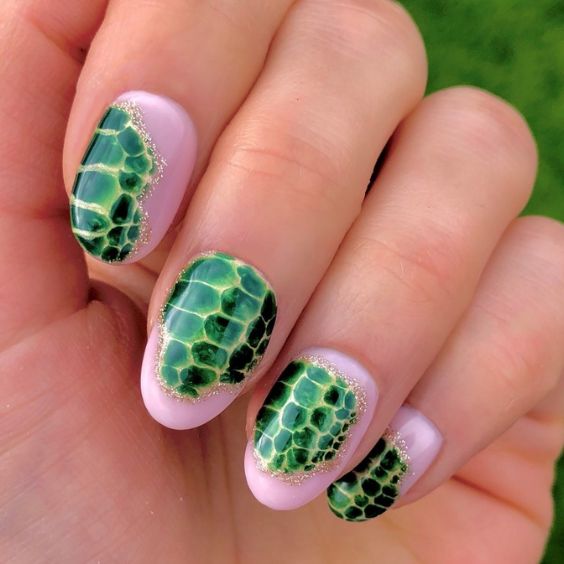
19) Crocodile Short Gel Nails
Apply a thin layer of gel base coat and cure it under a UV or LED lamp. Choose a dark green gel polish to mimic the color of a crocodile’s skin and apply it evenly to your nails.
Once dry, use a thin nail art brush or a toothpick to create small, irregular lines across each nail to resemble the texture of crocodile skin.
Cure the nails under the lamp according to the gel polish instructions. Finish with a layer of clear gel top coat and add shine.
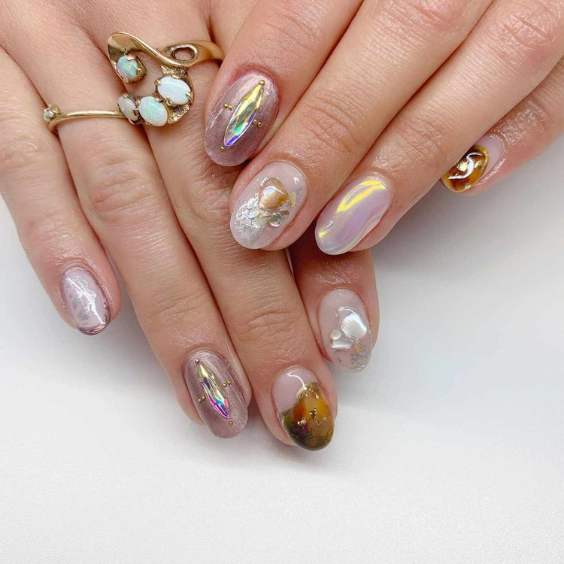
20) Short Gel Nails with Chrome Accents
Apply a thin layer of gel base coat and cure it under a UV or LED lamp. Choose a gel polish color as your base and apply it evenly to your nails.
Select chrome nail powder in your desired shade and apply it onto specific areas of your nails using a sponge applicator or a silicone tool.
Gently buff the chrome powder onto the nail surface until you achieve the desired shine and coverage.
Seal the design with a layer of clear gel top coat and cure it under the lamp. Enjoy your stylish gel nails with eye-catching chrome accents.
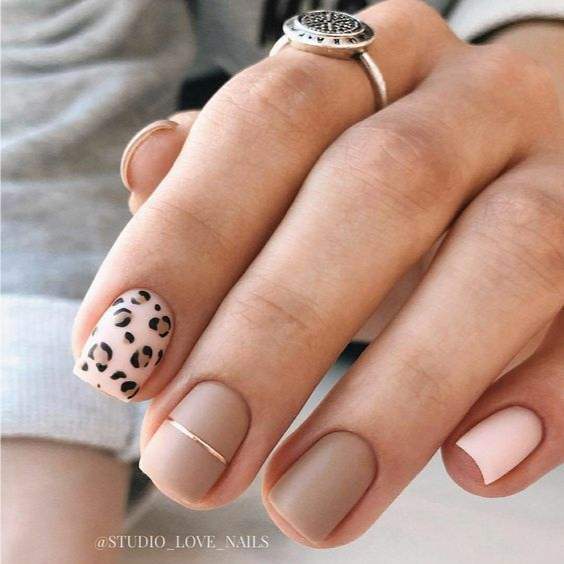
21) Leopard Print Short Nails
Apply a thin layer of gel base coat and cure it under a UV or LED lamp. Choose a neutral gel polish as your base color and apply it evenly to your nails.
Use a small nail art brush or a dotting tool to create irregular leopard spots using black gel polish.
Outline some of the spots with small lines to mimic the leopard print pattern. Cure the nails under the lamp according to the gel polish instructions.
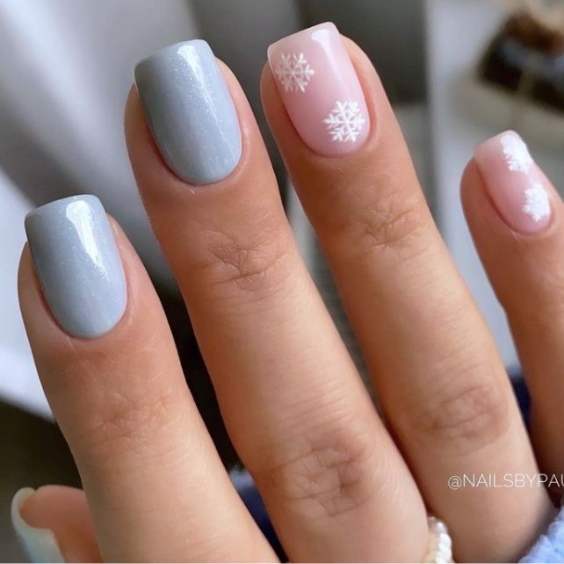
22) Christmas and Winter Nails
Choose festive gel polish colors like red, green, white, or metallics for Christmas-themed nails, or opt for icy blues, silvers, and whites for a winter-inspired look.
Apply the gel polish evenly to your nails and let it dry. Then, use nail art brushes or dotting tools to create holiday designs such as snowflakes, Christmas trees, ornaments, or candy canes for Christmas nails.
Draw snowflakes, icicles, or glitter accents for winter nails. Once you’re satisfied with your designs, cure the nails under the lamp according to the gel polish instructions.
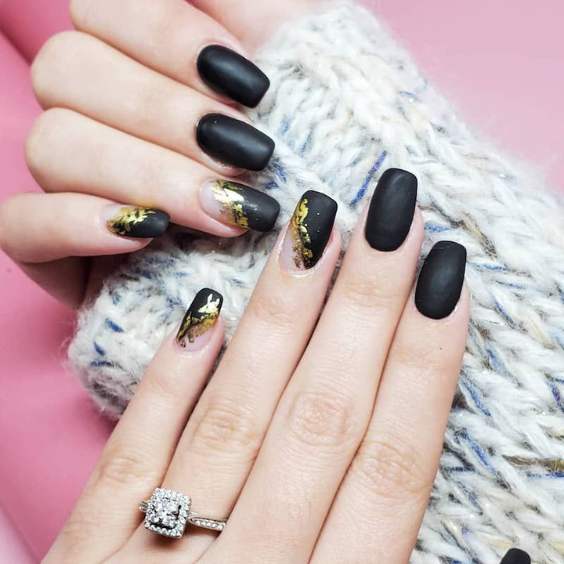
23) Black and Gold Short Gel Nails
Apply a thin layer of gel base coat and cure it under a UV or LED lamp. Next, apply a black gel polish evenly to your nails and cure it.
Use a thin nail art brush or dotting tool to create intricate gold designs such as stripes, dots, or geometric shapes on each nail.
Cure the nails under the lamp according to the gel polish instructions. Finish with a layer of clear gel top coat and add shine. Enjoy your elegant and sophisticated black & gold gel nails!
24) Nude Nails with Glitter
Apply a thin layer of nude gel polish evenly to your nails and cure it under a UV or LED lamp.
Choose a glitter gel polish in your desired shade and apply it to the tips of your nails or as an accent on specific nails.
You can also create a gradient effect by applying the glitter polish from the tips towards the base of the nails.
Cure the nails under the lamp according to the gel polish instructions. Finish with a layer of clear gel top coat to seal in the glitter.
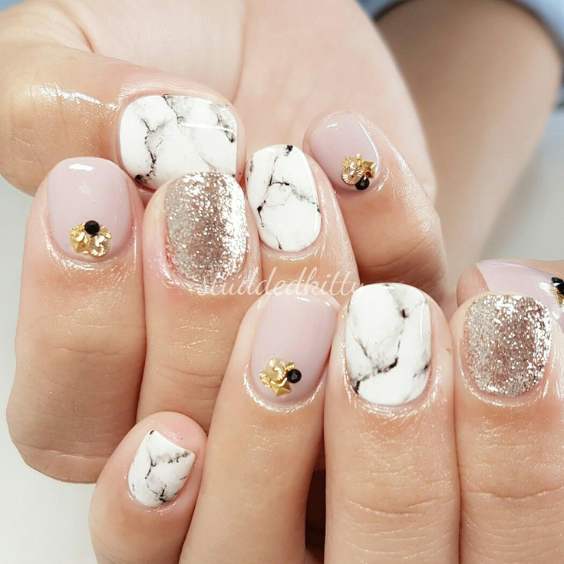
25) Marble Short Gel Nails
Apply a thin layer of gel base coat and cure it under a UV or LED lamp. Next, apply a light-colored gel polish as the base color and cure it.
Once dry, apply drops of a darker-colored gel polish onto each nail. Use a thin nail art brush or a toothpick to swirl the colors together to create a marble effect.
You can also add metallic or glitter accents if desired. Cure the nails under the lamp according to the gel polish instructions.
Conclusion:
In conclusion, short gel nail designs are a perfect choice for individuals who prefer shorter nail lengths.
They offer a wide range of designs to choose from, including Ice Blue Gel Nails, French Gel Nails, Chocolate Gel Nails, and many more.
Whether you’re aiming for a classic look or a trendy abstract design, short gel nails provide endless possibilities for expressing your personal style.
So, experiment with different designs and enjoy rocking fabulous short gel nails for every occasion!

