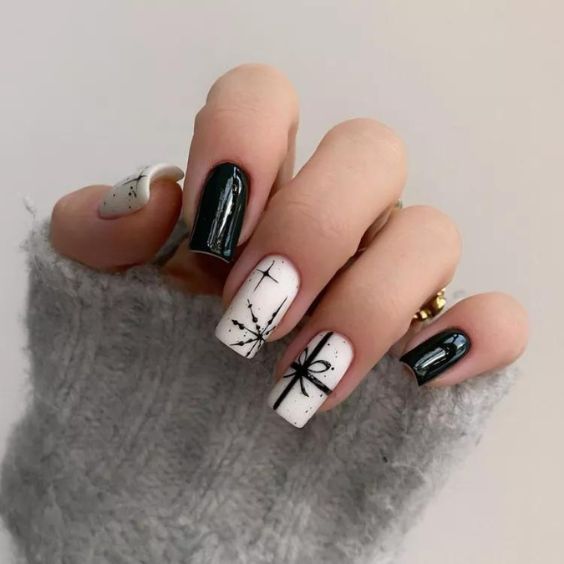
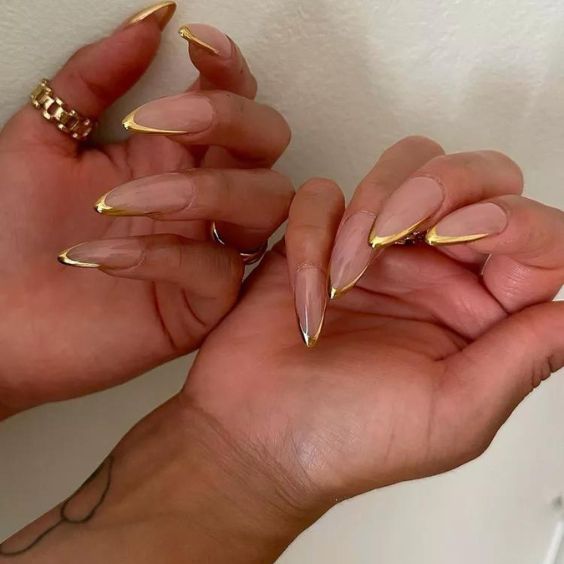
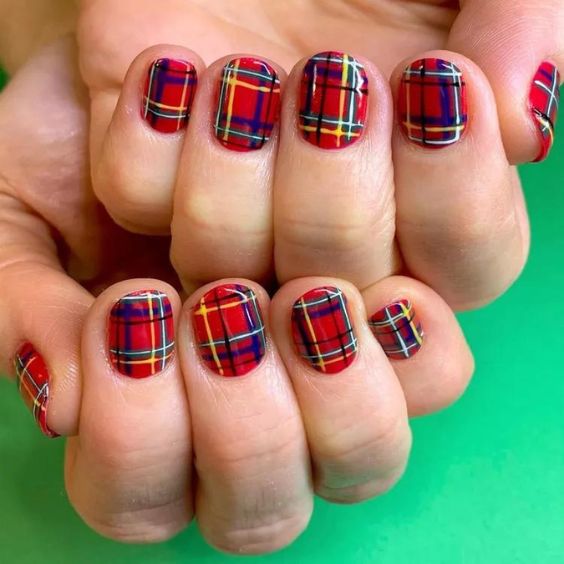
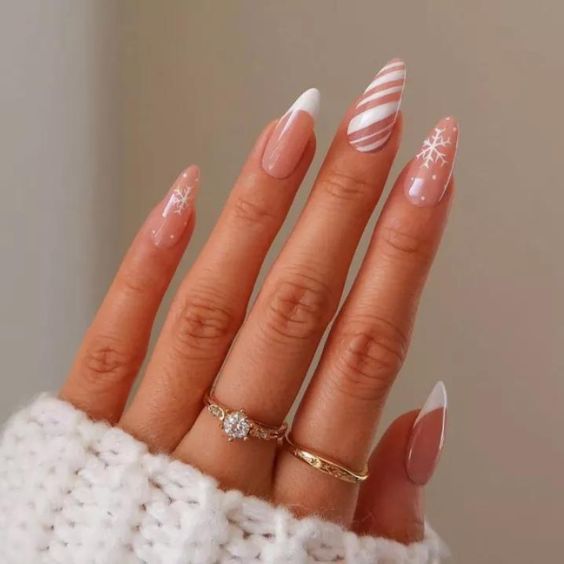
Christmas nails are not just pretty polish; they’re a fun way to show off your holiday spirit! Whether you’re transitioning from Halloween vibes or pairing your festive nails with your favorite Christmas hairstyles, the choices are endless.
From classic red and green to playful designs like trees and snowflakes, you can find a look that suits your style. Whether you prefer a subtle shine or a bold look, your nails can be a cheerful part of the season.
The holidays are the perfect time to try out festive nail designs. So let’s explore some great ideas to make your Christmas nails stand out and spread some holiday joy!
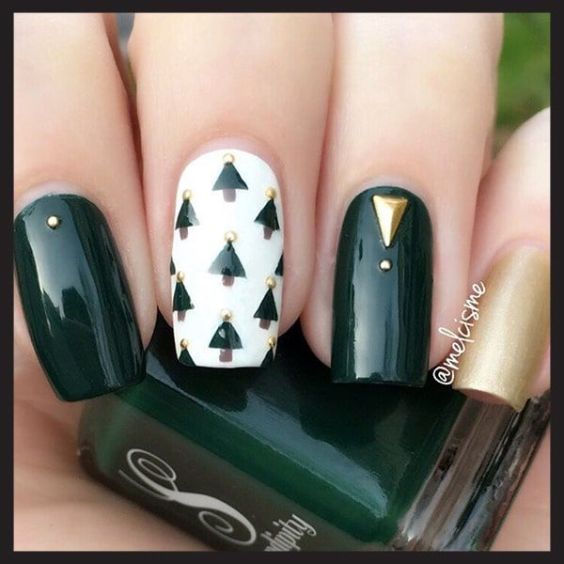
1) Christmas Tree Green Nails
To achieve this nail design, I’d recommend starting with a rich green polish as your base. Then, add small glitter details to mimic the look of a Christmas tree.
You can use a thin brush or nail art pen to create tree shapes and top them with tiny ornaments of different colors.
Finish with a clear top coat to seal in your design and keep it shiny. To maintain your festive look, avoid using your nails as tools and reapply the top coat every few days.
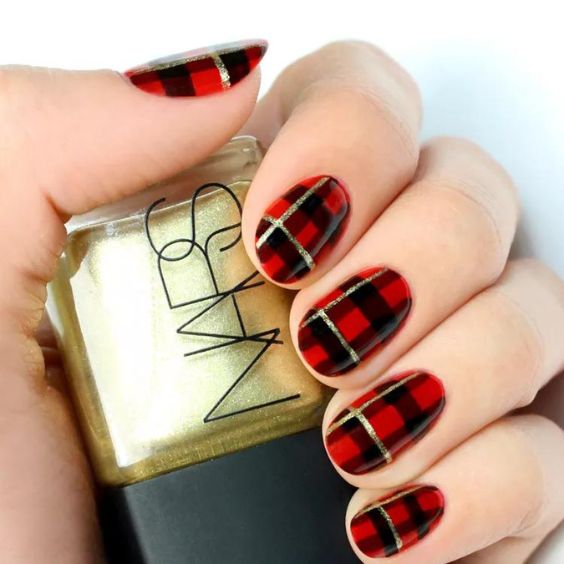
2) Cherry Red Plaid Nails
I love the cherry red plaid design as it is an eye-catching nail look. Start with a bright red polish as your base.
Once dry, create a plaid pattern of intersecting lines in white and green by using a thin brush or nail tape.
You can add small details like tiny gold dots to enhance the design and apply a clear top coat to keep it glossy and protected.
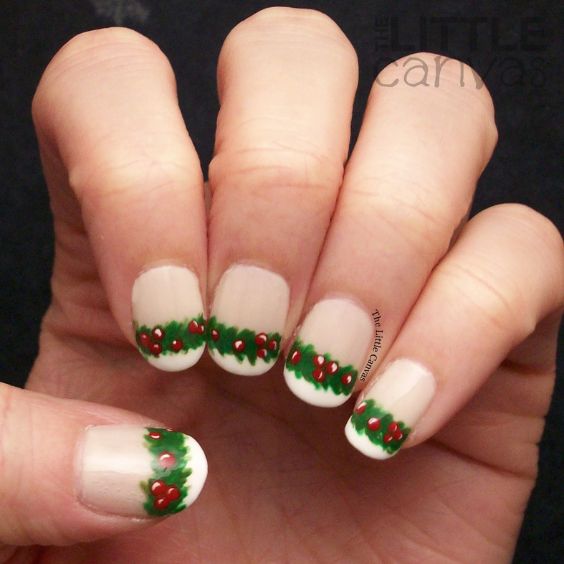
3) Garland French Tip Nails
Garland French tip nails are perfect for women wanting a classic, festive look. Opt for a nude base and white tips to achieve a clean French tip manicure.
After this, make tiny garlands along the tips using green polish and a thin brush or nail art pen. Enhance the garland with small red dots to mimic ornaments.
I recommend finishing with a clear top coat to protect the design. Make sure to keep your nails hydrated and moisturized always.
4) Metallic Grinch Nails
Metallic grinch nails are obtained with a green chrome polish that serves as a shiny, eye-catching base.
Begin with applying a base coat. After the base coat, use a sponge to gently dab on the green chrome polish for a smooth, reflective finish.
Seal your nails with a clear top coat to keep them glossy. To maintain this design, avoid heavy use of your nails and touch up any chips promptly.
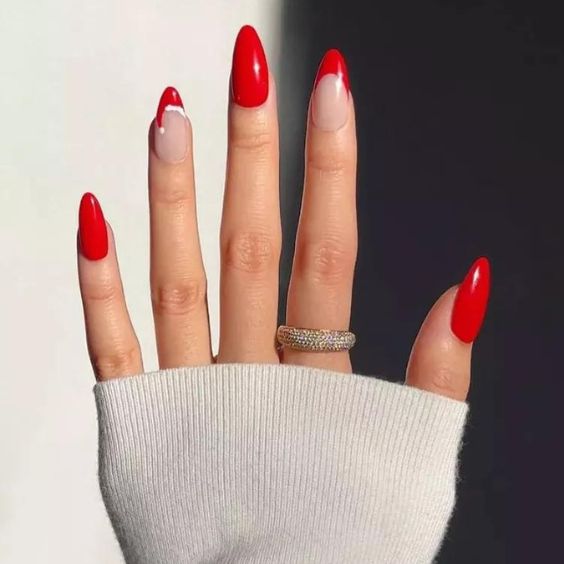
5) Christmas Red Nails
Christmas red nails are a classic choice for the holiday season. I recommend a bold red polish for a vibrant base.
On my suggestion, apply two coats of nail polish. It will result in an even, rich color on your nails. You can add a layer of red glitter polish for extra sparkle.
For a perfect application, use a nail buffer to smooth out ridges before applying polish, and make sure to let each coat dry completely.
6) Polka Dots Nail Design
Polka dots nails are a fun way to add a festive touch without traditional red and green. Go for a base coat in a shimmery jewel tone like deep blue or rich purple.
Let it dry first. I suggest using a dotting tool or a toothpick to add contrasting polka dots in a lighter shade or metallic color.
To keep your manicure fresh, regularly touch up any minor chips and keep your nails moisturized.
7) Monochromatic Christmas Nails
For monochromatic Christmas nails, choose a single nail polish color. I’d recommend vibrant colors like deep red or emerald green for a sleek, unified look.
After you have applied the base coat, use your chosen color in two coats for a rich and solid finish. You can vary the finish with matte or glossy top coats for added flair.
I suggest using a nail buffer to create a flawless base that results in smooth application. It will keep the nails looking their best for a longer time.
- You may also read this: 19 Classy Beach Nails Ideas To Enjoy A Tropical Look
8) Chrome Tips
I recommend chrome tips for adding a sleek twist on classic nail designs. Obtain a clean canvas by applying the base coat with a nude color. These simple elegant tips will go best with your Christmas outfit and any Christmas hair color you want to have.
So after it dries, use a metallic chrome polish to paint just the tips of your nails. It will give your nails a shiny and high-impact look.
I’d recommend applying a layer of top coat to lock in the chrome effect and enhance durability of the design.
9) Festive Tartan Nails
Festive tartan nails feature a cheerful plaid pattern having base coats in deep red or green colors.
Create a tartan pattern by drawing intersecting lines in white and a complementary color. You can use a striping brush for this purpose.
Finish with a clear top coat to protect and add shine to your nails. Quickly address any chips to maintain your design.
10) Snowy French Manicure
Snowy French manicure offers a unique twist to the classic French look. I’d recommend starting with a soft, sheer pink or nude base coat. Paint the tips with a crisp white polish.
To create a snowy effect, use a dotting tool or a fine brush to add tiny white dots or sparkles at the tips for a frosty touch.
You can make different designs with white nail polish such as small trees or stripes to enhance your design.
If you want to achieve best results, let each layer dry completely before adding any further details.
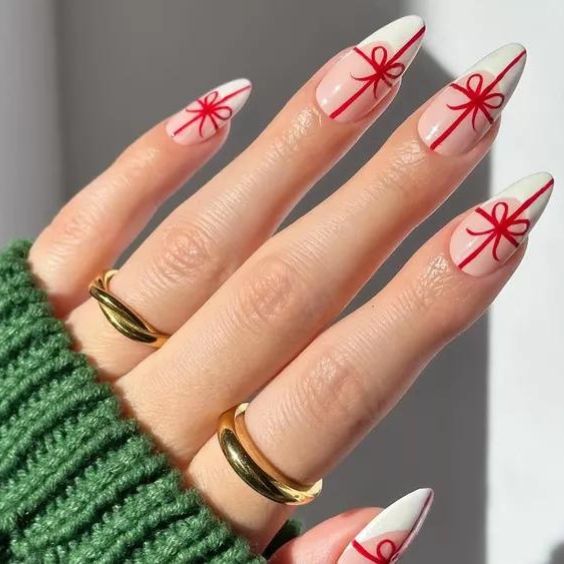
11) Christmas Bow Nails
Christmas bow nails feature a solid base coat in any festive color like red or green. This nail look is enhanced by tiny, playful bows.
Use a nail art pen to paint tiny bows in contrasting colors like gold or silver. You can add a touch of glitter to the bows for extra sparkle.
Make sure that your nails are hydrated and moisturized by applying cuticle oil and regular trimming.
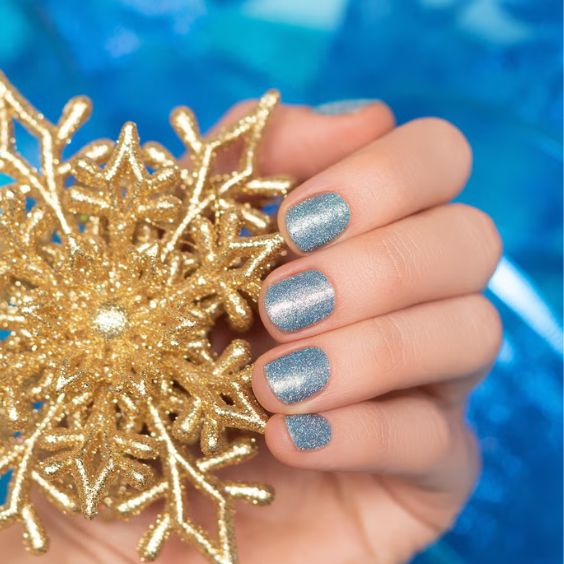
12) Ice Blue Christmas Nails
Ice blue Christmas nails offer a cool and frosty nail look that is perfect for the holiday season. I’d suggest a base coat of shimmering ice blue polish to obtain a wintry feel.
Once the first coat dries, add a layer of silver glitter on top to mimic sparkling snow. For a touch of elegance, use a fine brush to paint delicate snowflakes or stars in white.
I suggest a clear top coat finish to enhance the shine of nails. Fix any chips promptly in order to keep your nails fresh.
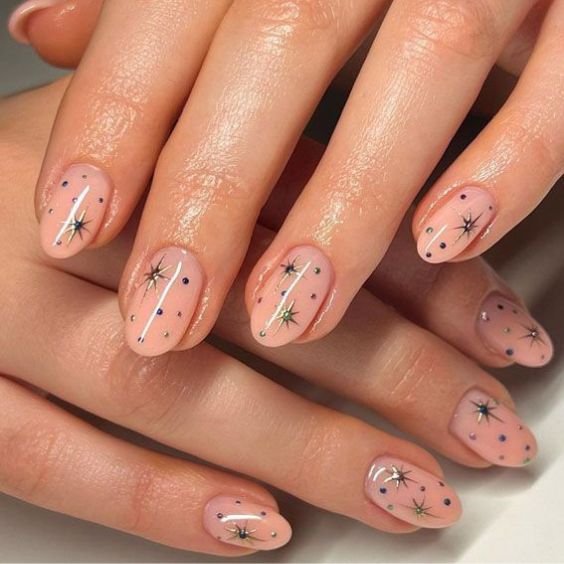
13) Starburst Nails
This nail design features a dark base color, like deep blue or black. A starburst pattern is created on nails by using a thin brush.
I recommend using bright, contrasting colors like gold, silver, or red. Also, add a touch of glitter in the center of each starburst for extra sparkle.
You must ensure that each layer is fully dry before you add more details to it. It offers a smooth and dazzling finish.
- You may also read this: 15 Trendy Casino Nail Ideas That’ll Give You A Casino Vibe
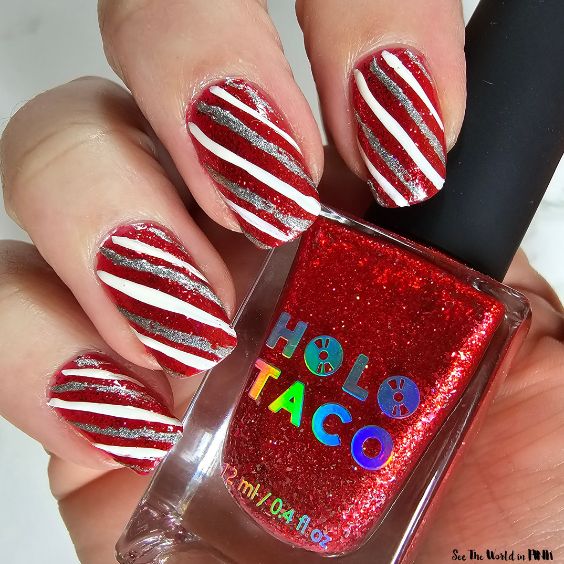
14) Candy-Striped Nails
Candy-striped nails capture the sweet spirit of the holidays with vibrant, playful lines. For this look, the base coat is applied in a light color like white or pastel pink.
Create bold, diagonal stripes in red and white for a classic candy cane look. You can use nail tape or a striking brush for this purpose.
End it with a clear top coat to protect your stripes and add a glossy finish. To keep your nails looking fresh, avoid using them for rough tasks.
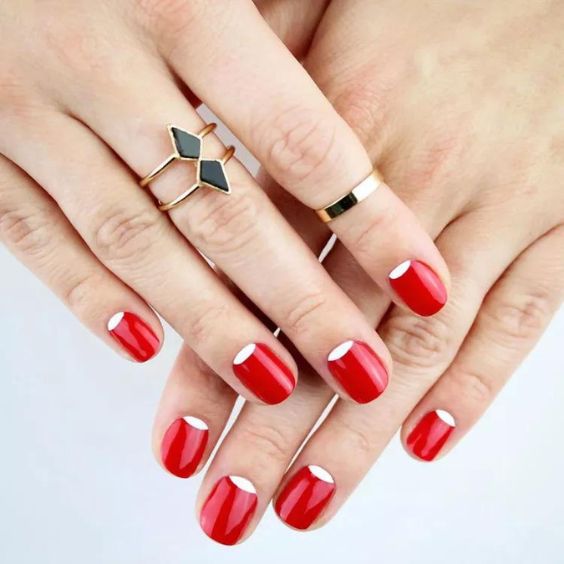
15) Holiday Half Moon Nails
To achieve this nail design, apply a base coat in a rich, holiday color like deep red or green.
A nail art tape or a small brush is used to create a half-moon shape at the base of each nail. Use a contrasting color like gold or silver for this step.
Regular nail care by trimming and moisturizing ensures a beautiful and sharp look for your nails.
16) Jingle Jewels Nails
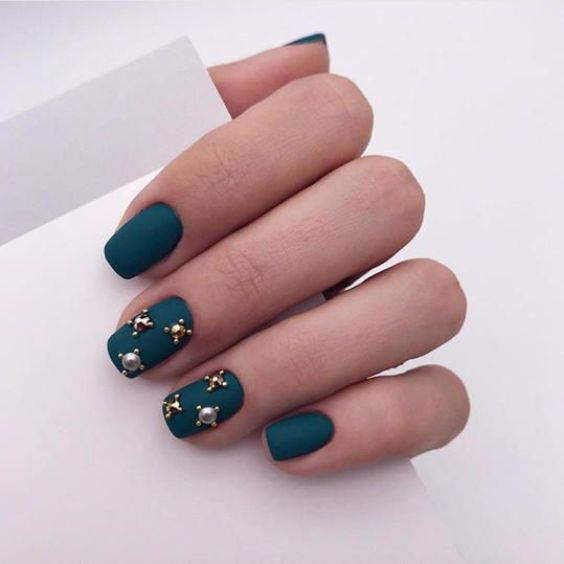
Jingle jewels nails are a dazzling Christmas design for women. It features the first coat in a classic holiday color like deep red or emerald green.
I recommend applying a layer of glitter polish or stick on jewel embellishments to your nails for a sparkling effect. For extra shine, use a clear top coat to seal the glitter or jewels.
Do not use your nails for heavy tasks if you want to maintain their festive look for a longer period.
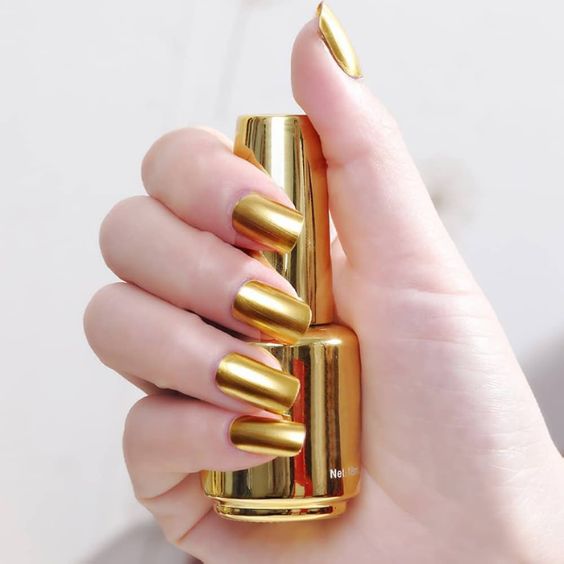
17) Metallic Gold Nails
Metallic gold nails are perfect for adding a glamorous touch to your holiday look. First, smooth your nails by applying a base coat.
After this, apply two coats of metallic gold polish. This double coat gives your nails a shiny and reflective finish. You can add a touch of gold glitter on top for extra sparkle.
Keep your nails glossy and protected by applying a top coat. Let each coat dry completely for a smooth, polished look.
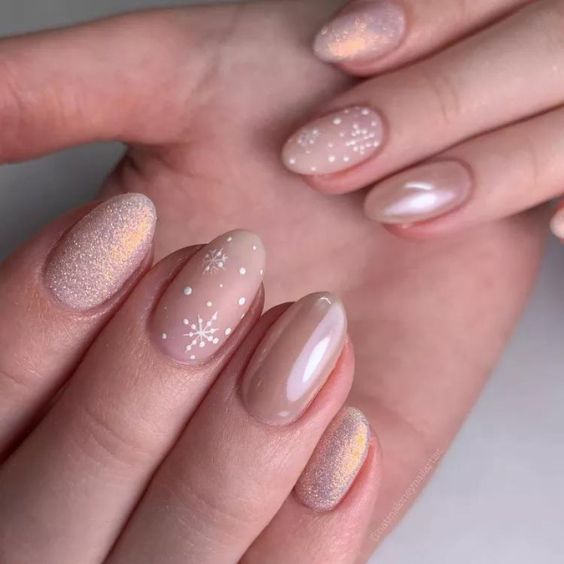
18) Holiday Neutral Nails
Holiday neutral nails have a base coat in a soft nude, beige, or light taupe color.
Then, delicate holiday-themed accents like tiny white snowflakes, silver dots, or gold stripes are added onto them, using a fine brush or nail art pen.
For the best nail care, moisturize your cuticles and nails regularly and always file nails in one direction to prevent splitting.
I’d suggest using an acetone-free nail polish remover to avoid drying out your nails. These nude nails are perfect for women who want to celebrate the holiday season with a calm and subtle vibe.
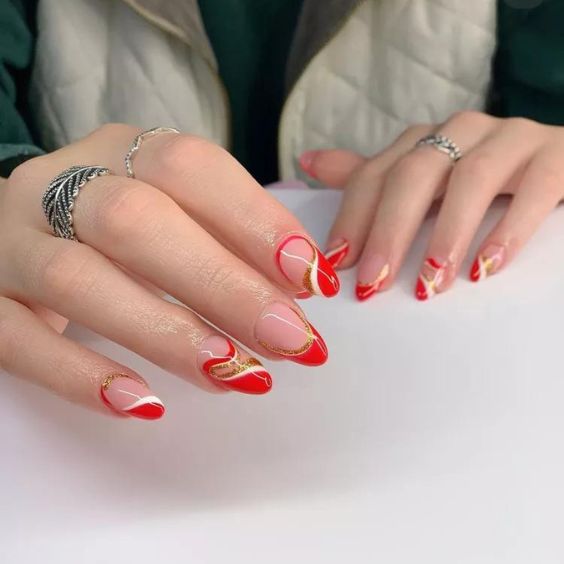
19) Merry Swirls Nails
Merry swirl nails are a perfect choice for a playful look for Christmas. I’d recommend a light color like white or silver as the base coat.
Create swirling patterns in beautiful colors like red, white, and golden after letting the first layer dry completely. This design mimics the candy canes or festive ribbons.
Keep your nails healthy by keeping them dry and clean, trimming regularly, and avoiding biting. Choose gentle nail products, and take breaks from polish to let your nails breathe.
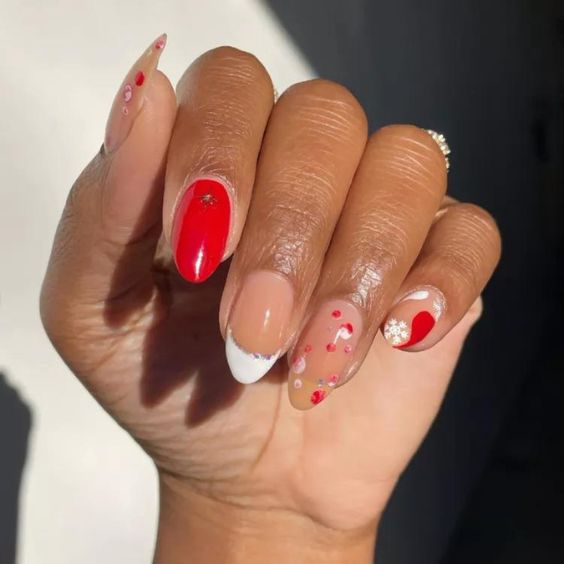
20) Mix-and-Match Nails
Mix-and-match nails are a versatile Christmas manicure option for all the ladies out there. Start with a base color of your choice, like nude or light pink.
On some nails, create classic French tips with white polish. On others, paint festive snowflakes using a fine brush and white polish.
For extra flair, you can also add confetti polka dots with red and sparkly silver polishes on some nails.
Be gentle with your cuticles, and wear gloves in cold weather to protect your nails from becoming dry and brittle.
- You may also read this: 16 Glitter Ombre Nail Ideas To Match Your Style & Outfit
Conclusion
Christmas nails are a delightful way to express your holiday spirit. From vibrant green Christmas tree designs to elegant metallic gold looks, there’s something for everyone.
Experiment with festive elements like snowflakes, bows, and glitter to create your perfect holiday manicure for all nails shapes.
Maintain your designs with regular touch-ups and by keeping your nails hydrated and protected. So, celebrate this season with nails that shine, sparkle, and spread holiday joy wherever you go!


